All Export
This documentation provides guidance on exporting products from Globber's website, featuring a demonstrated example focused on pricing.
How to Export Product Pricing
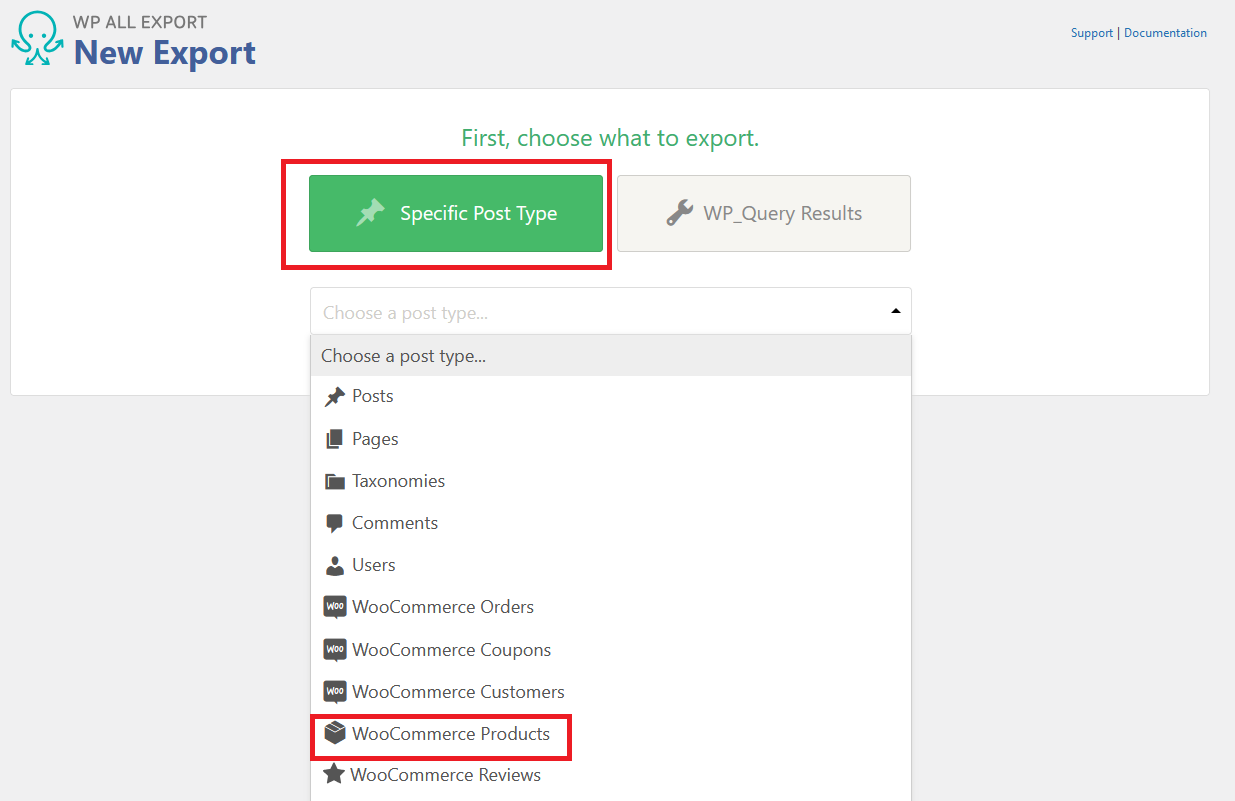
Navigate to All Export on the left-hand menu in WordPress and select New Export

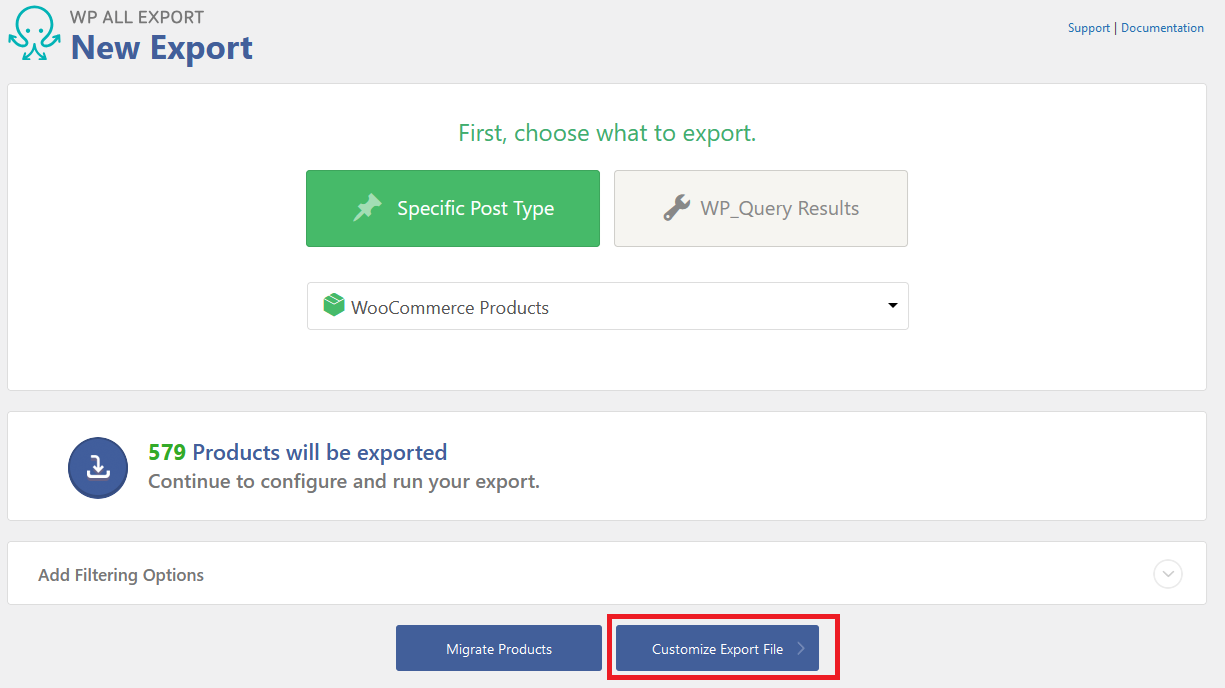
In WP All Export's New Export page, select WooCommerce Products under Specific Post type.
Click Customize Export File to proceed to the next step.
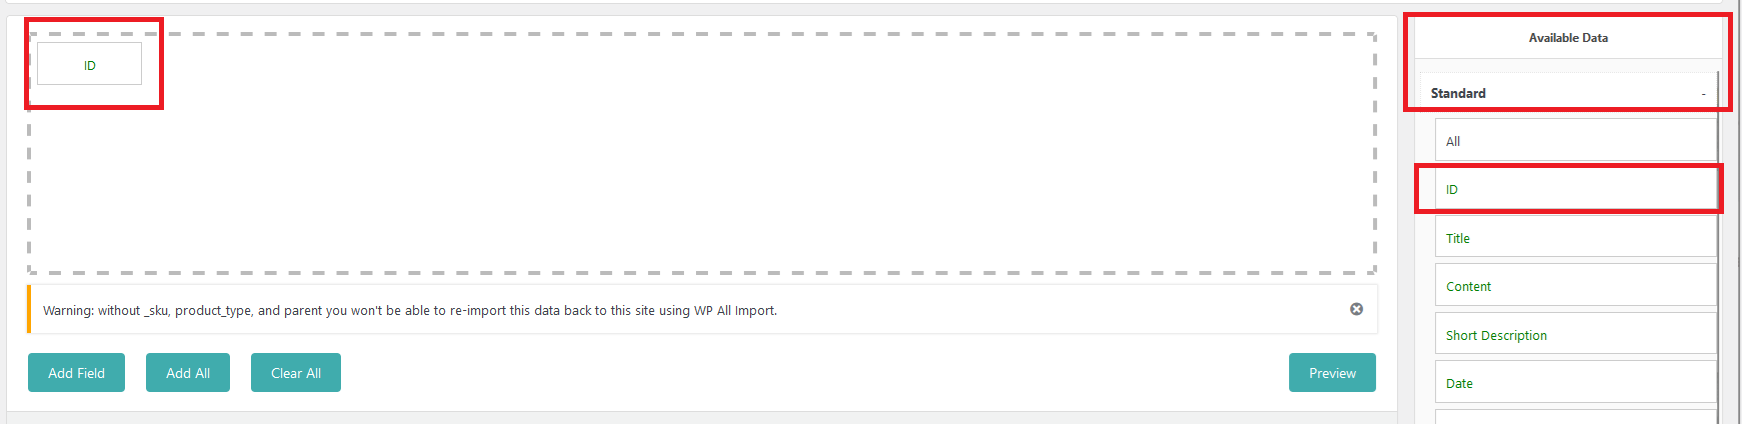
By default, WooCommerce suggests exporting all fields. To select specific fields, you'll first need to click Clear All.
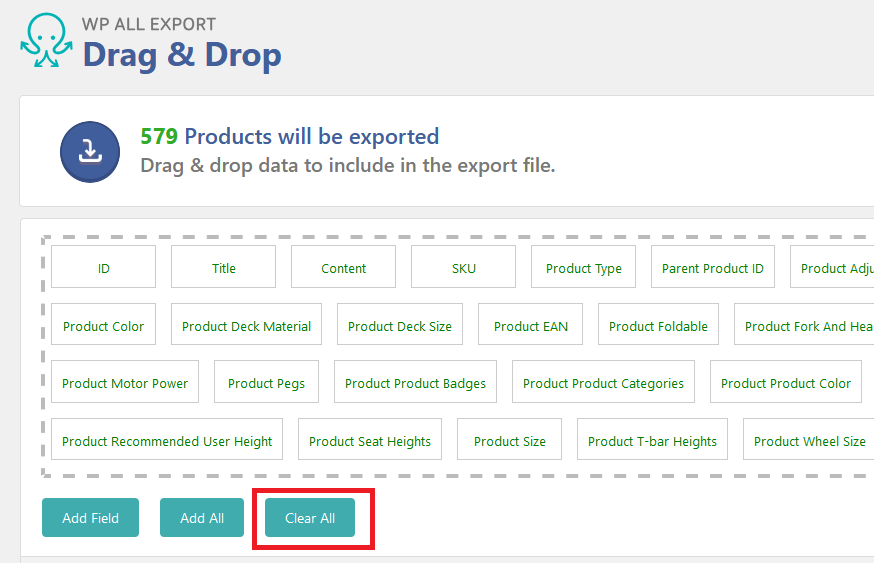
On the right-hand side, you will have to add ID by click and dragging from the Standard field as highlighted below.
'ID' field is important because it acts as the system's database ID, linking the XLS, CSV, and the products.
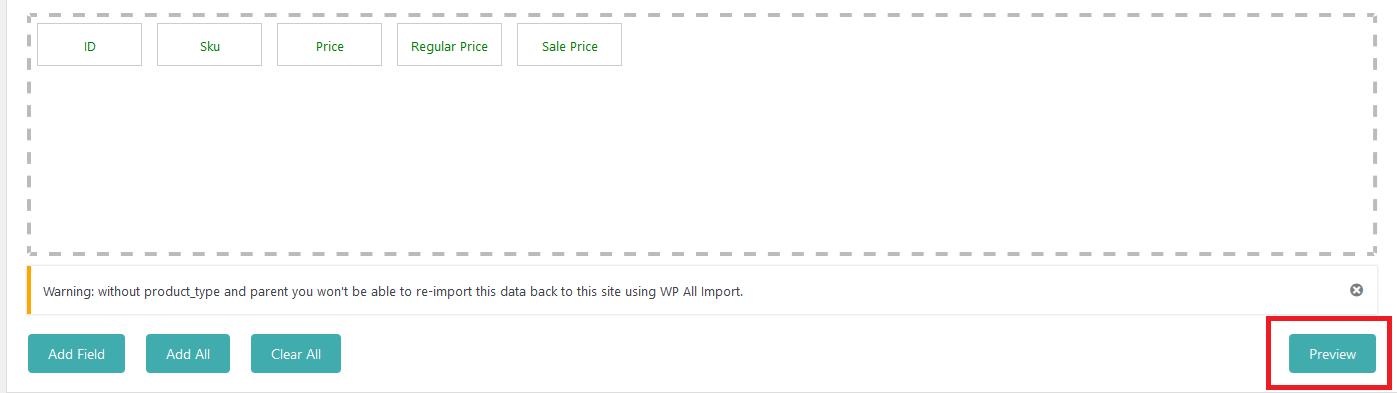
After adding ID and Parent ID, add SKU, Price, Regular Price and Sales Price located under the Product Data field.

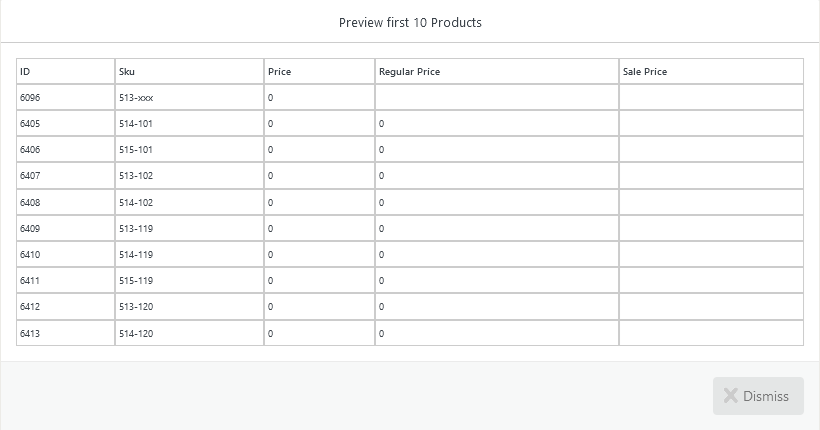
You can click Preview to see what the first 10 products would look like if they were exported.
This is what the Preview usually looks like.
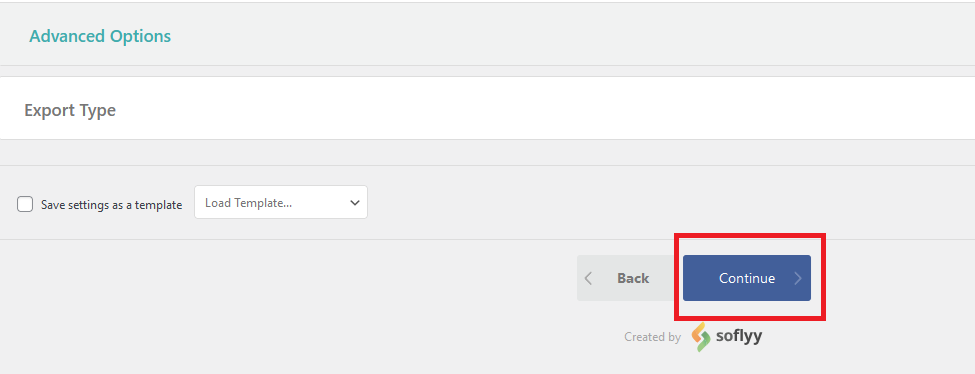
Once you are satisfied with the options, proceed with the Continue button below.
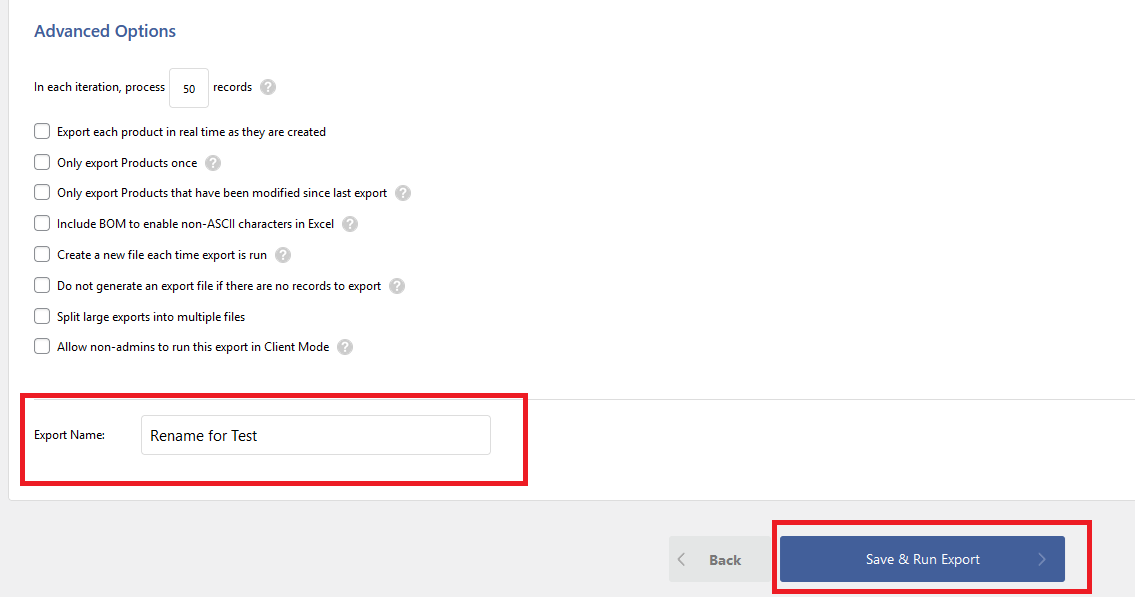
To speed up the export, you can reduce the records from 50 to 25 to prevent overloading the server.

Rename your file to your preferred name and select Save & Run Export at the bottom of the Export Settings page when you're ready.
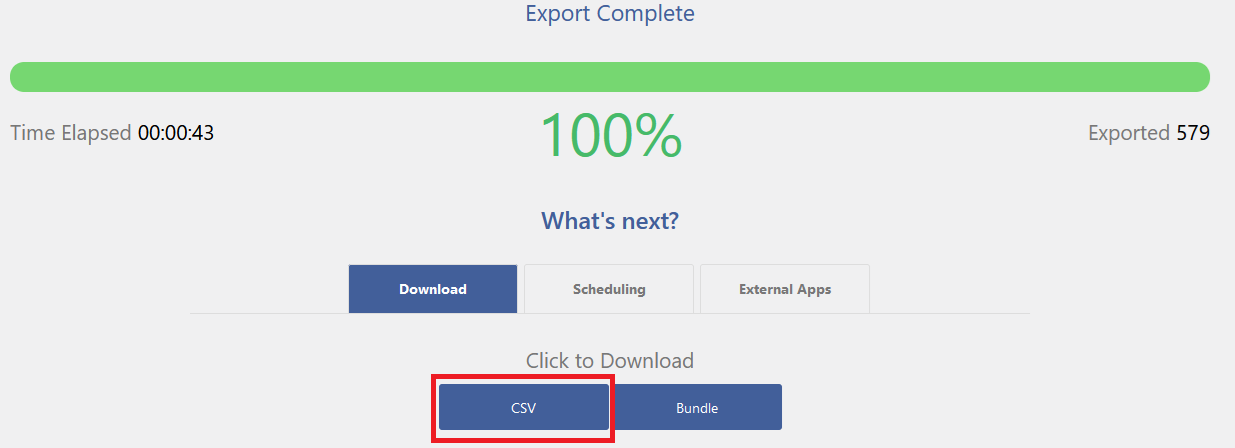
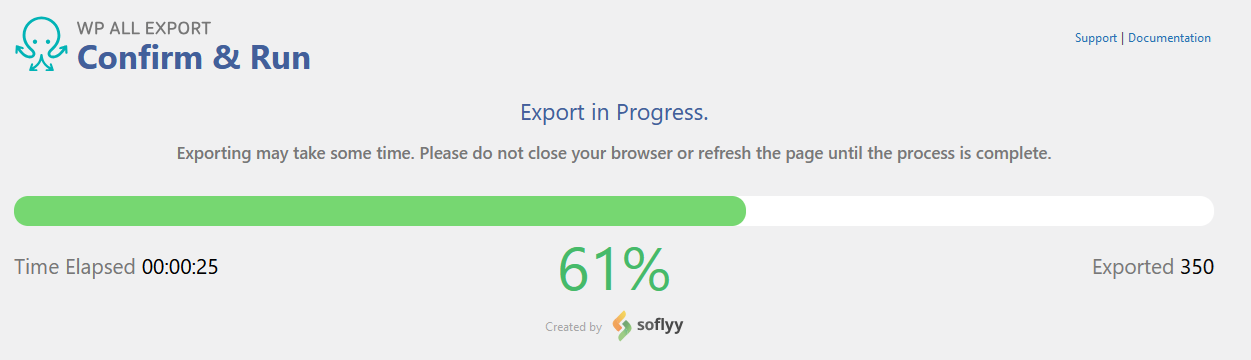
Export in progress is shown in real-time.
Once your export is complete, select CSV under the Download tab to begin downloading the Excel file.