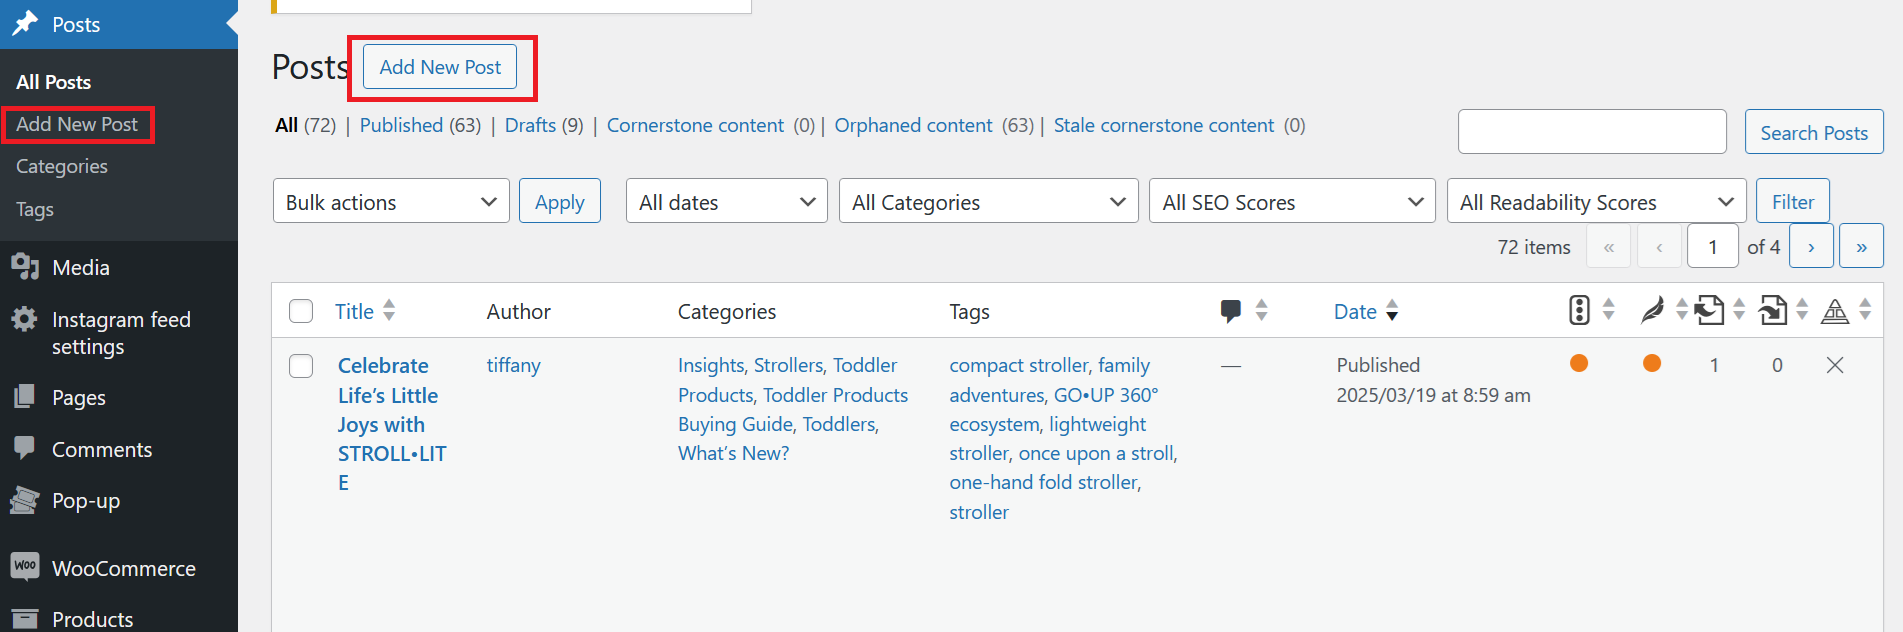
Add New Post
Click Add New Post to create a new blog post.
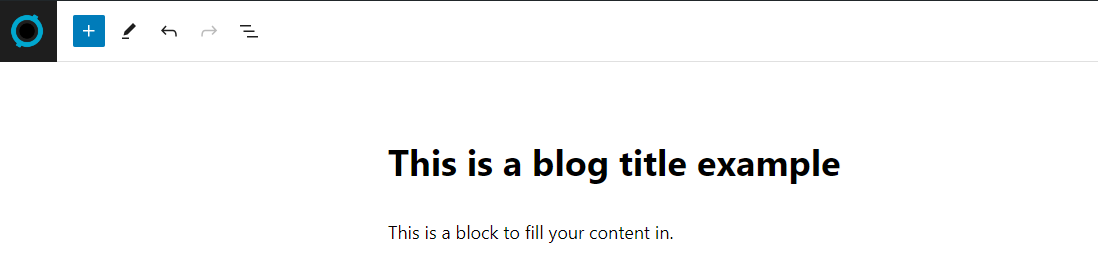
You will be redirected to the blog creation page, where you can write up your desired content with photos and set specific categories/tags.
Enter a title for your blog post in the “Add title” header section, and fill in the content blocks to write up your blog post.
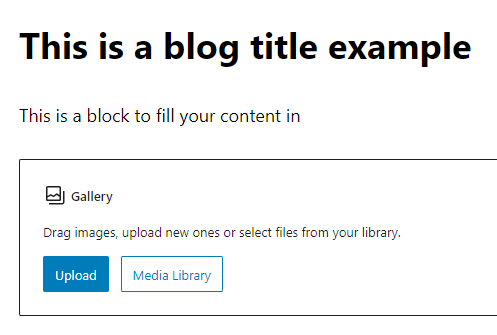
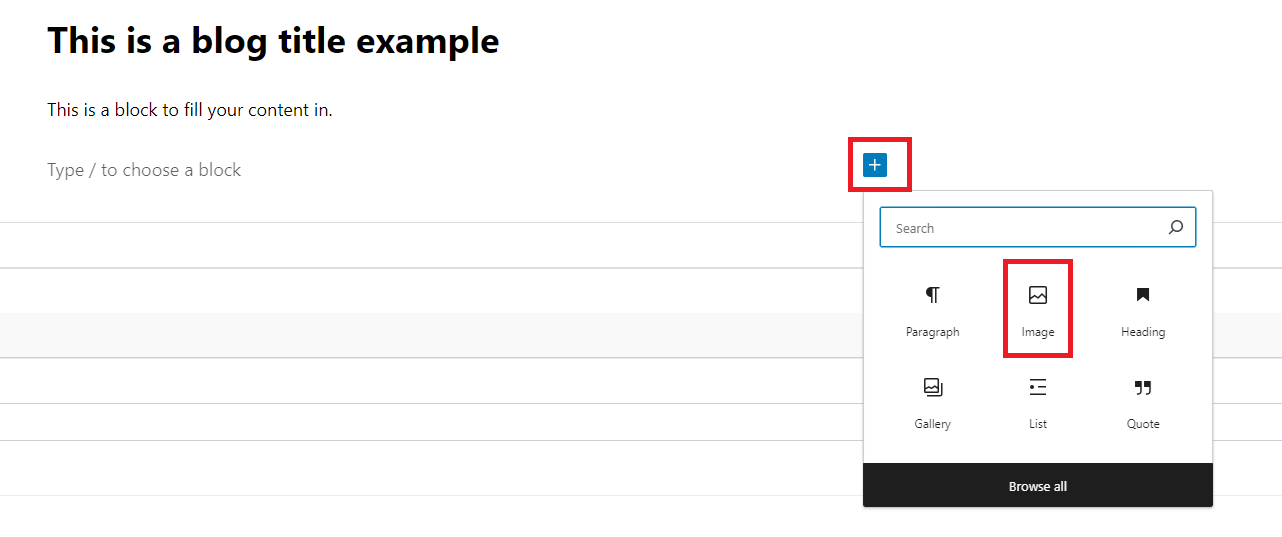
You can insert images by clicking on the box with a plus icon inside the content block, as highlighted in the image below.
Once you click the plus icon box, you can select Image to upload your desired image into the content block.
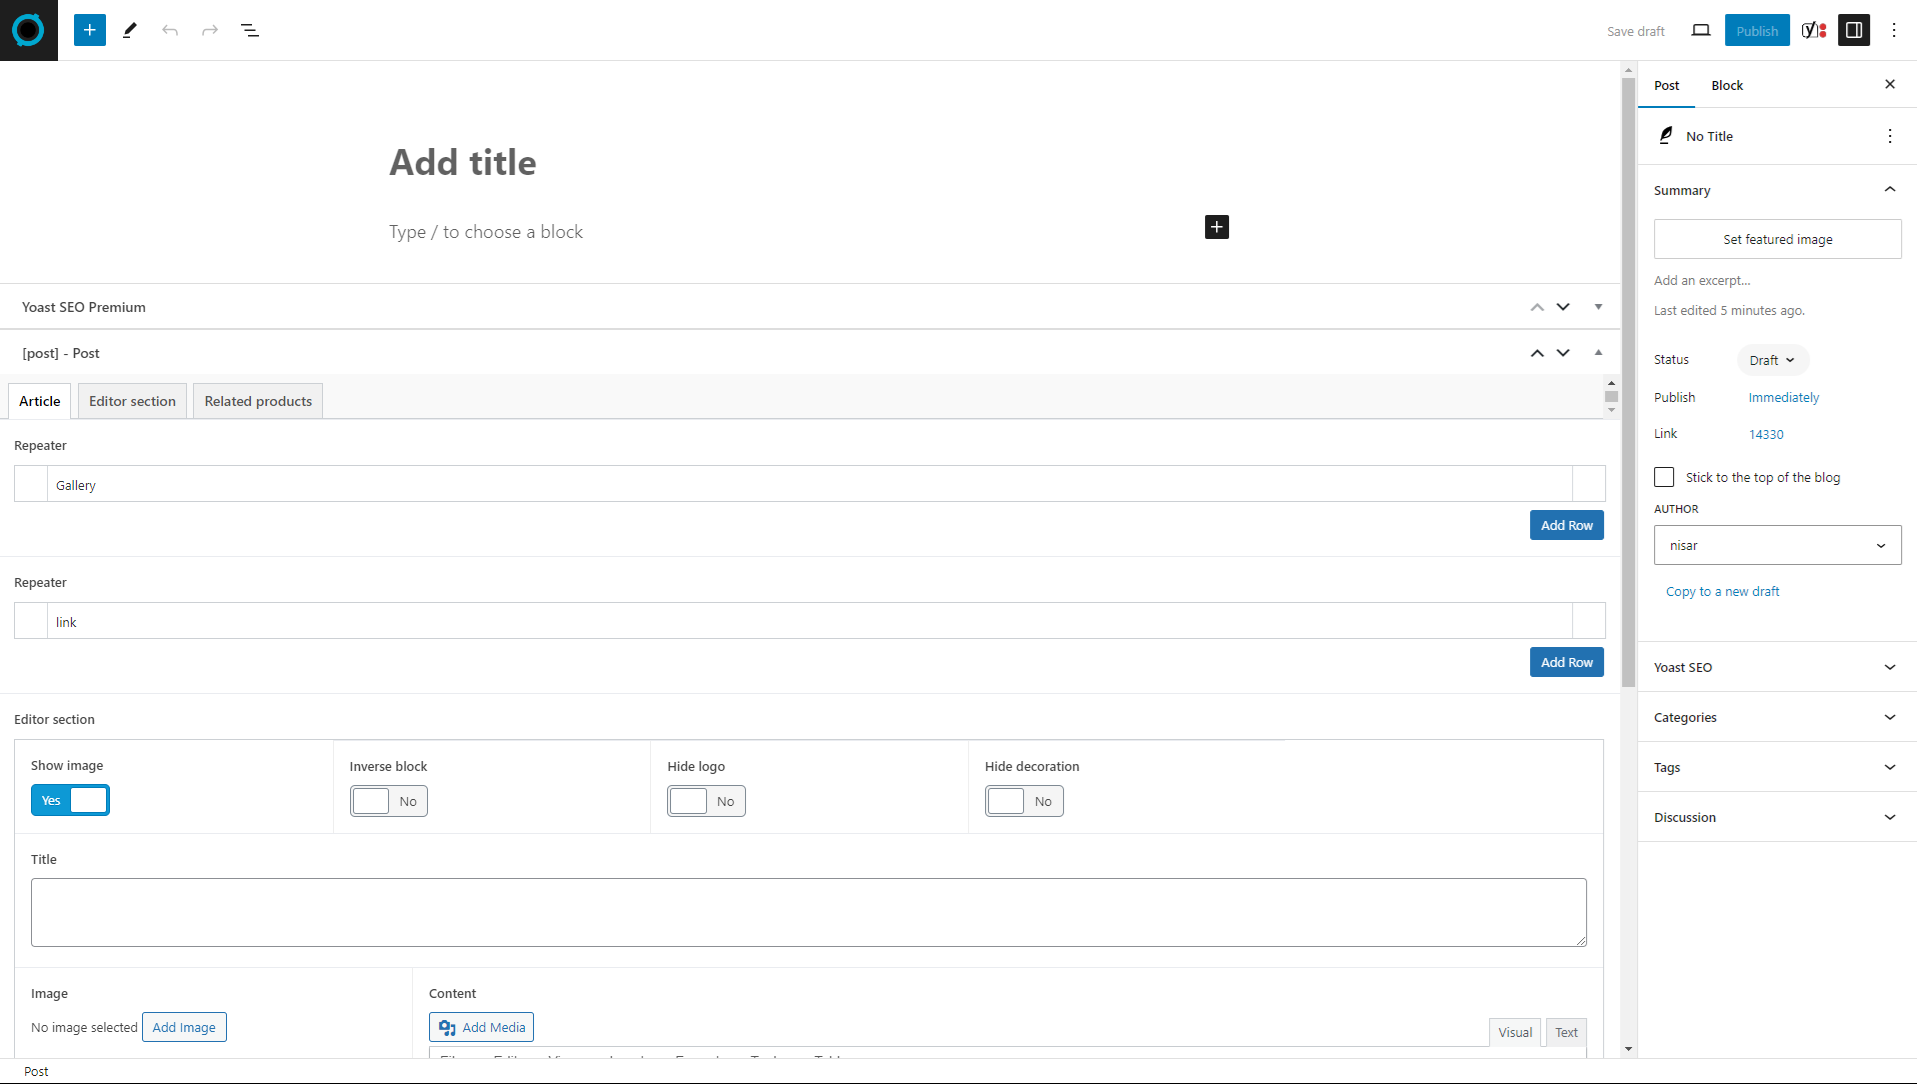
After writing your blog post, you’ll need to complete the configuration for it.
Click on this icon highlighted in red, placed in the top-right corner to assign the blog’s author, category, tag and thumbnail.

Upload your blog thumbnail with Set featured image button on the right-hand side of blog post creation.

Please note: Only .png and .jpg file formats are accepted for images.
Tip: Aim for a file size of less than 1 MB, with a recommendation to keep images under 500 KB. Consider using image optimizer tools like TinyPNG or ImageOptim to reduce file size.
You can assign a specific category on right-hand side of the blog post creation section.

If you’d like to keep it as a draft, click Save draft. Once you’re ready to post, hit Publish on the top right corner of the blog creation page.
![]()
Writing Format
WordPress editor supports many features when writing up your blog content.
Here are some examples to keep your blog posts engaging.
Bullet lists for organizing information.

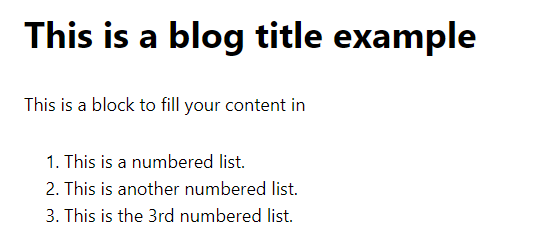
Numbered lists for step-by-step instructions.
Embedded media, allowing you to insert any images uploaded to WordPress directly into the body of your blog post.