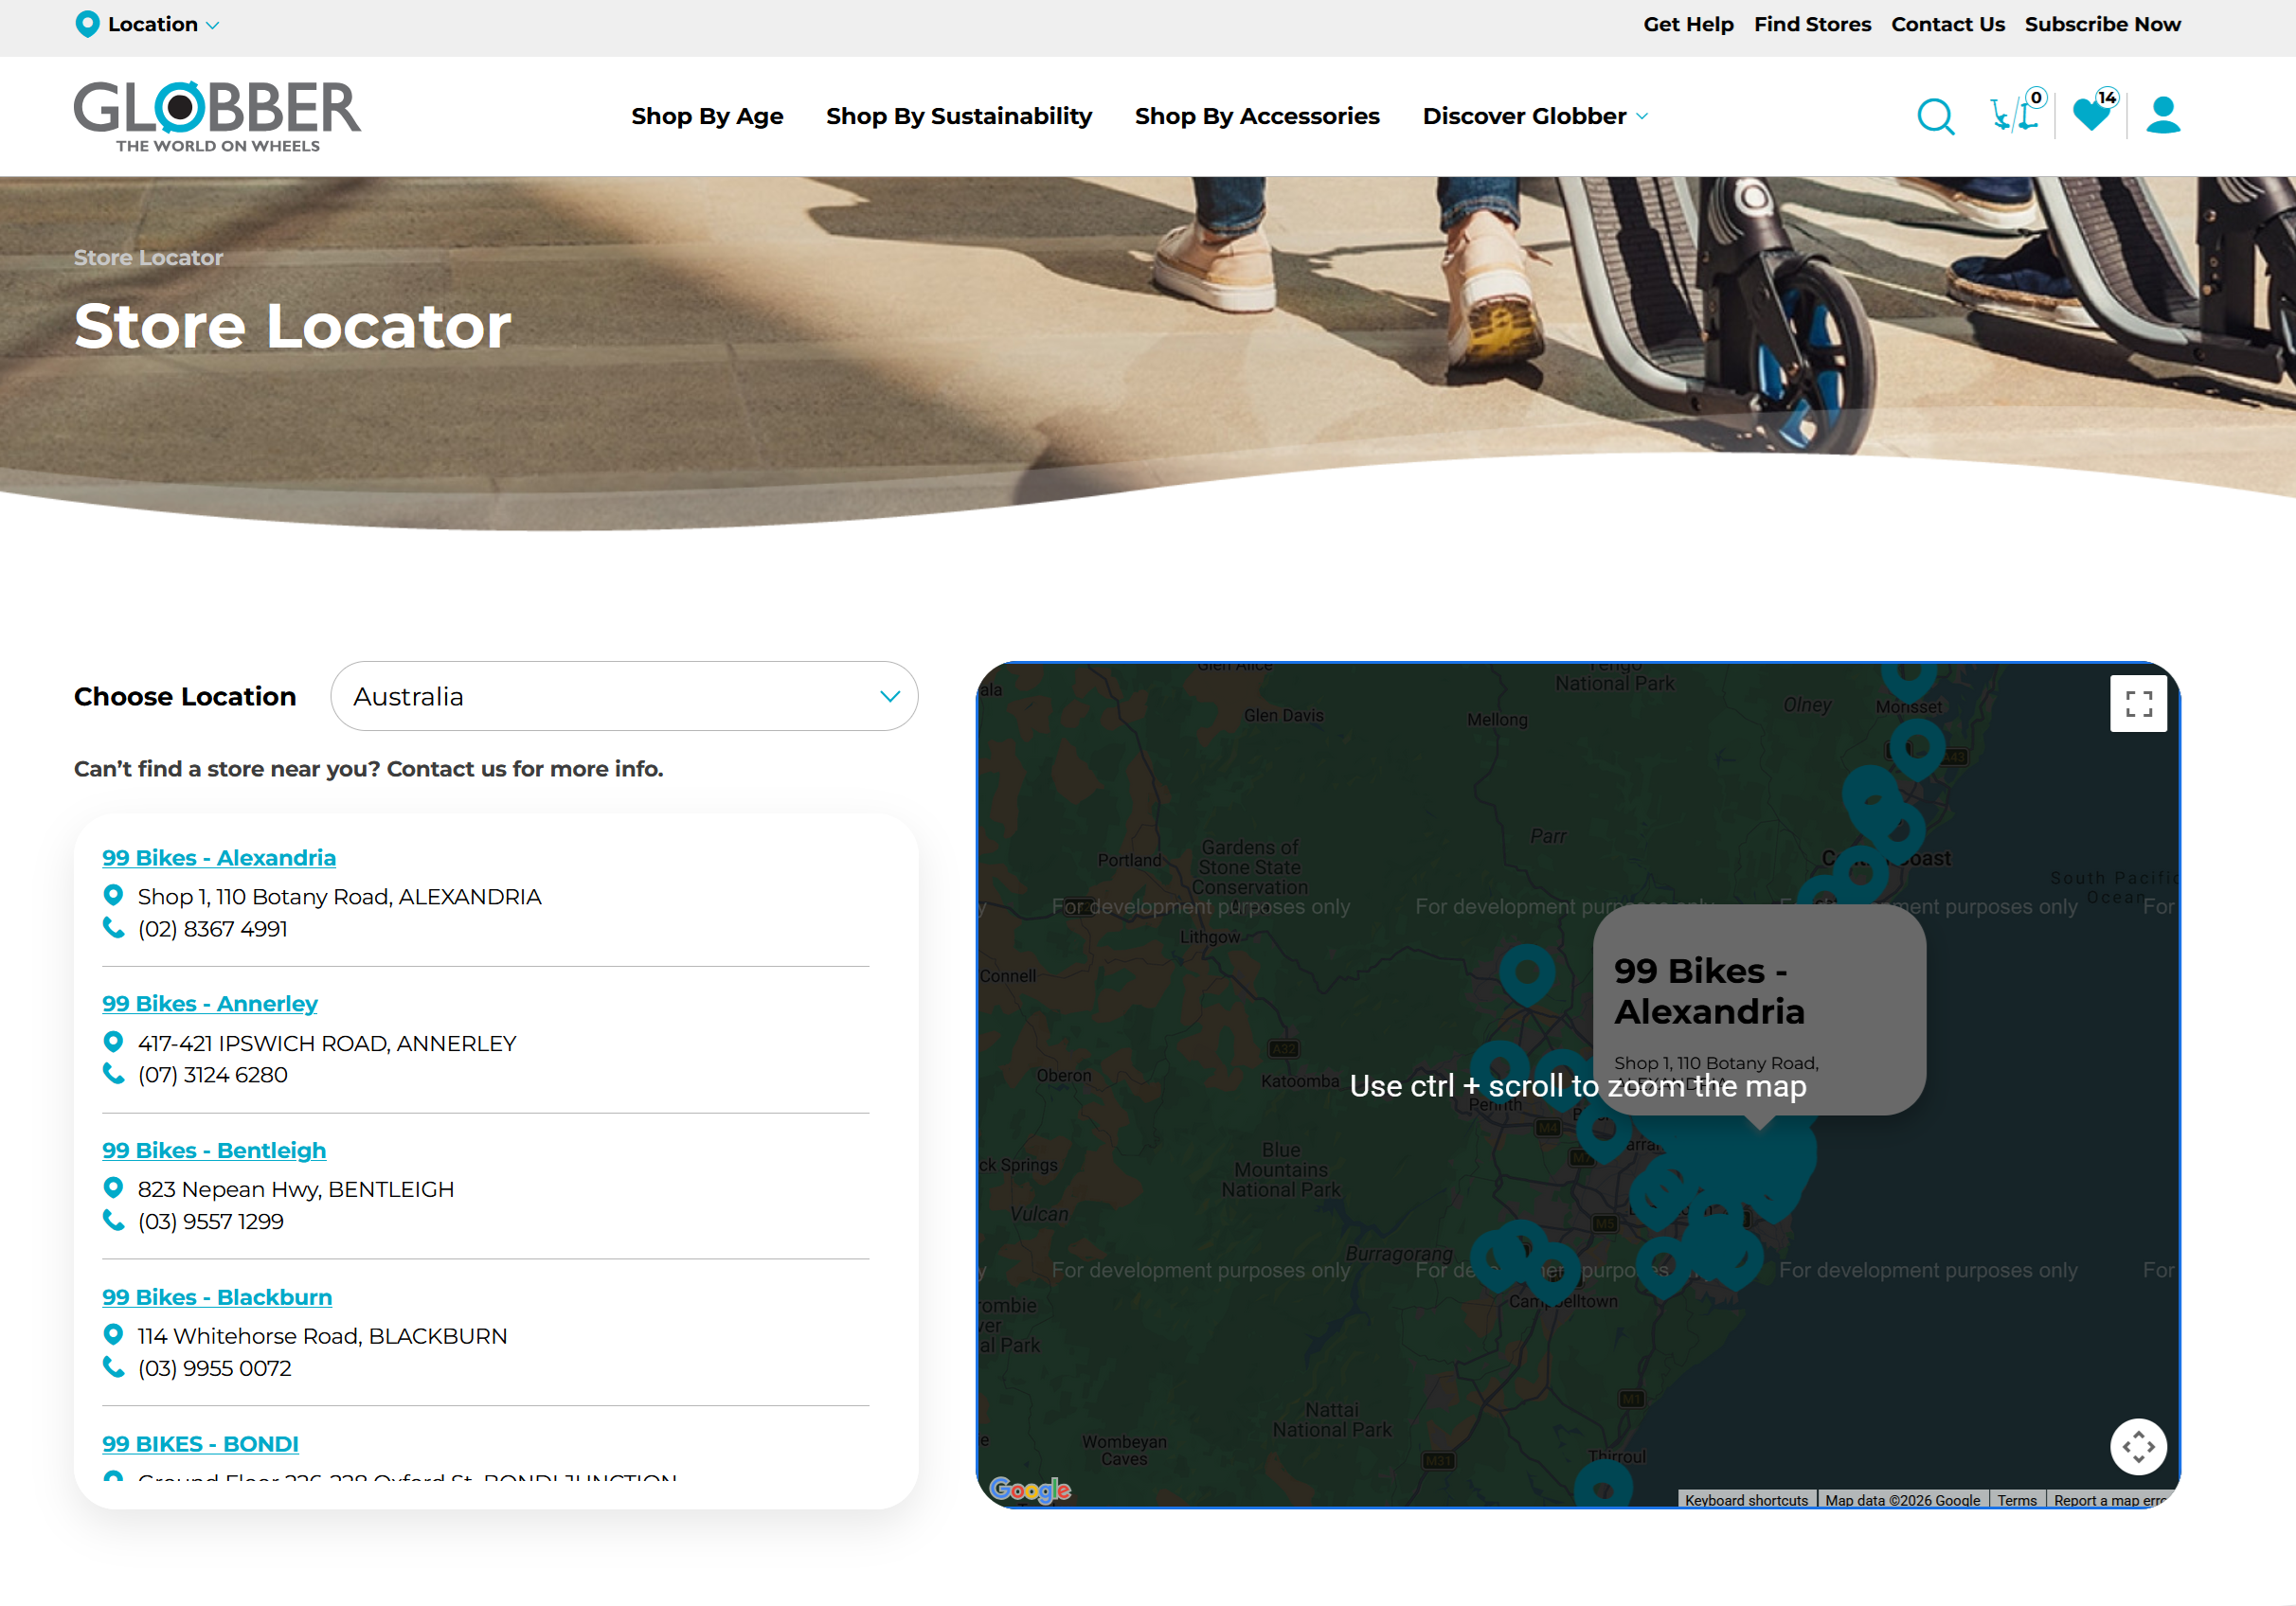
Store Locations
The Store Locations section allows you to manage all your physical store or business locations. Add, edit, and organize location details including addresses, contact information, and hours of operation to help customers find your nearest locations.
Get Started
There are two ways to add store location information on your Globber subsite.
Method 1: Manually add store location
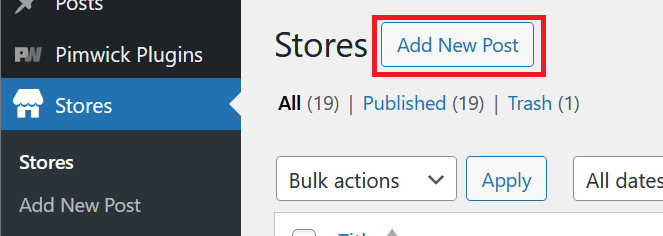
On the left-hand side menu, navigate to Stores and select Stores.

In the stores section, select Add New Post to start adding a new store location.
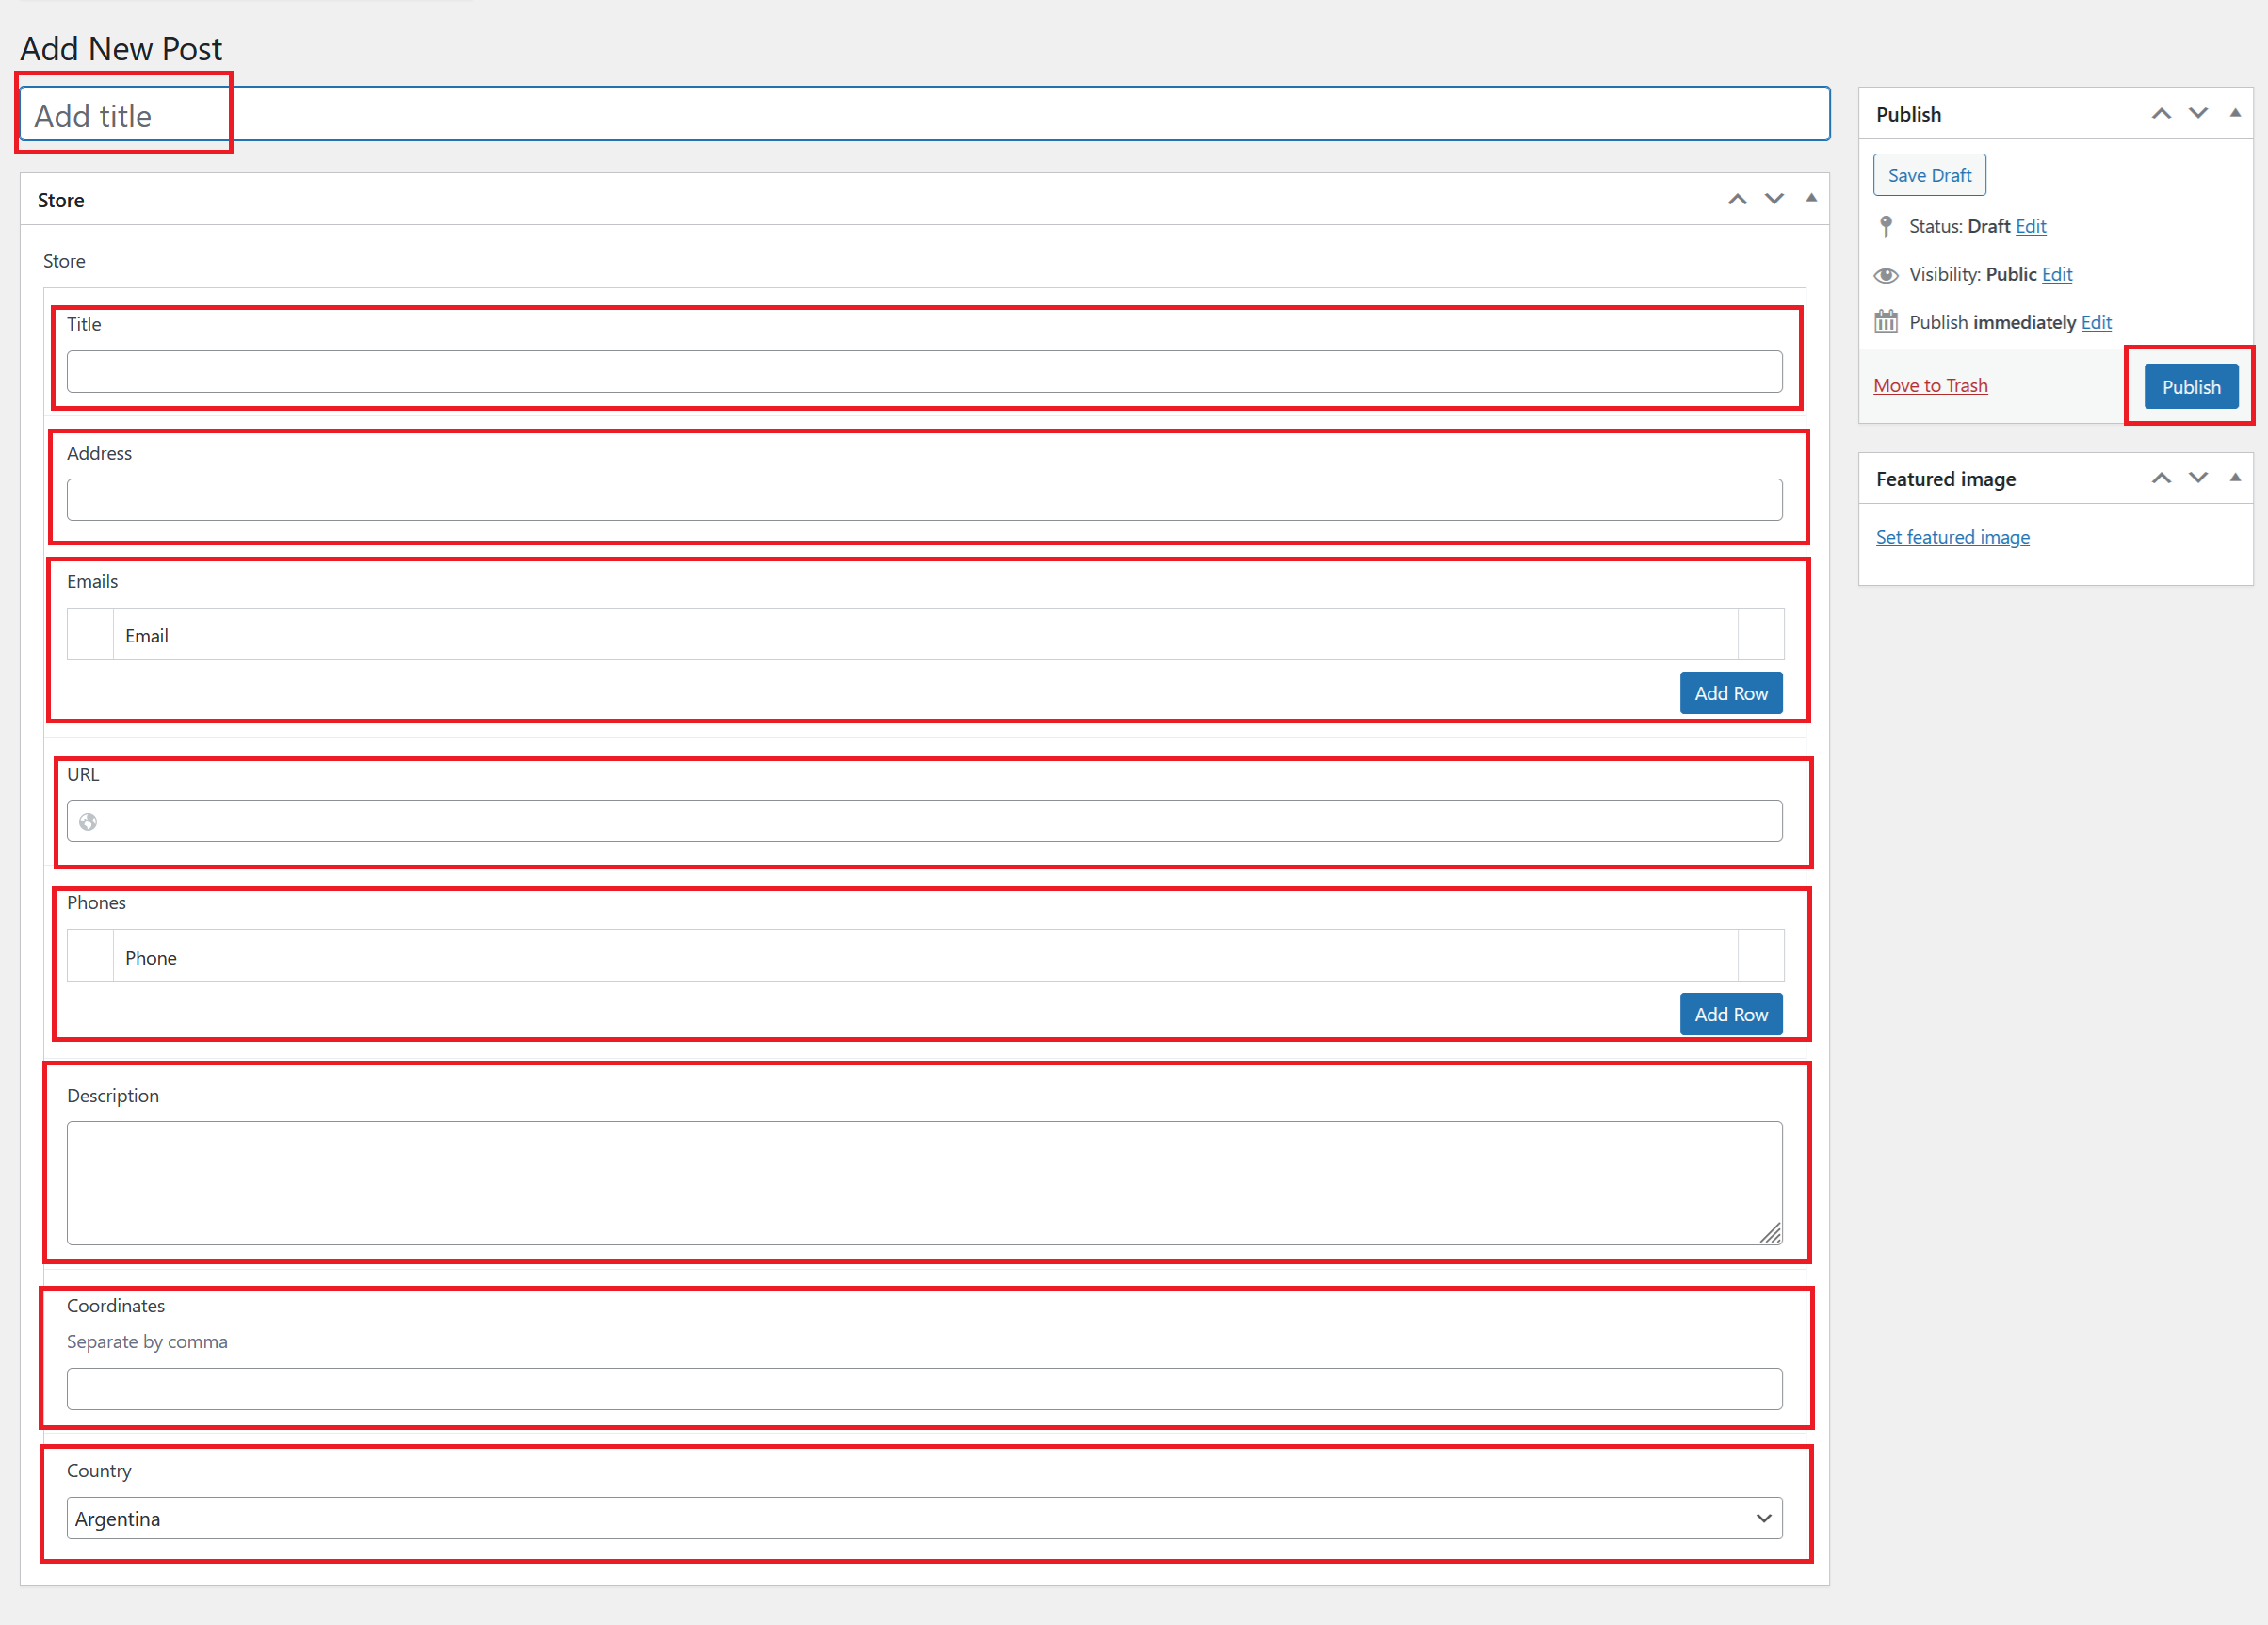
Fill in the required fields for your store location:
- Title - Enter the store name or location identifier
- Address - Provide the complete street address
- Email - Add the store email address
- URL - Add the store's URL
- Phone - Include the store contact number
- Description - Store description
- Coordinates - Provide coordinates
- Country - Select or enter the country
Once all fields are completed, click Publish to make the store location live on your site.
Method 2: Importing multiple store locations
You will need to prepare a CSV file with the list of different store locations. For reference on CSV formatting, please contact Globber IT team for a copy of the template.
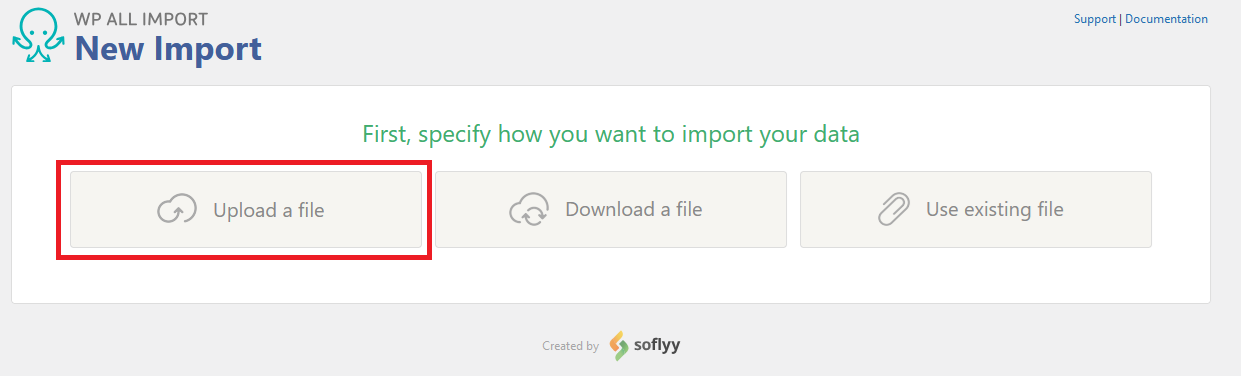
On the left-hand side menu, navigate to All Import on the left-hand menu in WordPress and select New Import

Select Upload a file to attach your relevant CSV file.
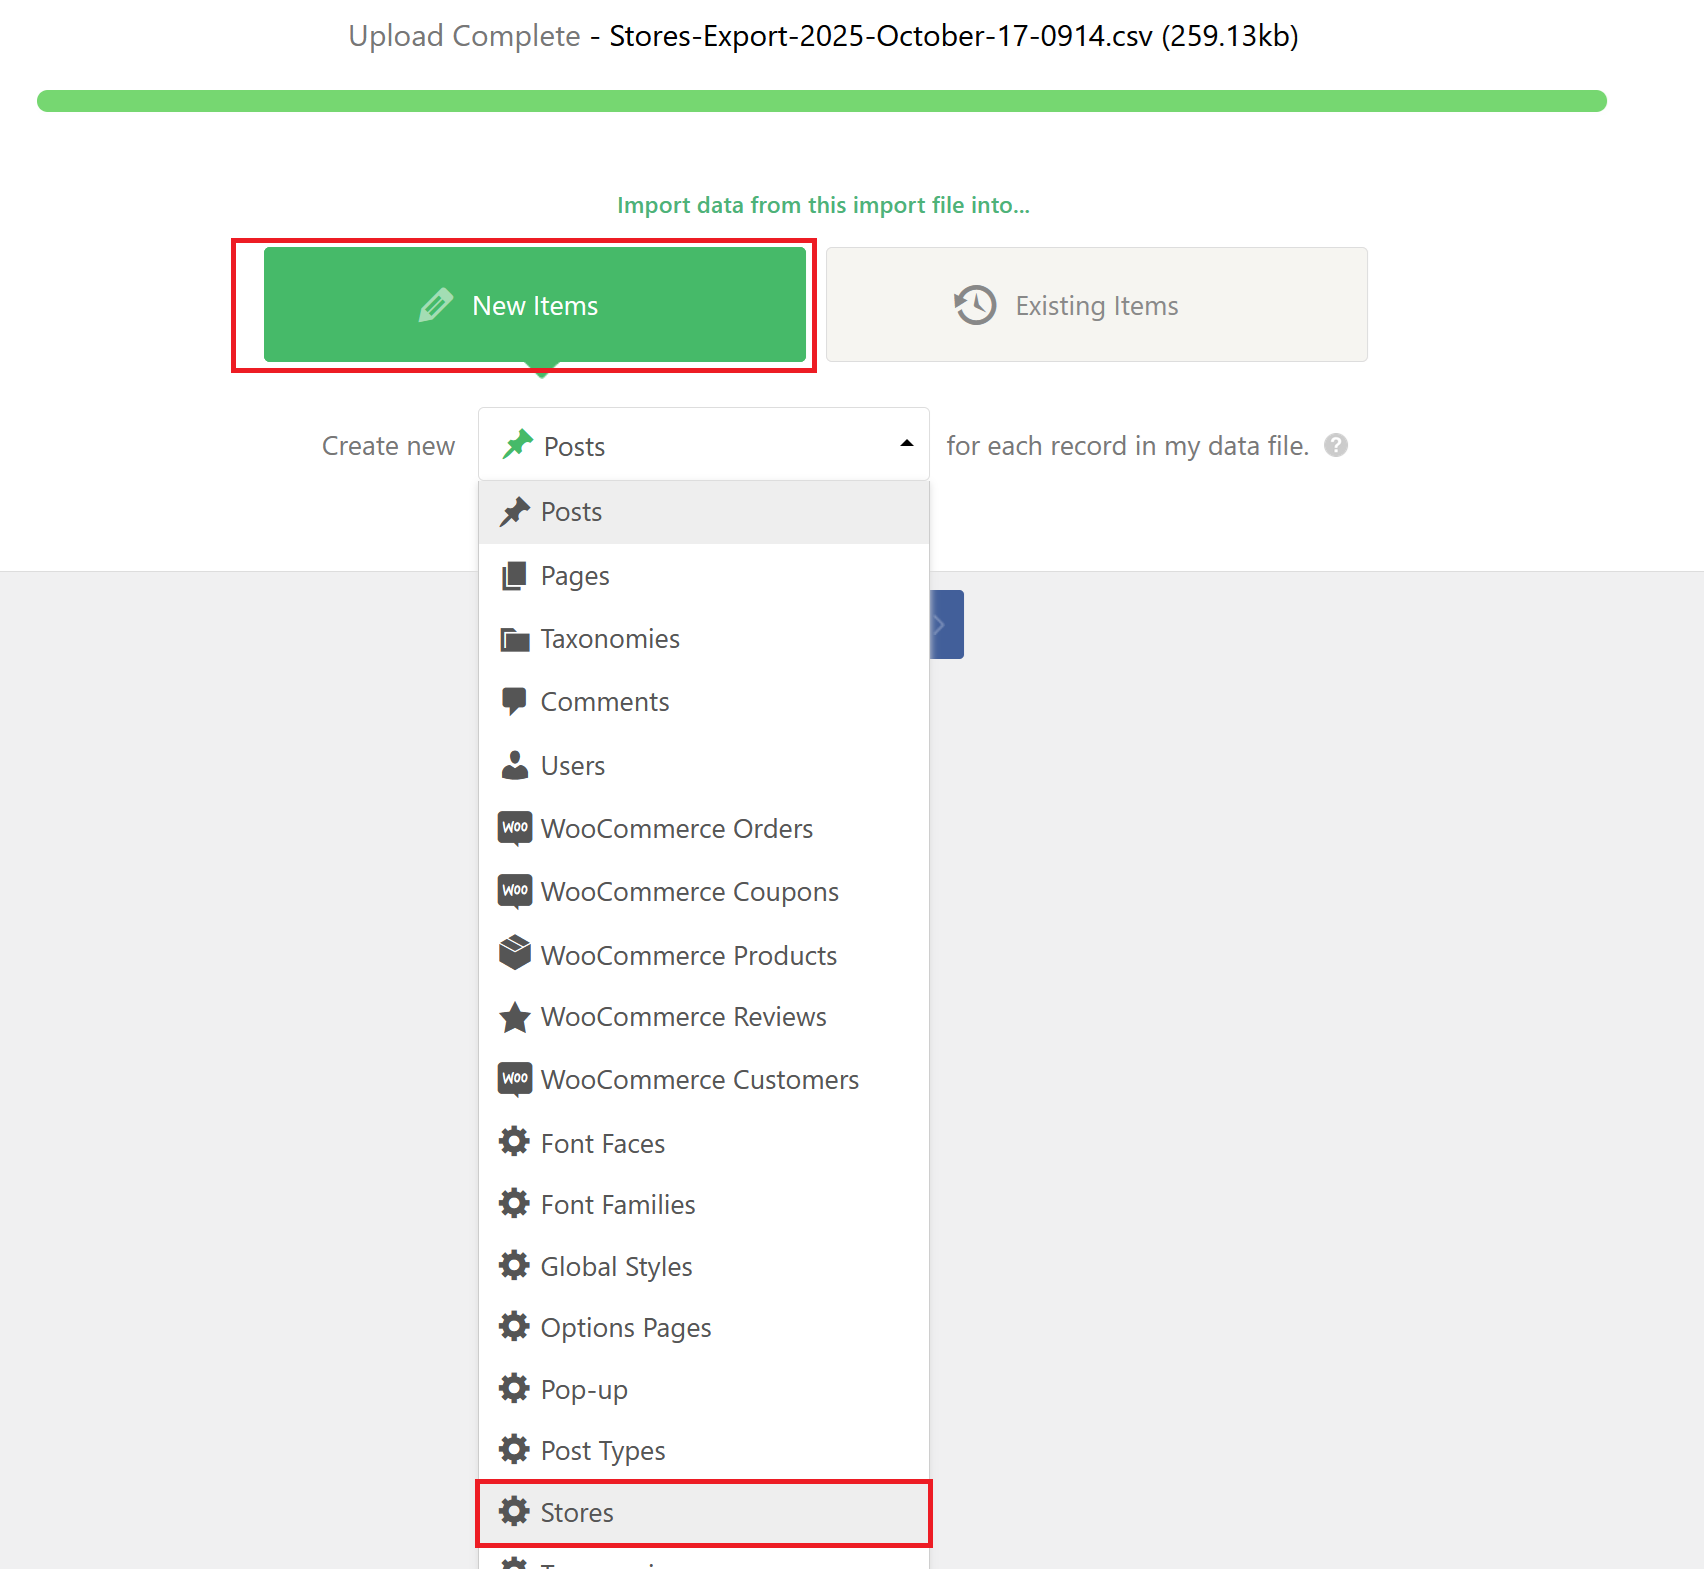
Hover over New items and select Stores before you proceed to Step 2.
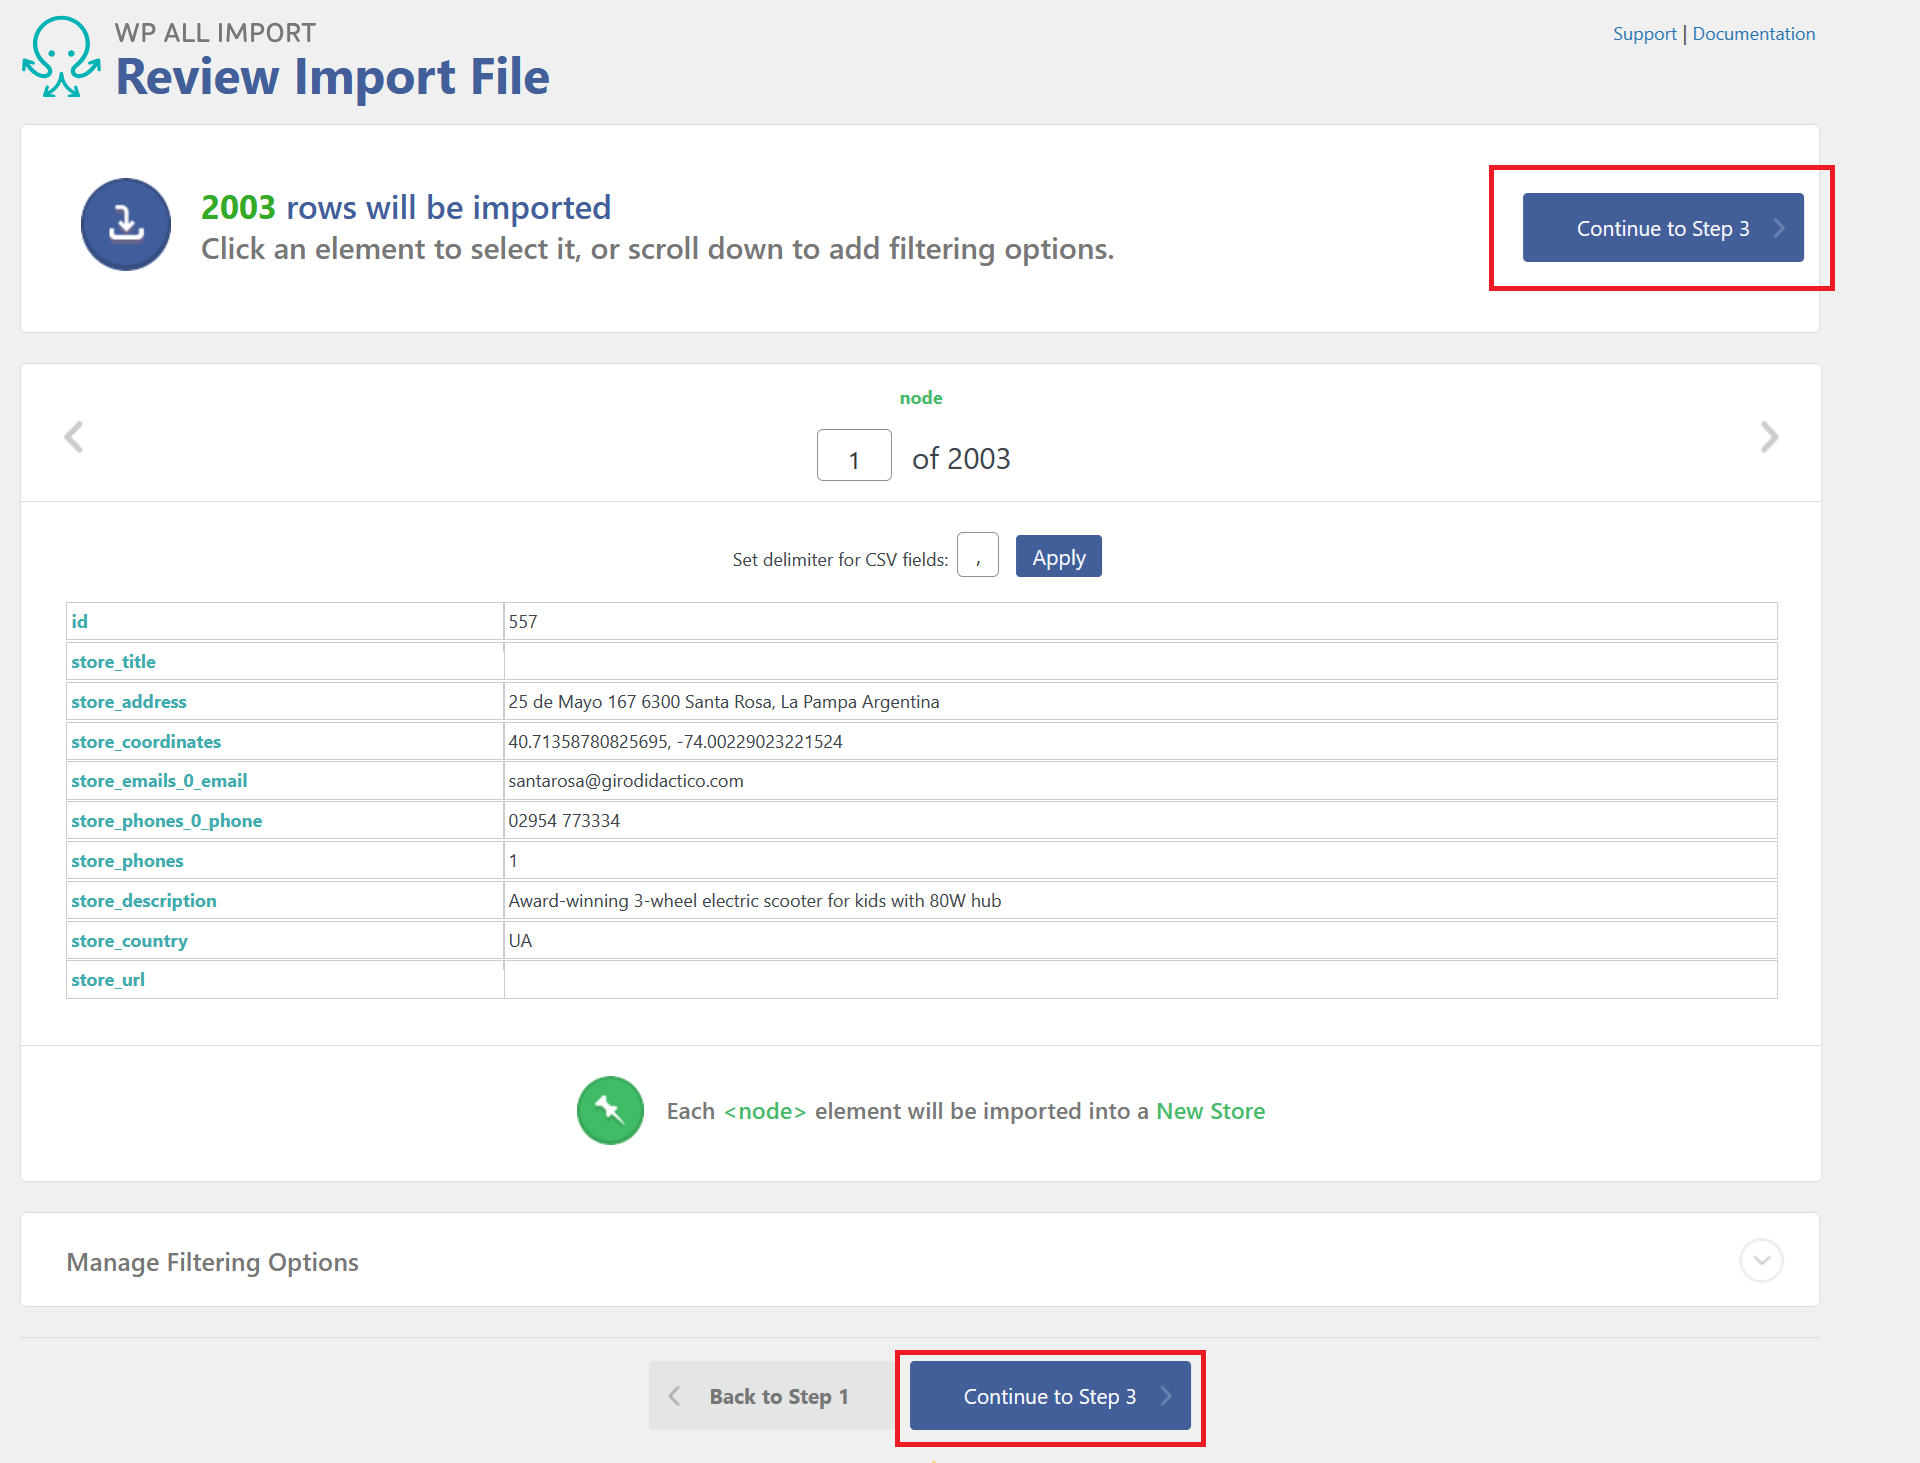
Proceed to Step 3 if the information is displayed correctly.
In Step 3, scroll down to the bottom of the page and select load template. From here, select Stores to implement the pre-loaded template.
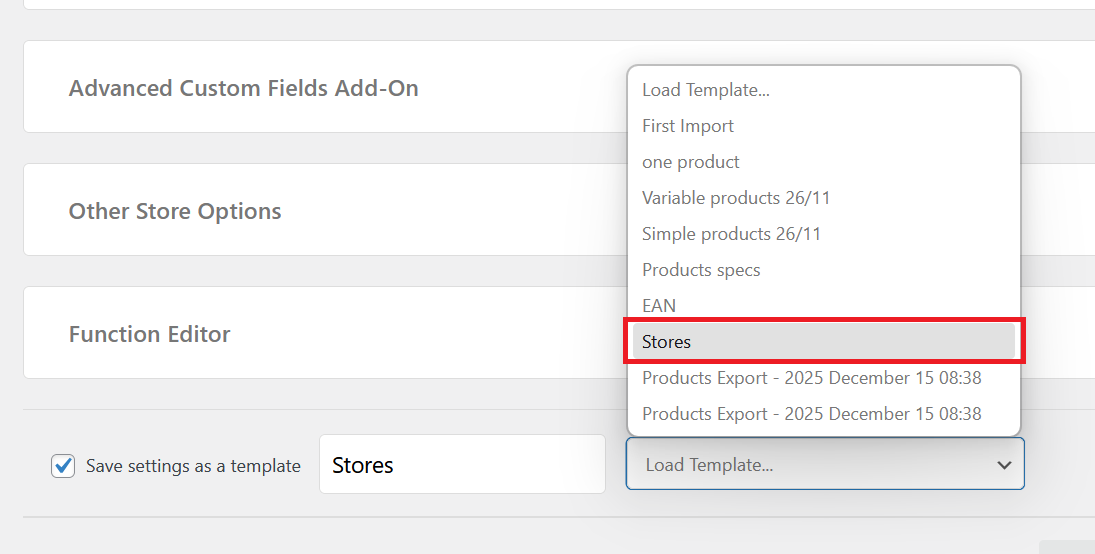
If the template isn't available, please contact Globber IT team.
Once the template is loaded, click Continue to Step 4.

In this final step, make sure all configurations have been pre-set from the template and click Continue to finish the process.
