Blogs
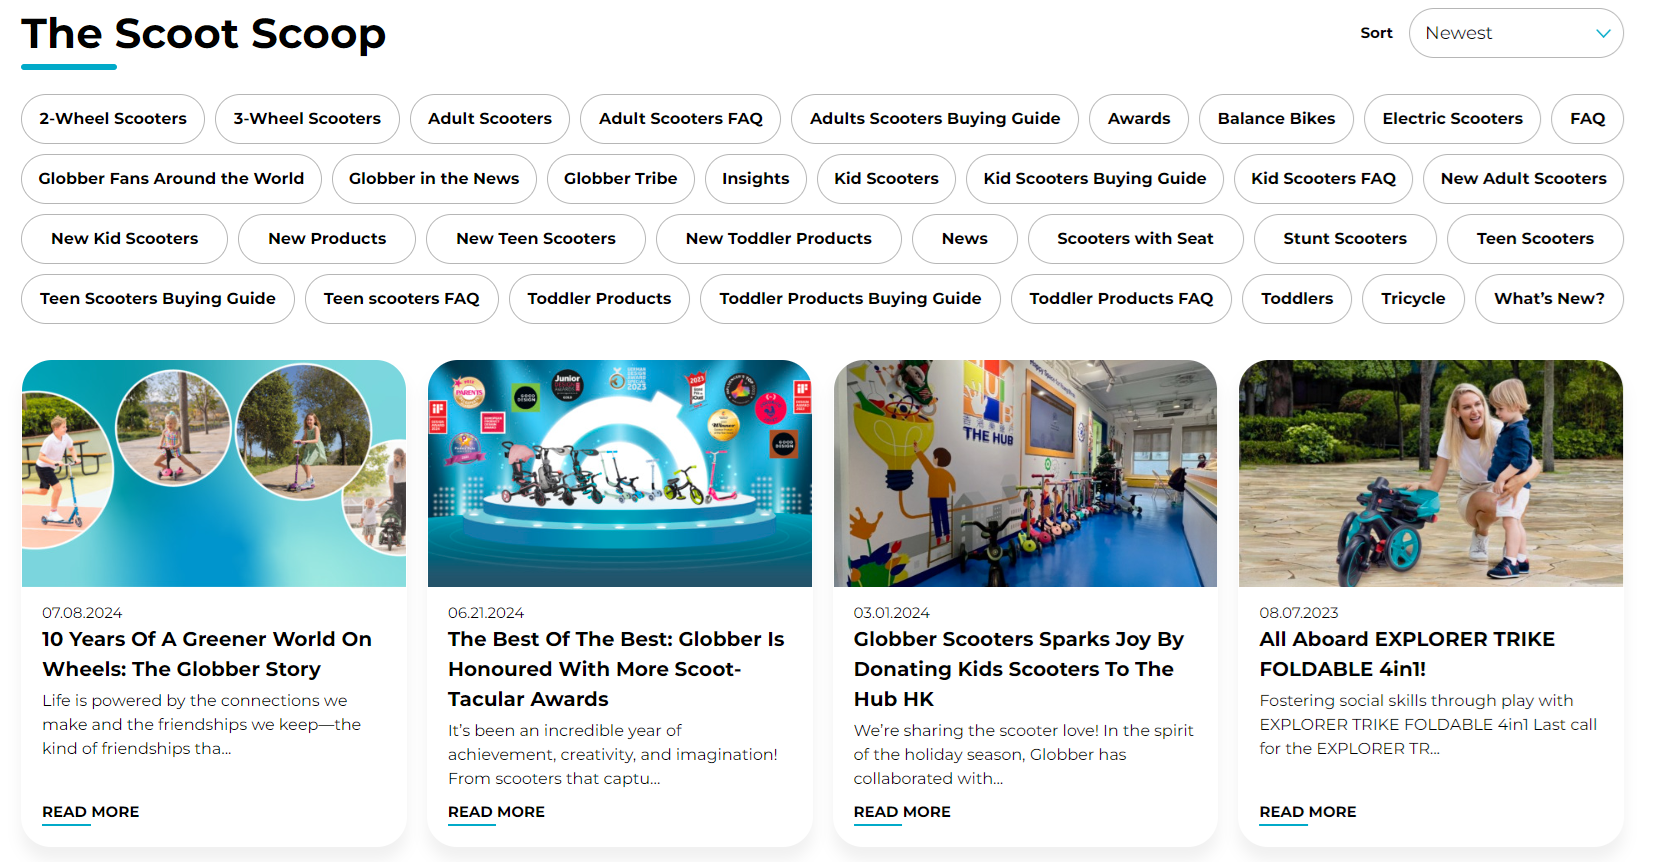
Our Blog page is https://www.globber.com/blog/. This page provides articles on Globber news, scooter trends and helpful tips for customers and stakeholders.
Setup Blog Name & Featured Image
Here you can change the blog's name and add a section image based on your subsite preferences.
To get started, navigate to Pages on Wordpress's left-hand side menu.
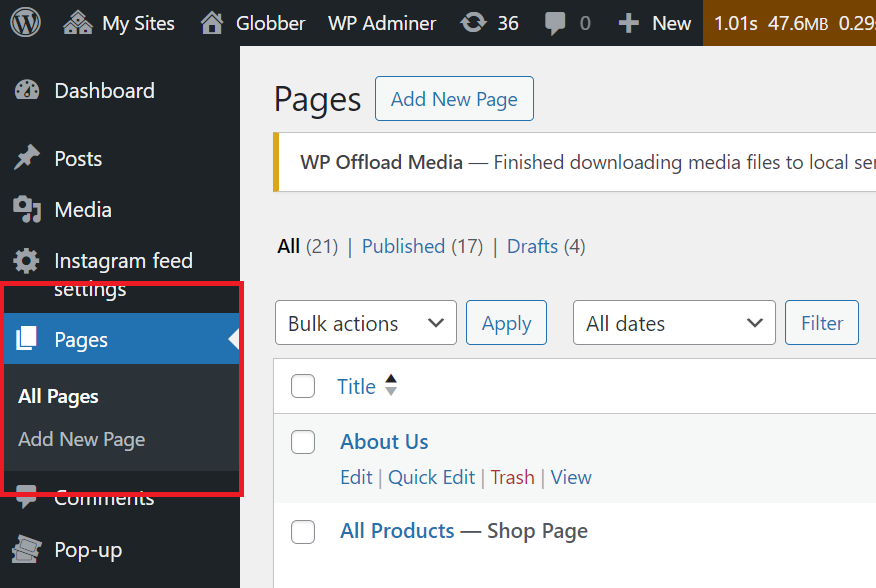
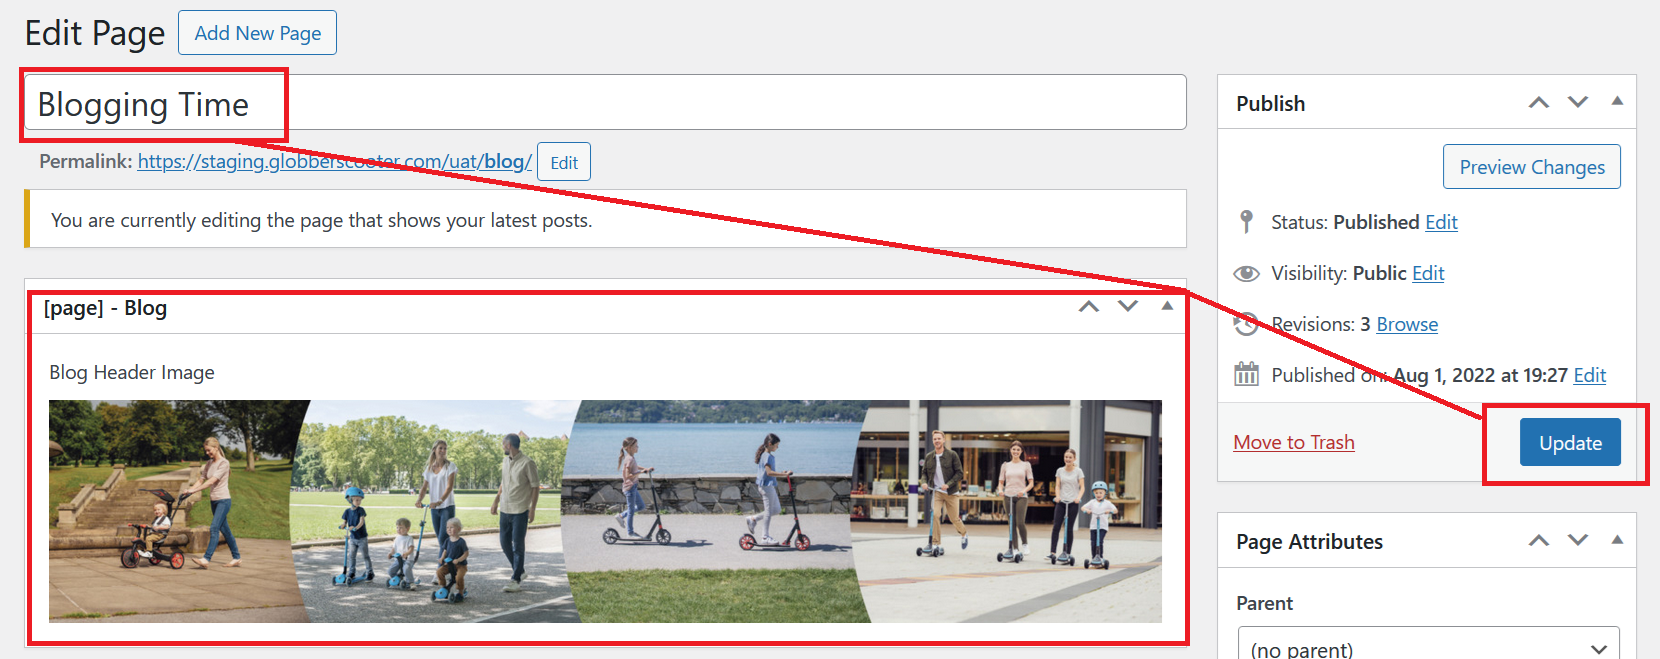
In WordPress Pages section, scroll down to find "Blog — Posts Page" and click Edit.

You can simply rename "Blog" according to your regional subsite preference here.

To change the image for the blog section, go to the Featured Image tab on the right-hand side of the blog page section.
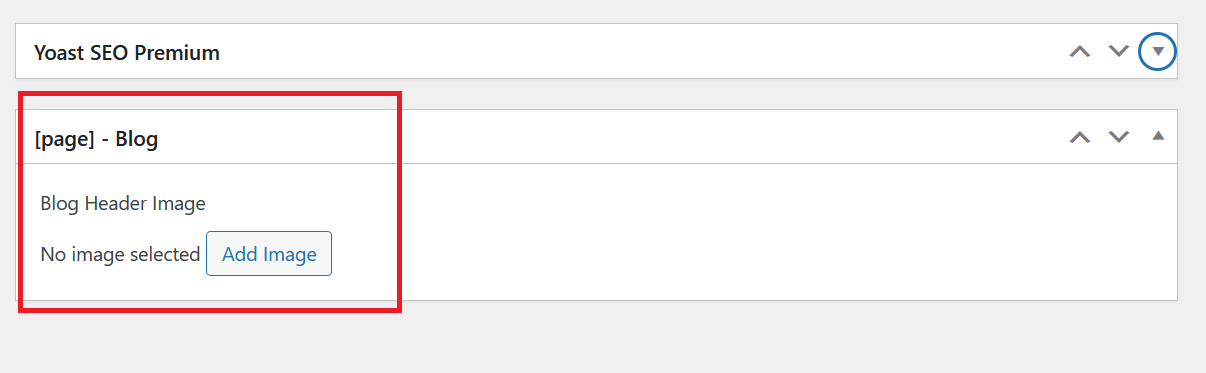
Please use a cropped image, as it should have a horizontal dimension.
Click Save on the right-hand side to save your new blog name and featured image.
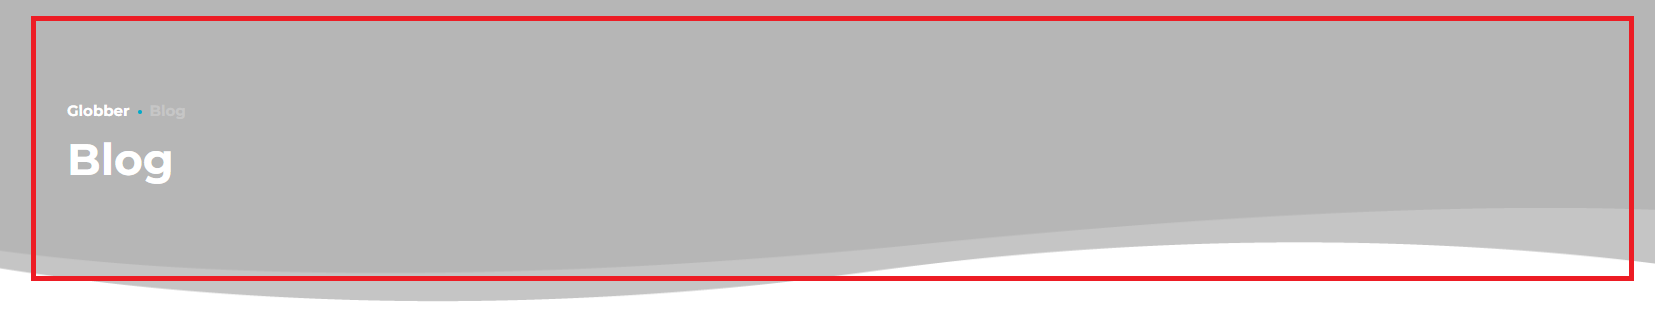
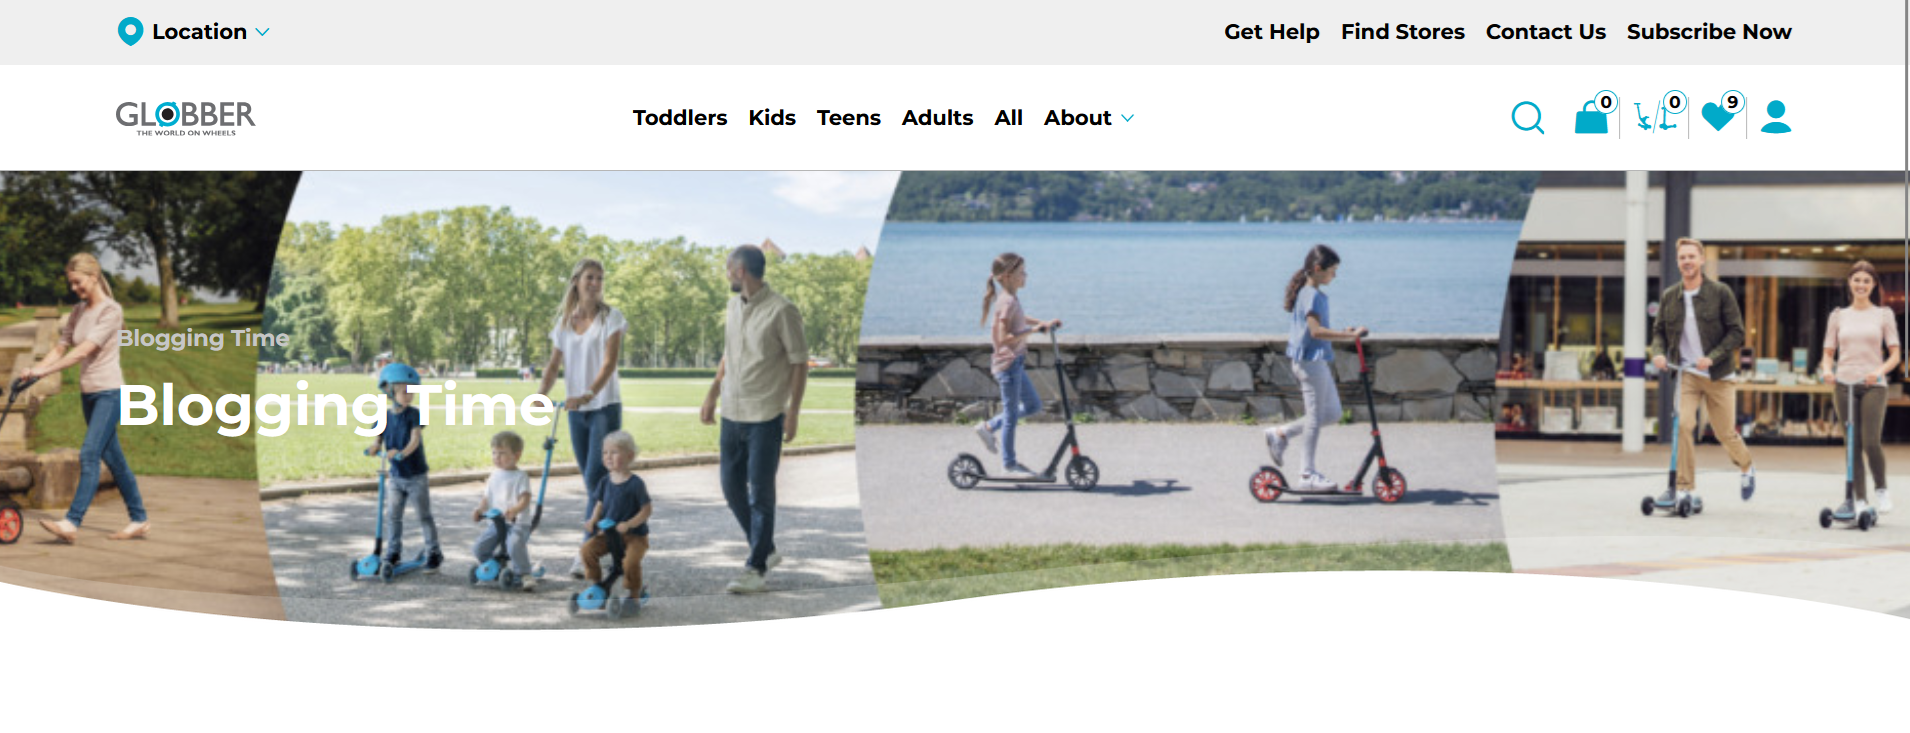
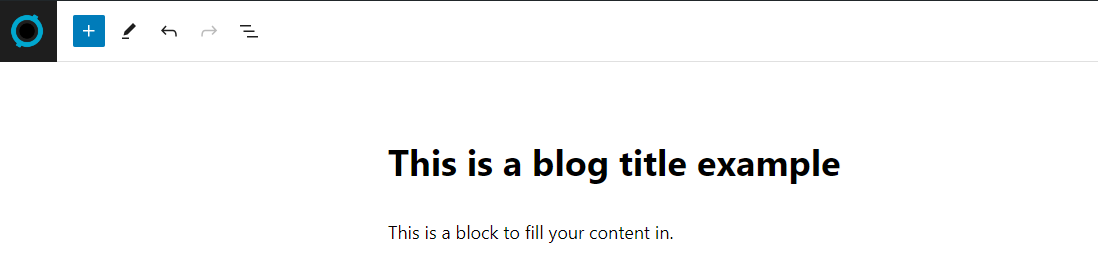
Your new blog title and featured image will display like this.
Create New Blog Post
In WordPress, hover your mouse at Posts on the left-hand side menu.
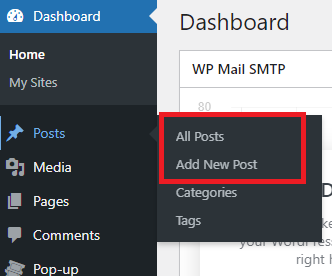
Click Add New Post to create a new blog post.
You will be redirected to the blog creation page, where you can write up your desired content with photos and set specific categories/tags.
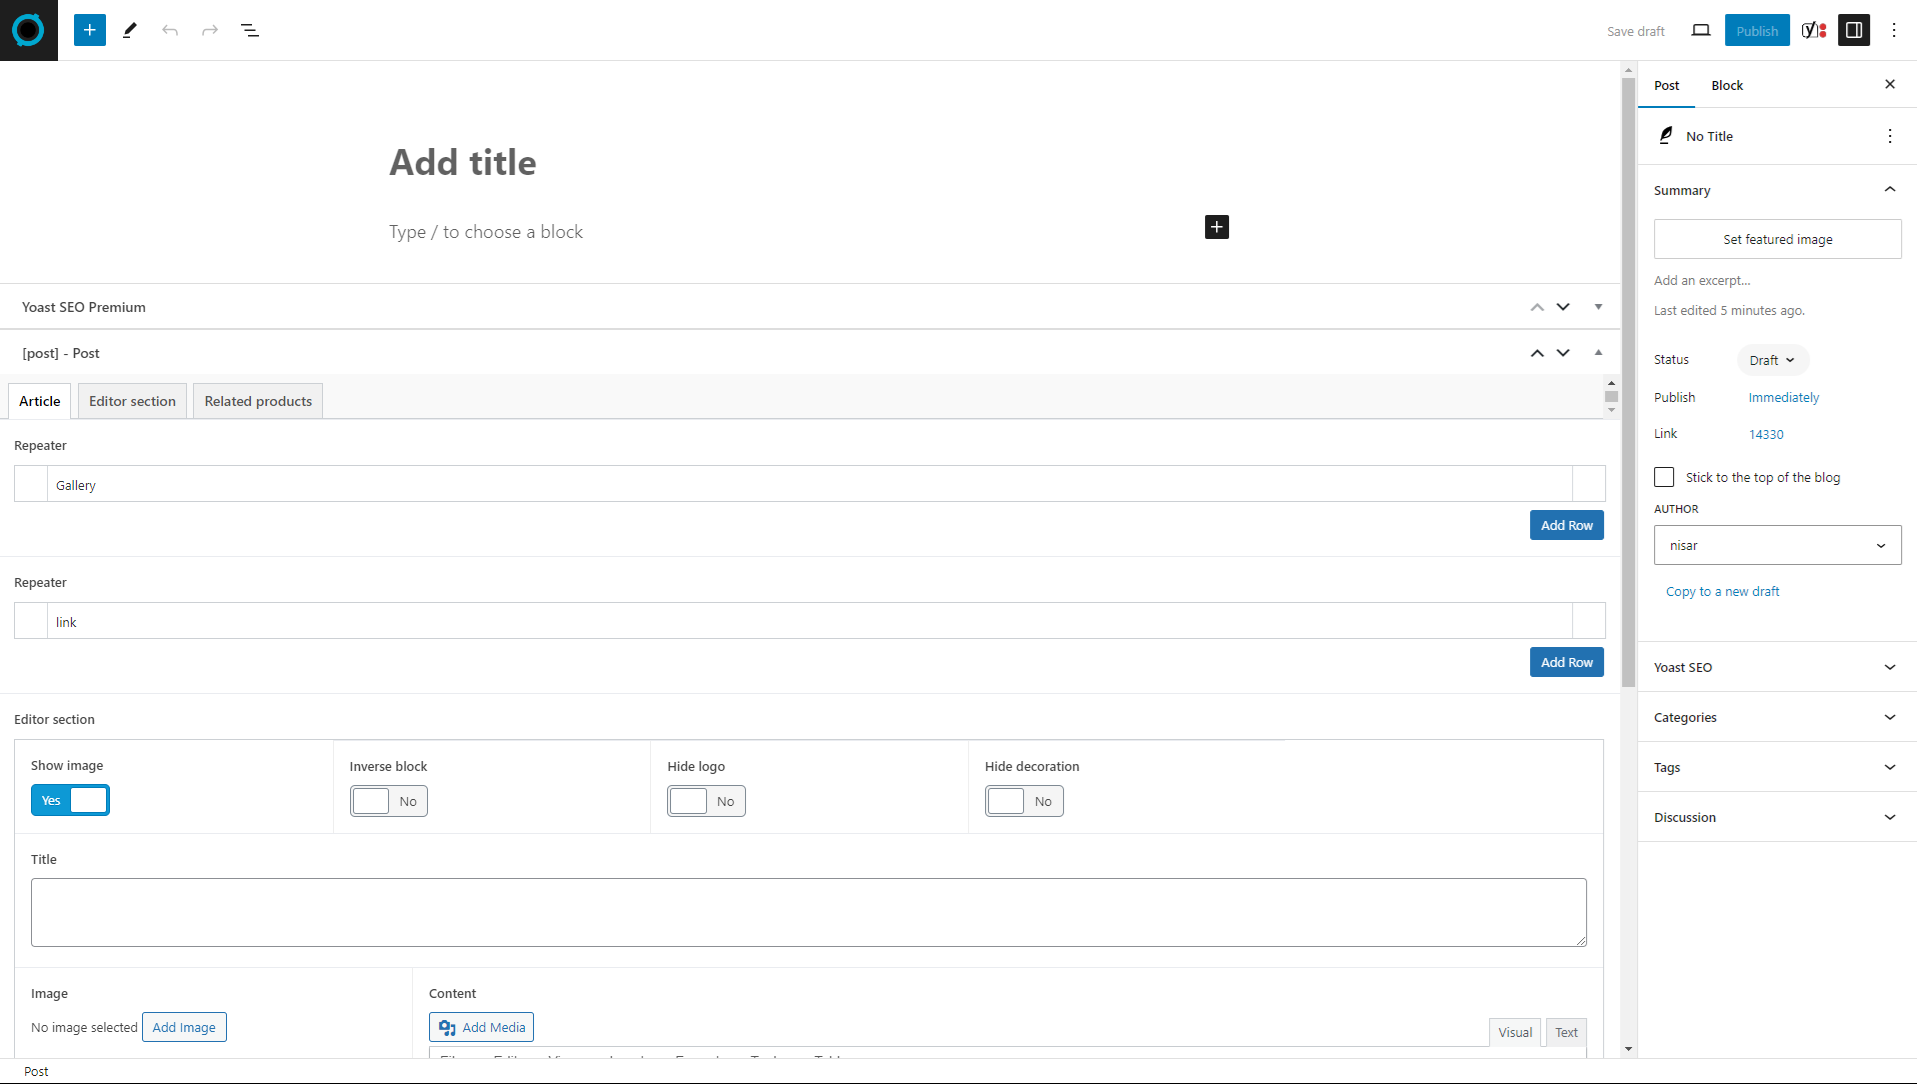
Enter a title for your blog post in the "Add title" header section, and fill in the content blocks to write up your blog post.
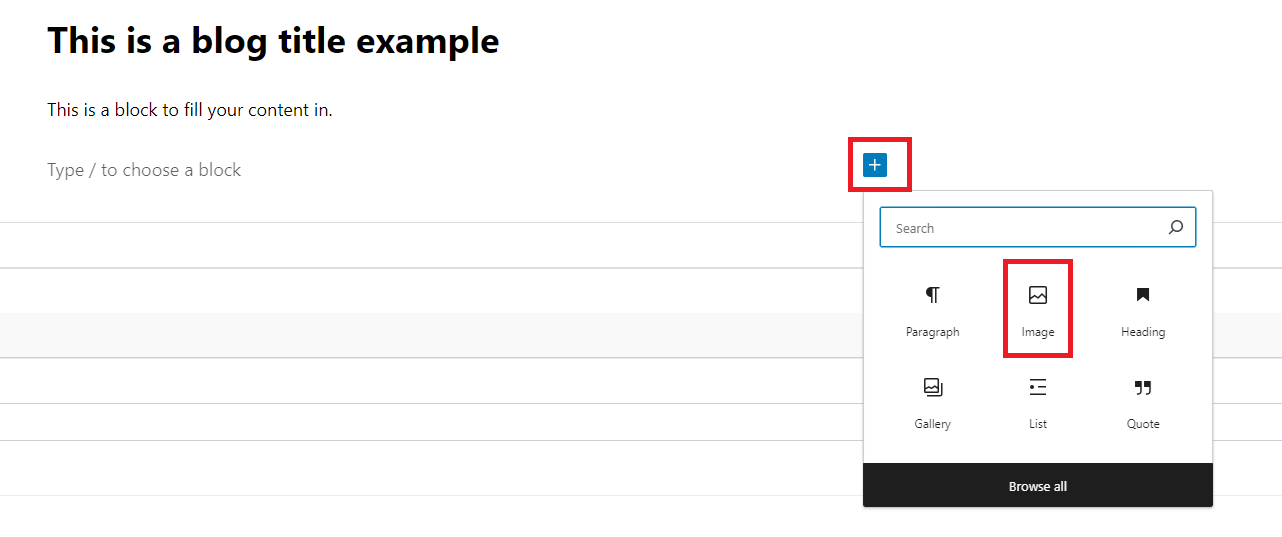
You can insert images by clicking on the box with a plus icon inside the content block, as highlighted in the image below.
Once you click the plus icon box, you can select Image to upload your desired image into the content block.
After writing your blog post, you'll need to complete the configuration for it.
Click on this icon highlighted in red, placed in the top-right corner to assign the blog's author, category, tag and thumbnail.

Upload your blog thumbnail with "Set featured image button" on the right-hand side of blog post creation.

You can assign a specific category on right-hand side of the blog post creation section.

You can also assign a tag on the right-hand side of the blog post creation section, ideally used to support your SEO strategies.

Once you're ready to post, hit "Publish on the top right corner" of the blog creation page.
If you'd like to keep it as a draft, click "Save draft."
![]()
Important Note on Images
All images uploaded to WordPress, whether featured or within the blog body, should be optimized.
Please note that only .png and .jpg file formats are accepted for images.
Aim for a file size of less than 1 MB, with a recommendation to keep images under 500 KB. Consider using image optimizer tools like TinyPNG or ImageOptim to reduce file size.
Writing Format
WordPress editor supports many features when writing up your blog content.
Here are some examples to keep your blog posts engaging.
Bullet lists for organizing information.

Numbered lists for step-by-step instructions.

Embedded media, allowing you to insert any images uploaded to WordPress directly into the body of your blog post.

Categories
Categories are best used for broad groupings of topics. For example, if you’re creating a site that reviews pop culture, you might use categories such as Books, Film, and TV.
You can assign specific categories in the blog creation page.
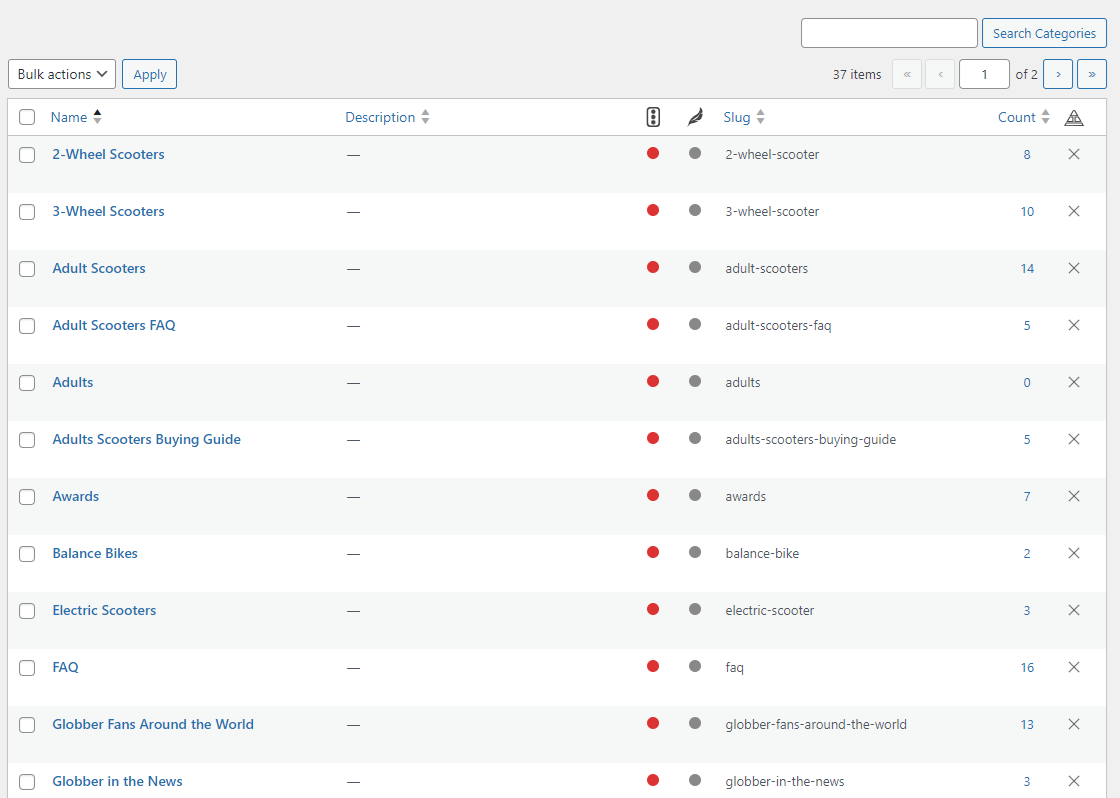
In WordPress, hover your mouse over to "Posts" and select "Categories."
You will see existing categories on the right-hand side, you can simply edit them by clicking Edit under each specific categories if you need to.
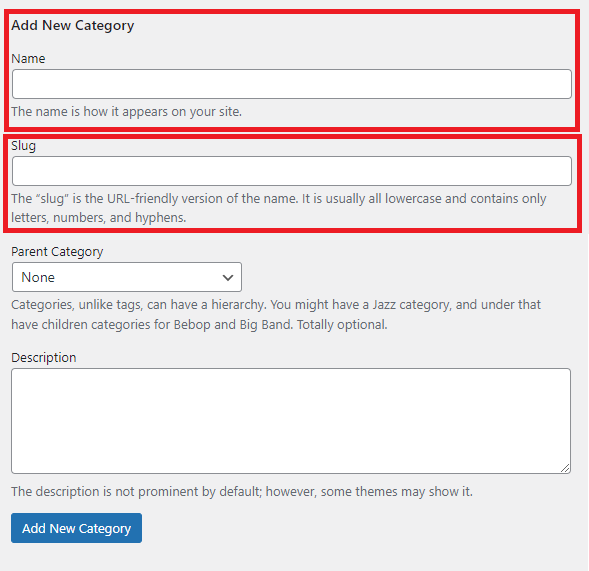
On the left-hand side, you can create a Category by assigning a Name and Slug. Once you're done, hit "Add New Category".
Tags
Tags are more specific keywords that you want to use to associate related content. For example, if you were creating a site that reviews pop culture, you might want to use tags such as science fiction, horror, and action adventure.
You can assign specific tags in the blog creation page to leverage your SEO approach.
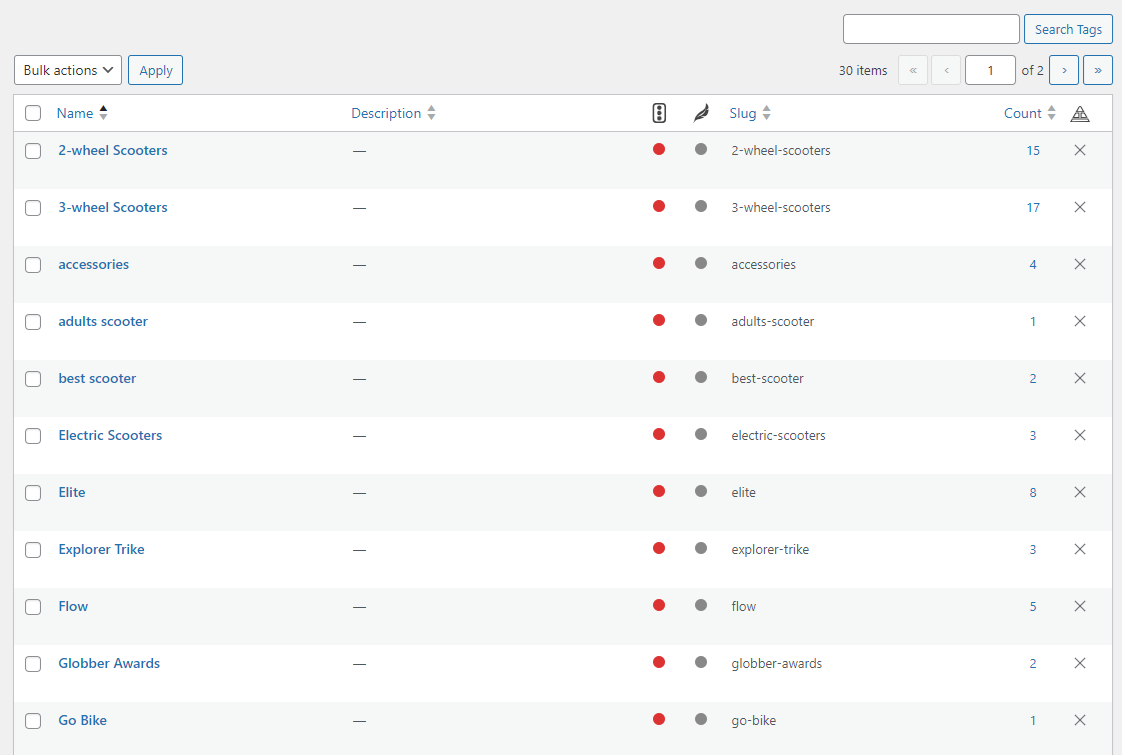
In WordPress, hover your mouse over to "Posts" and select "Tags".
You will see existing tags on the right-hand side, you can simply edit them by clicking Edit under each specific tags if you need to.
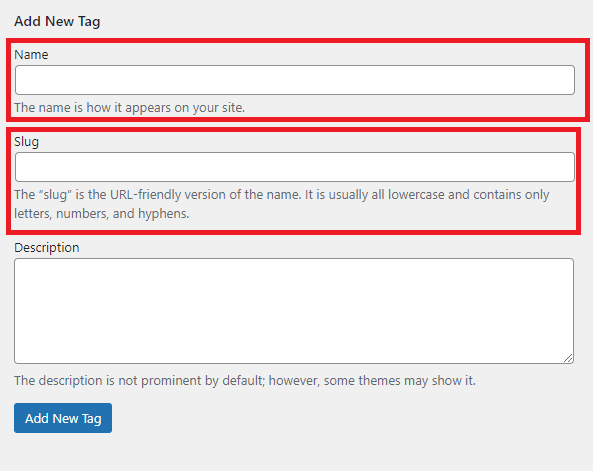
On the left-hand side, you can create new Tags by assigning a Name and Slug. Once you're done, hit "Add New Tag".
Edit Existing Blog Post
To edit an existing blog post, hover your mouse at "Posts" on the left-hand side of WordPress.
Click "All Posts" to see all existing blog posts.
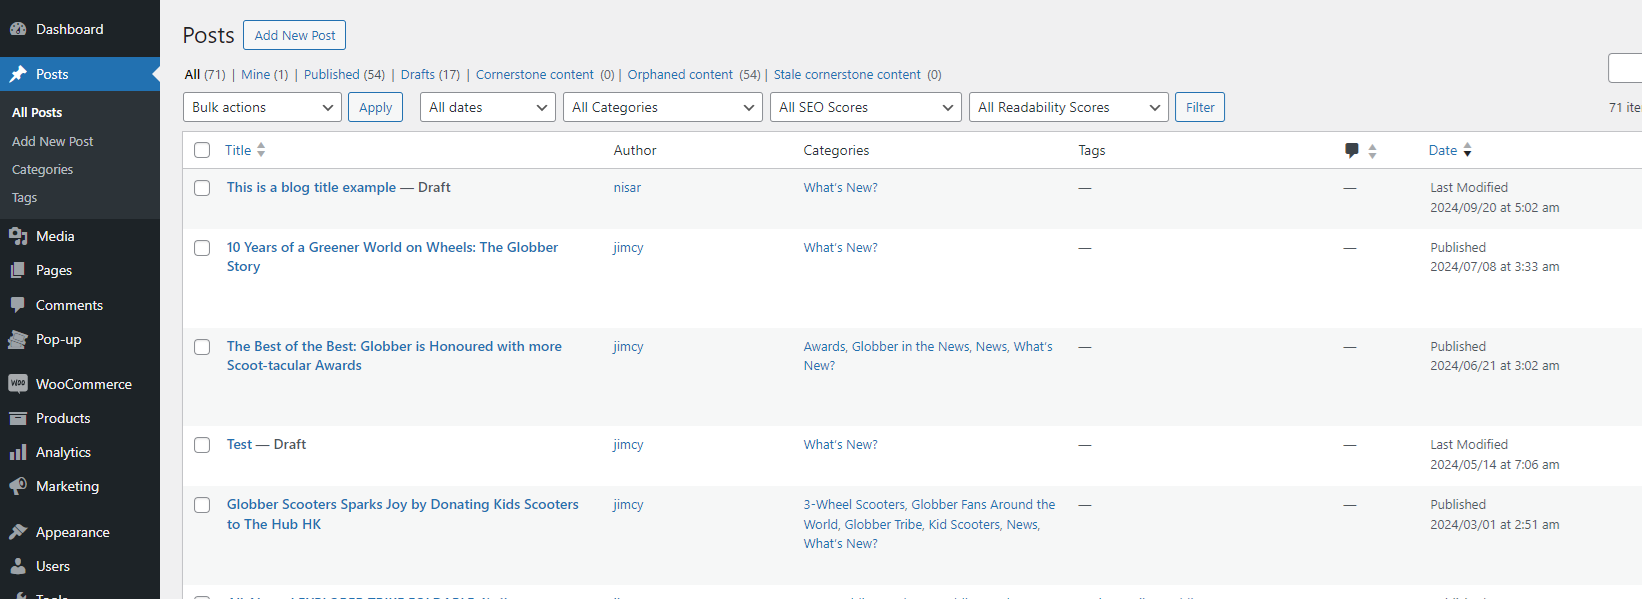
Choose the existing blog post you'd like to edit and click Edit under the blog's title.
