Add New Product
This page explains how to add a new product in WordPress.
Sign in to WordPress by adding /wp-admin to your domain (e.g., globber.com/wp-admin).
1. Access the Add New Product Page
To start adding new products, navigate to Products > Add new product in the left-hand side menu.

2. Fill in Product Information
Each fields represent different level of information for your customer's view.
Title

To edit the product title, go to the product’s edit page and update the Title field.
Short Description
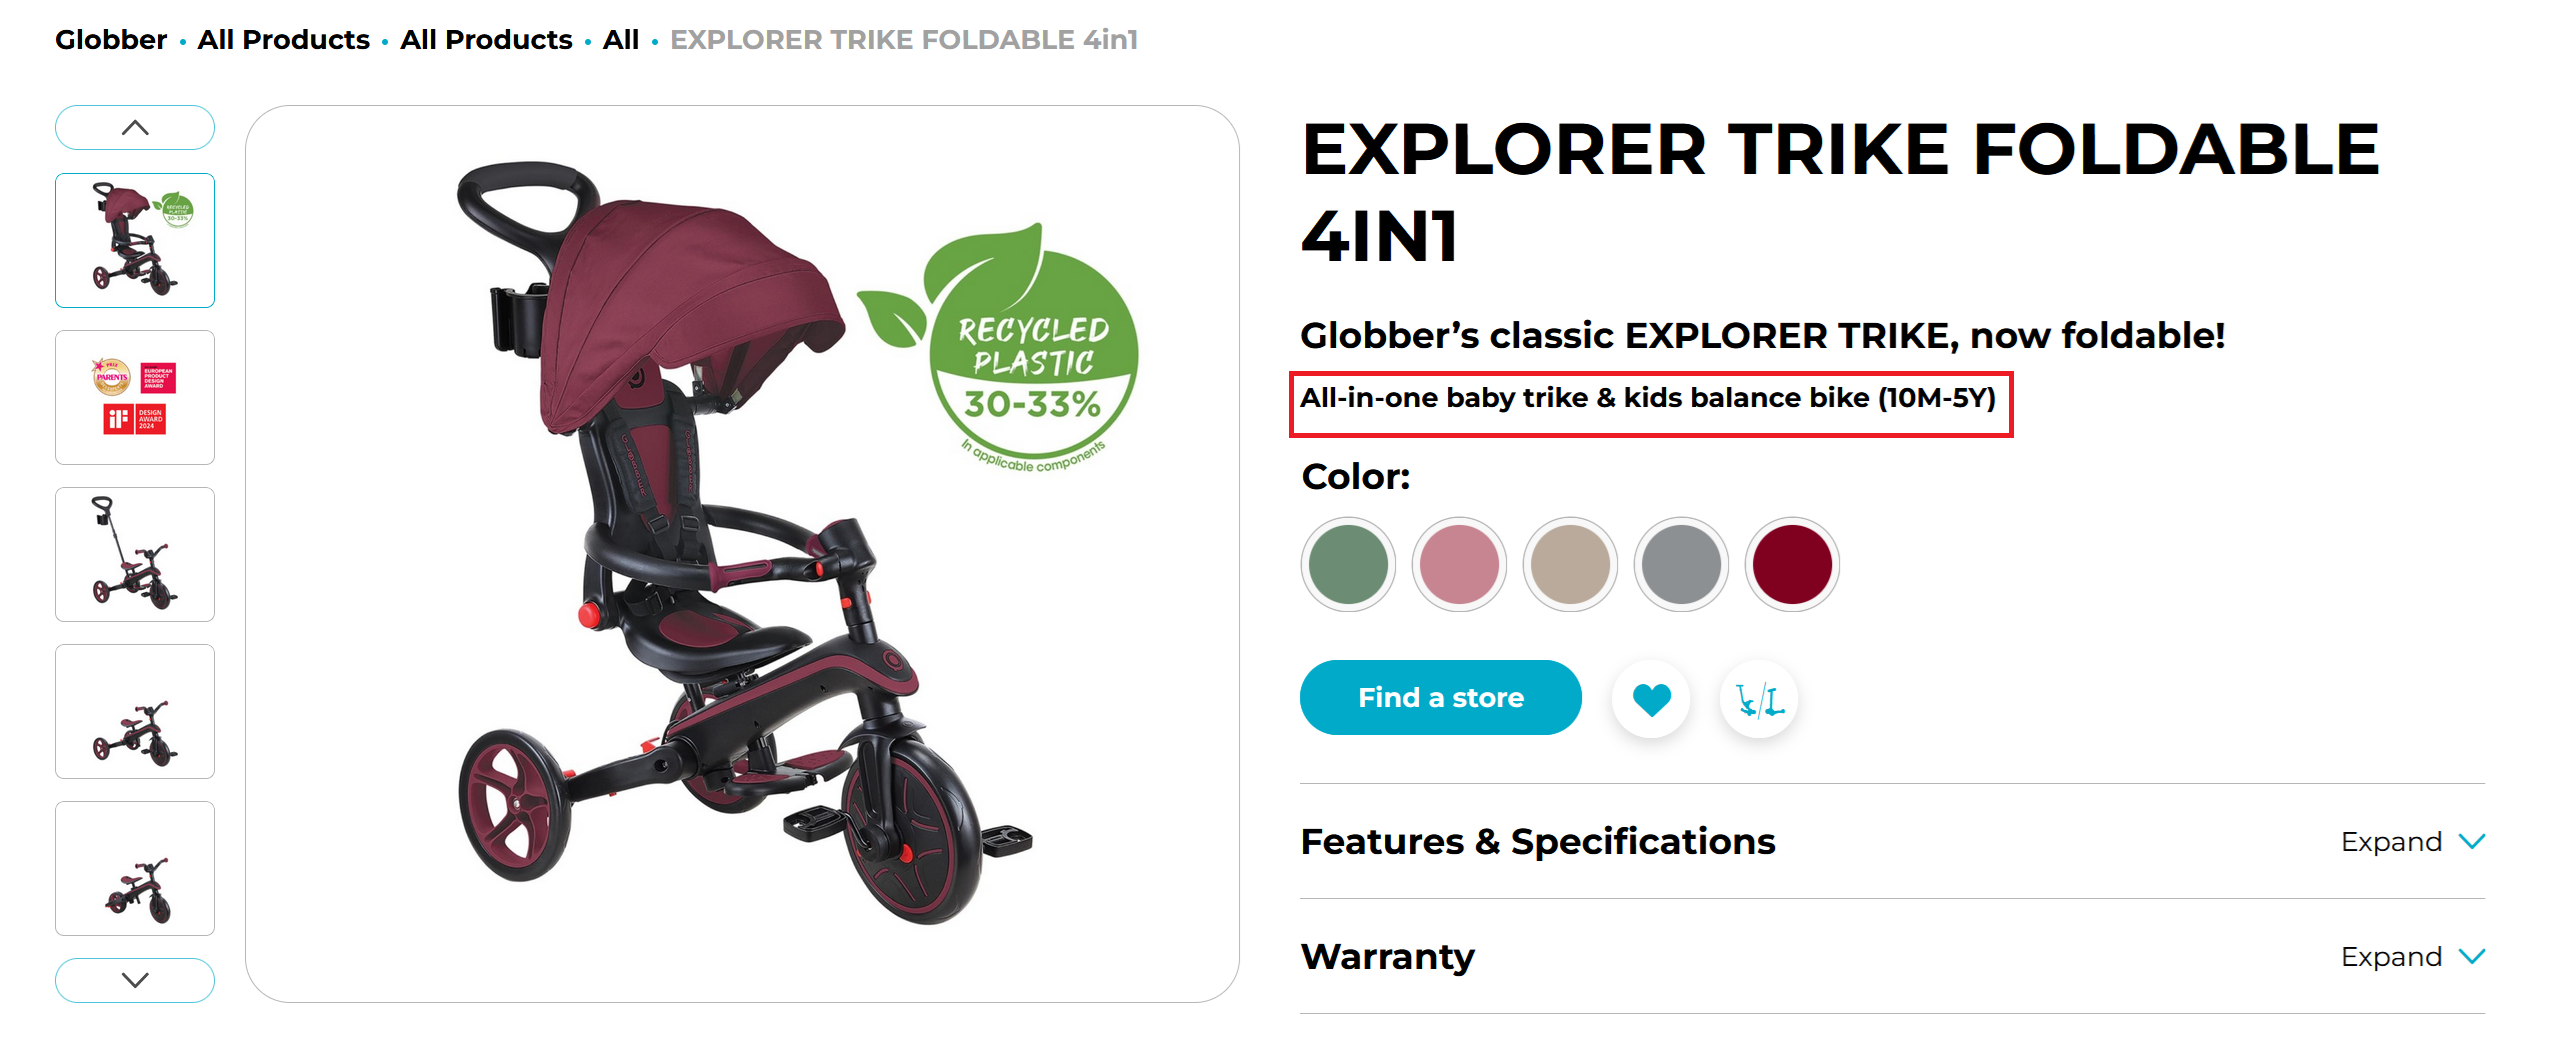
Underneath the tagline, a product page usually starts with short description at the top.
To edit the short description, use the Short Description field on the product’s edit page.
If a short description is not provided, it will automatically use the long product description from the WordPress Products section.
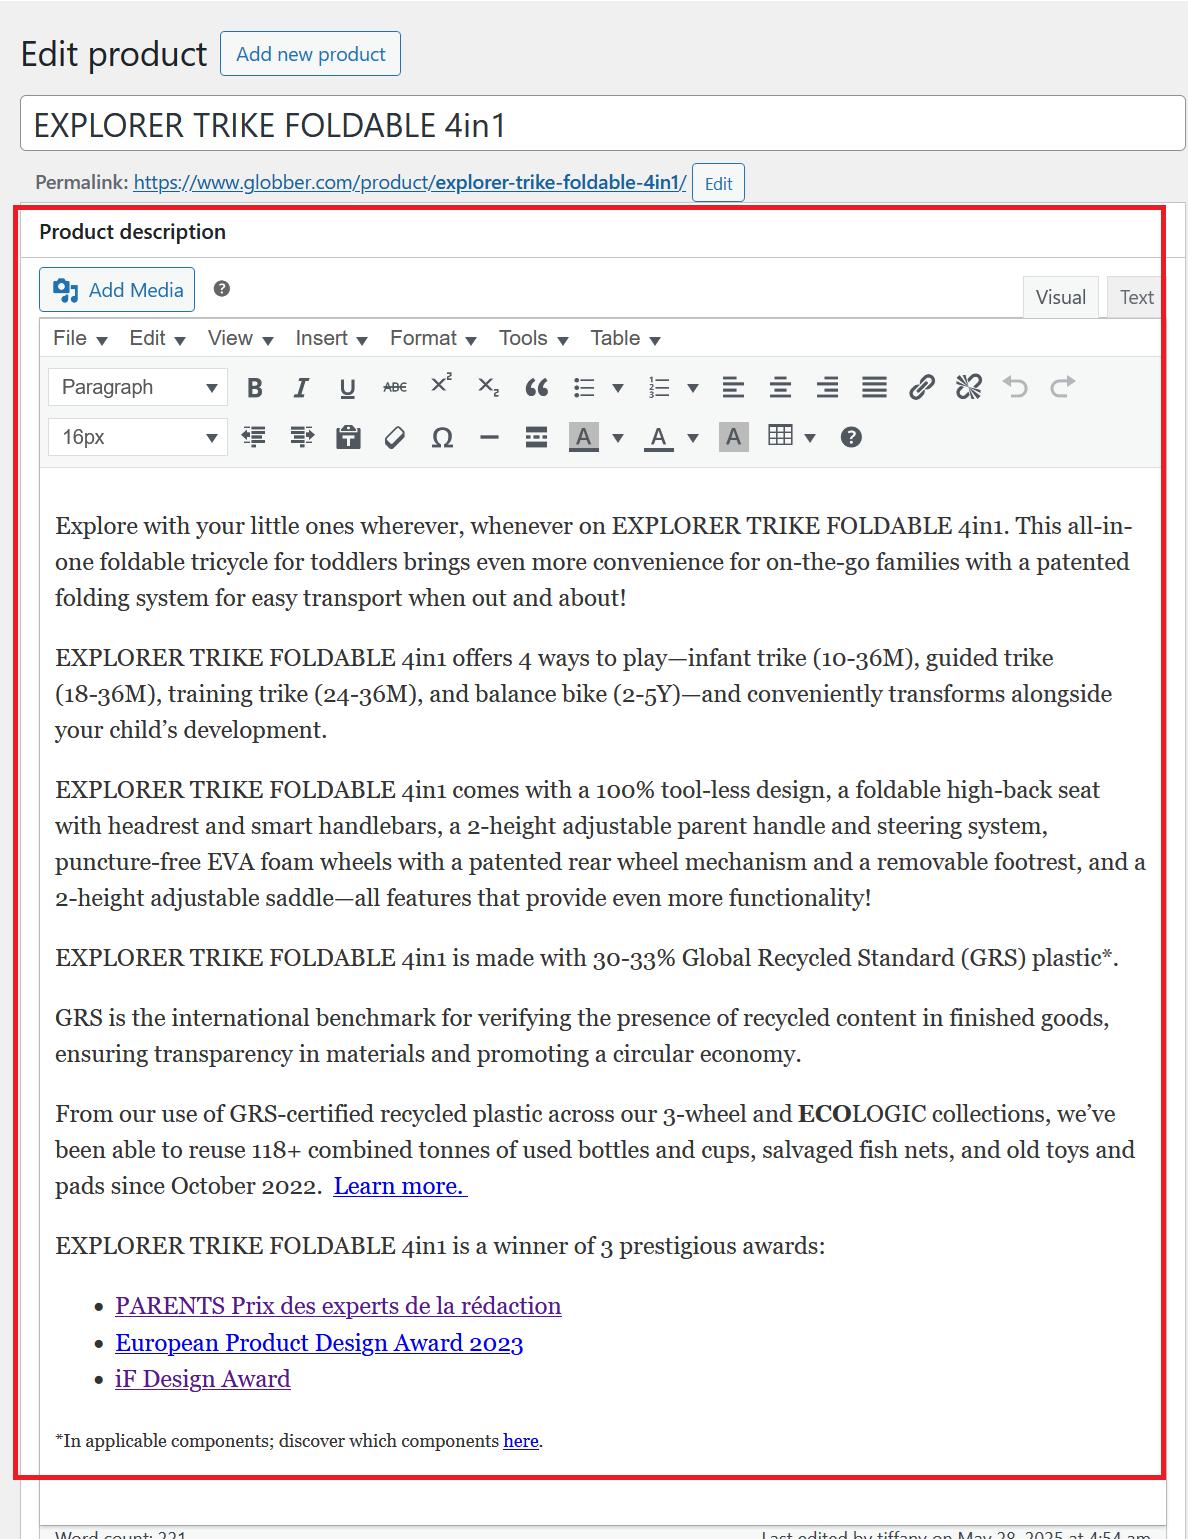
Long Description
Long Description are displayed underneath a Product Page’s Gallery.
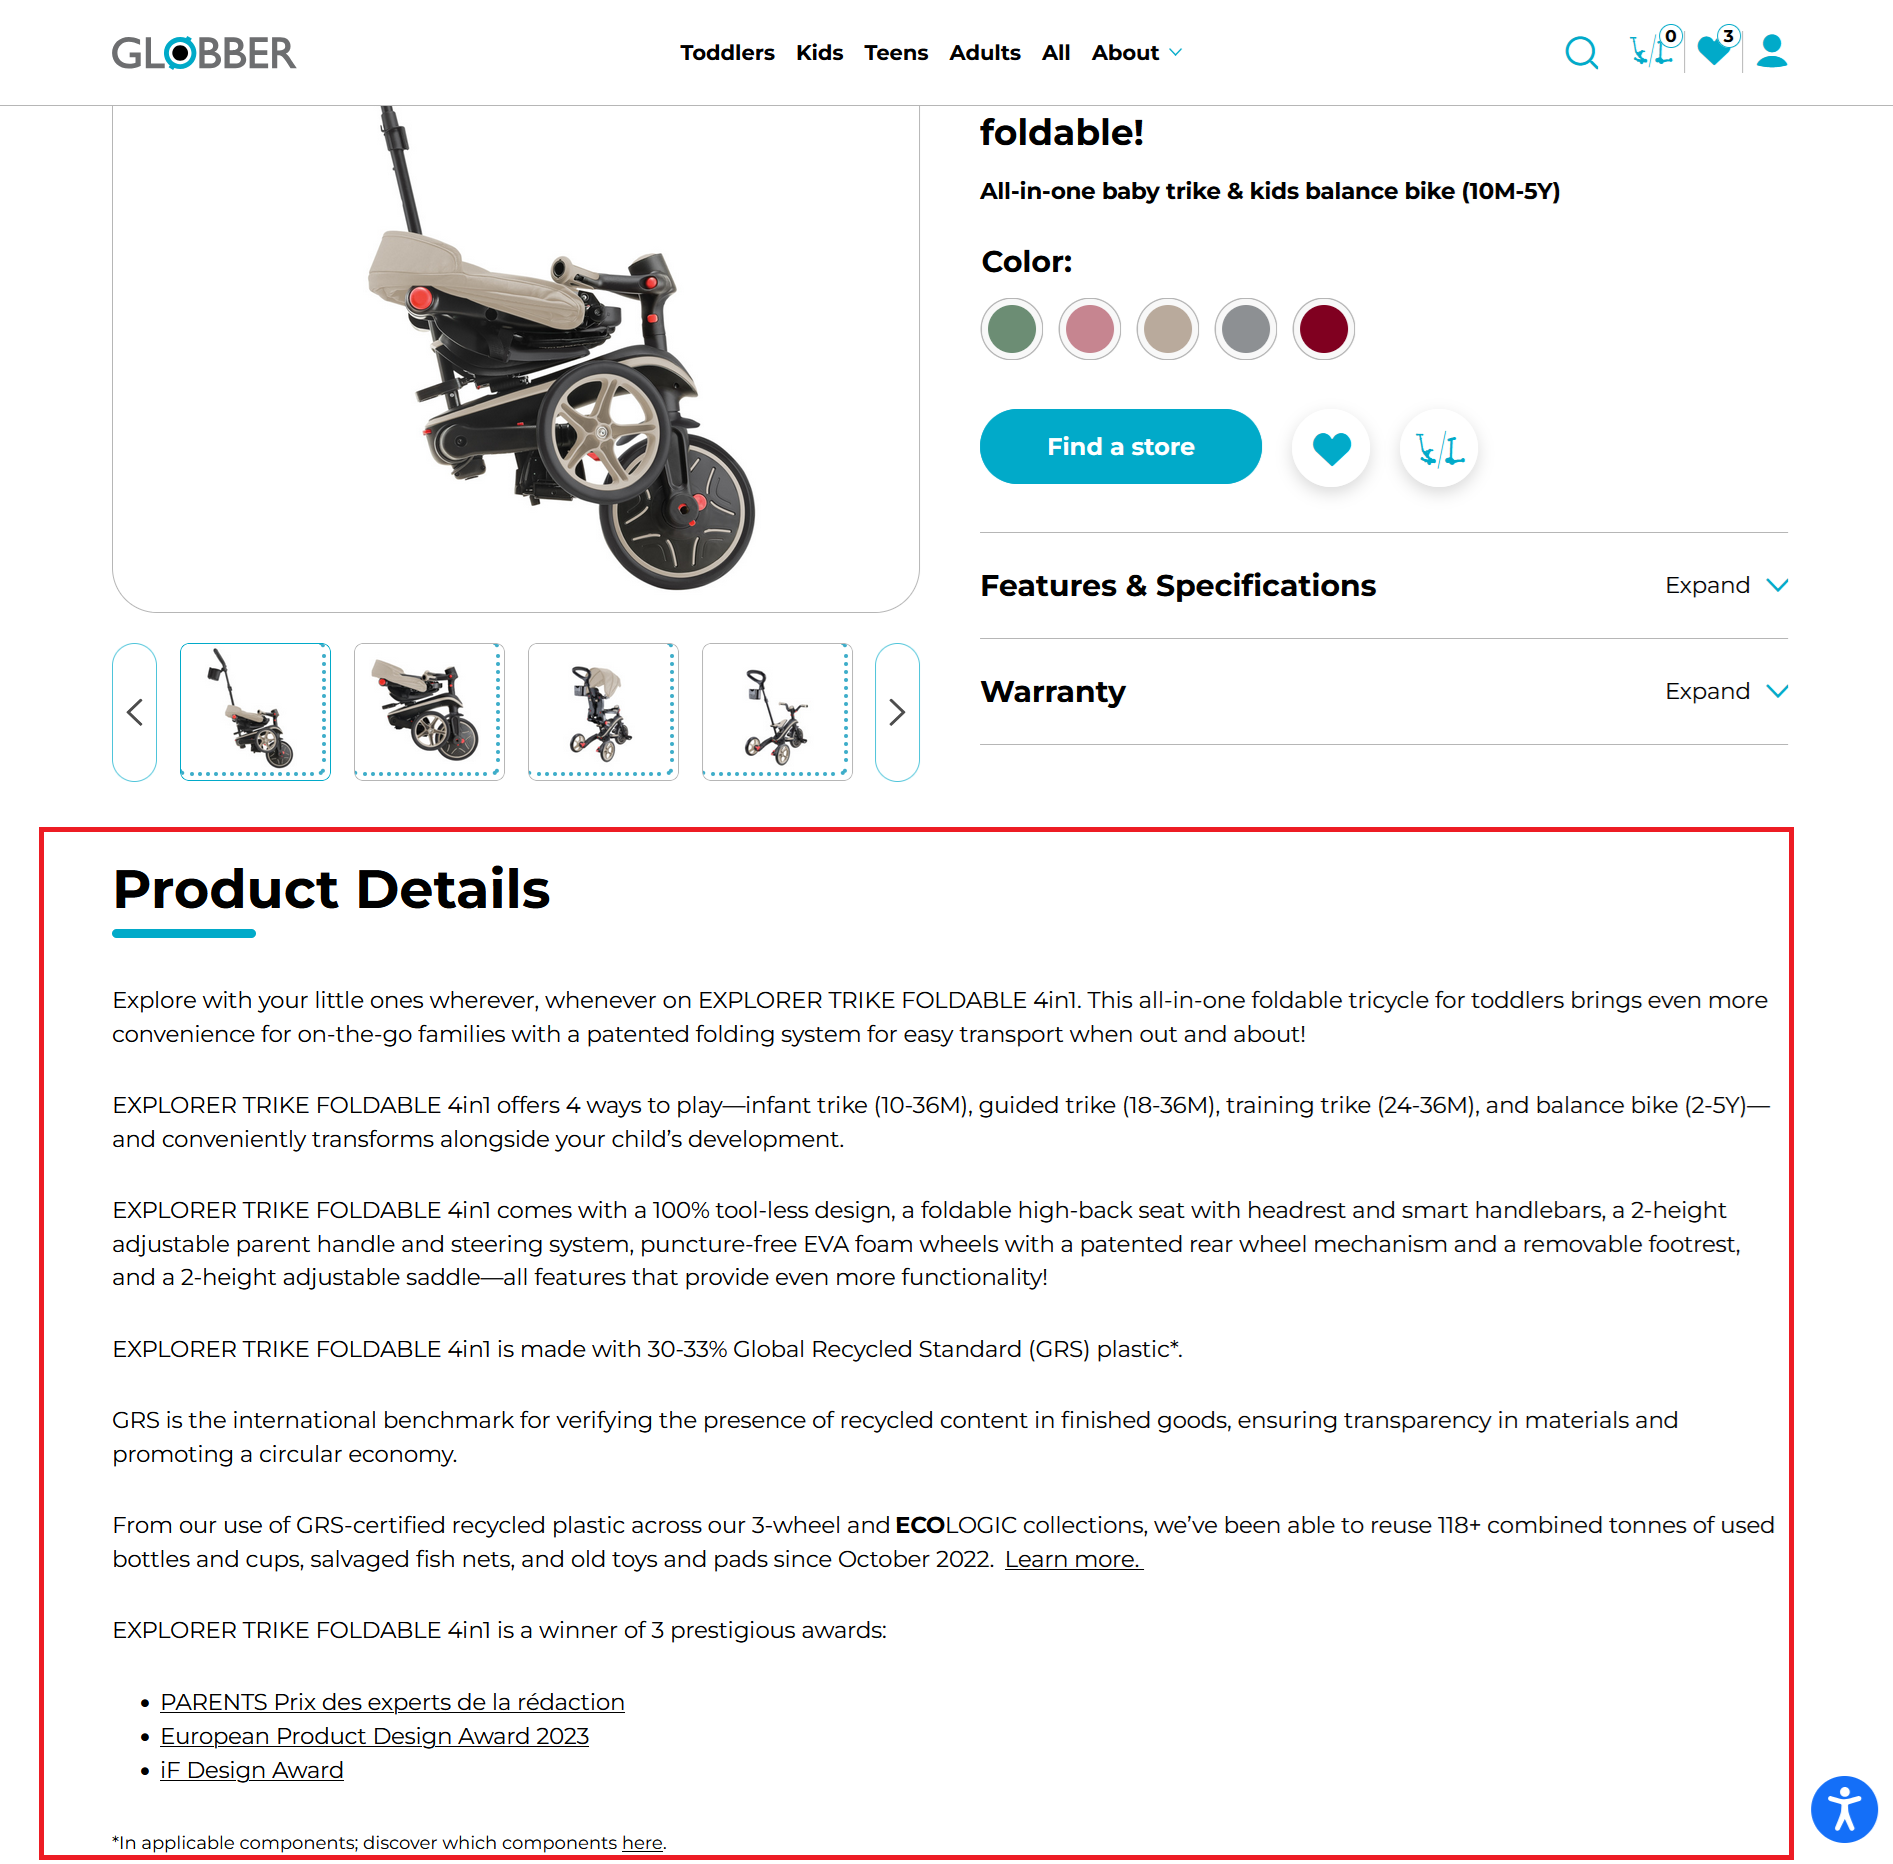
Long descriptions are filled under Product description here.
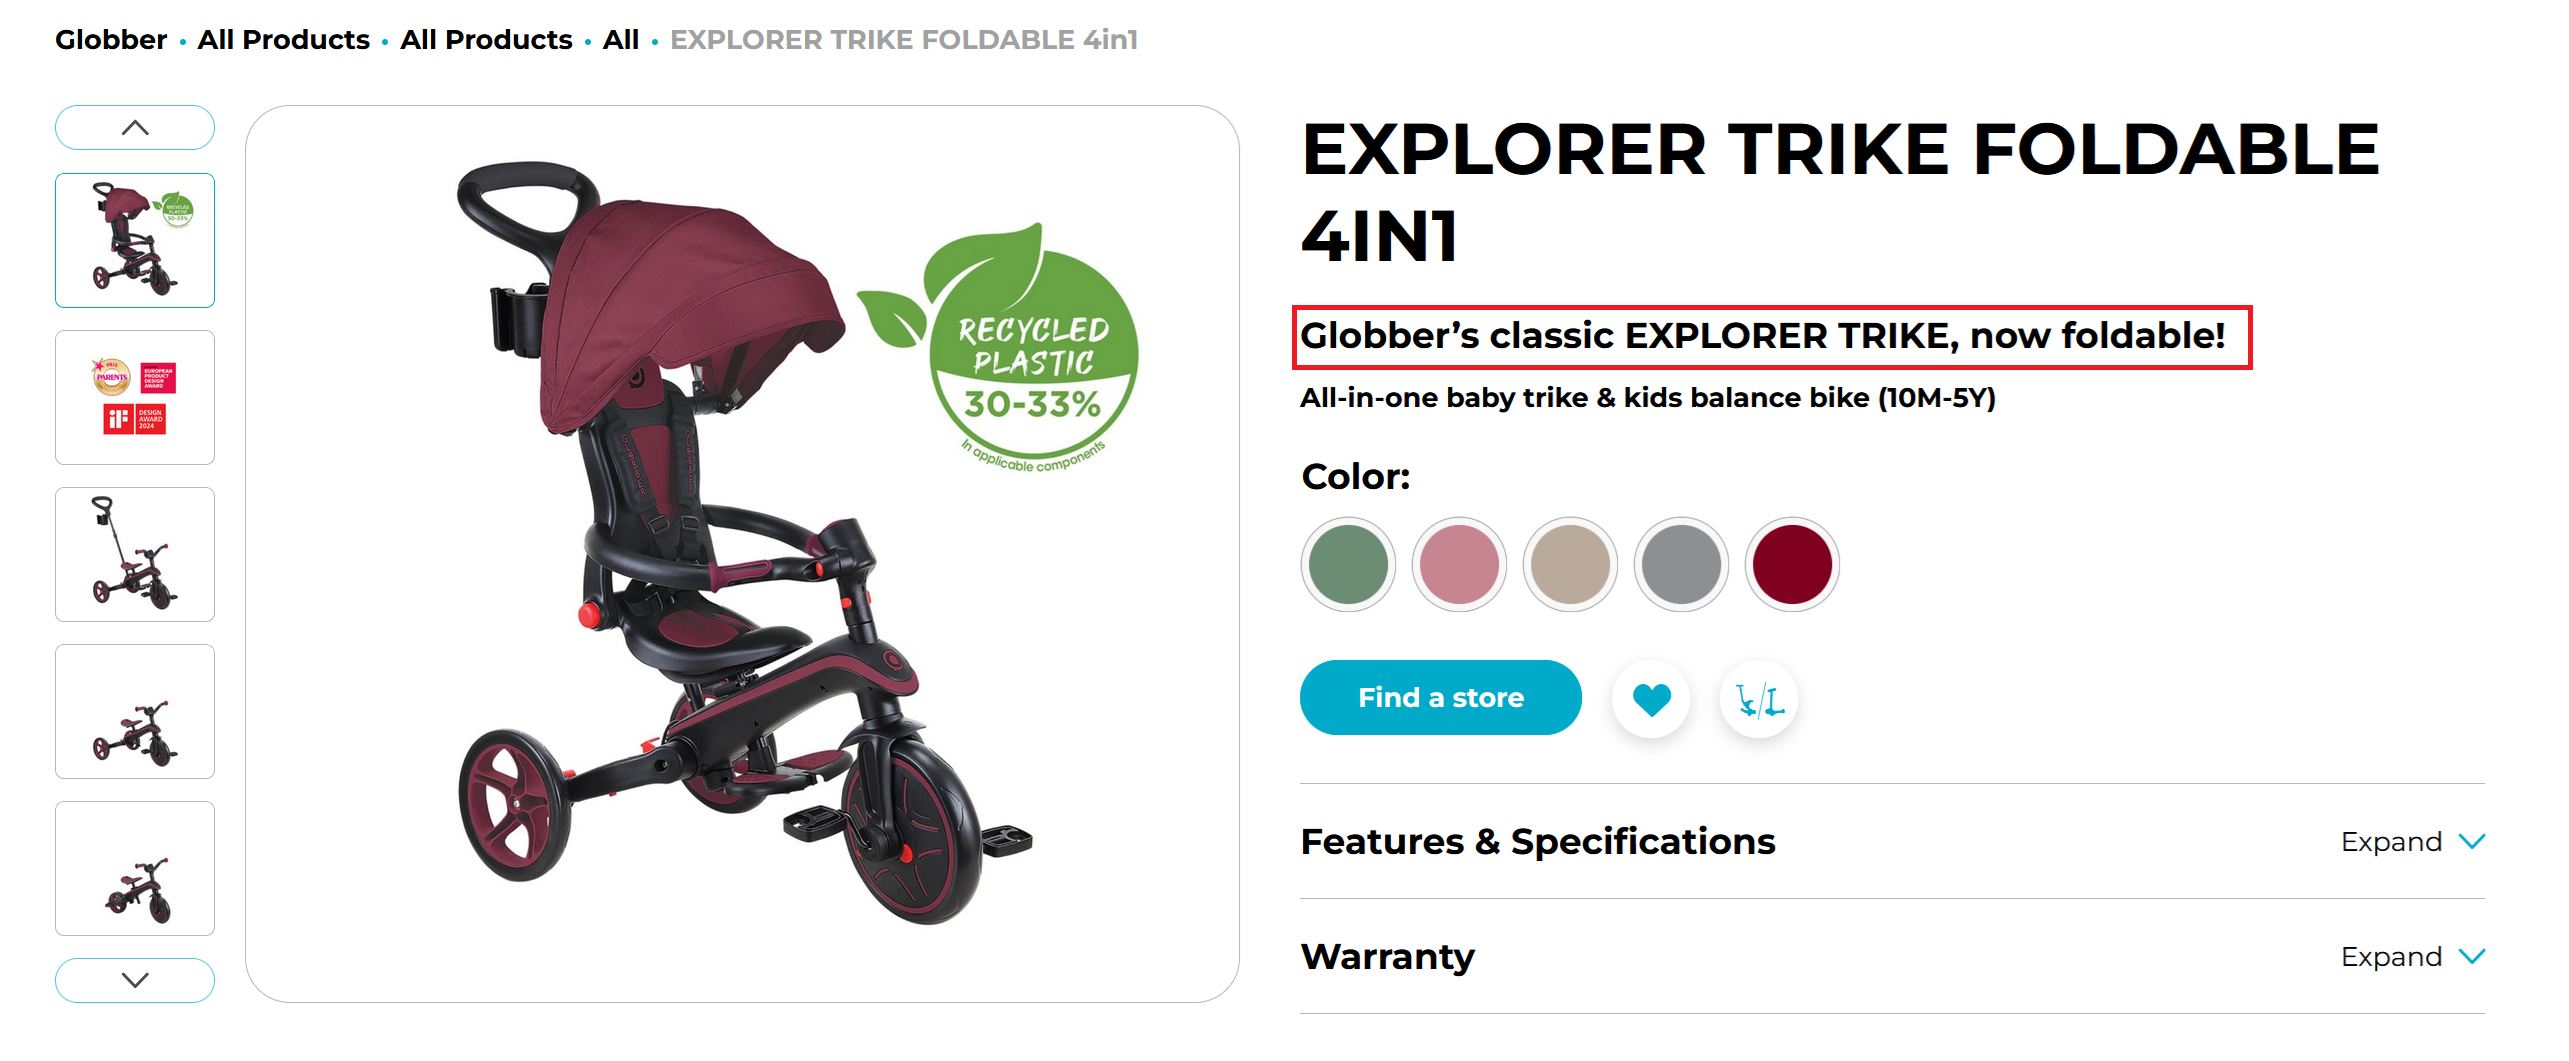
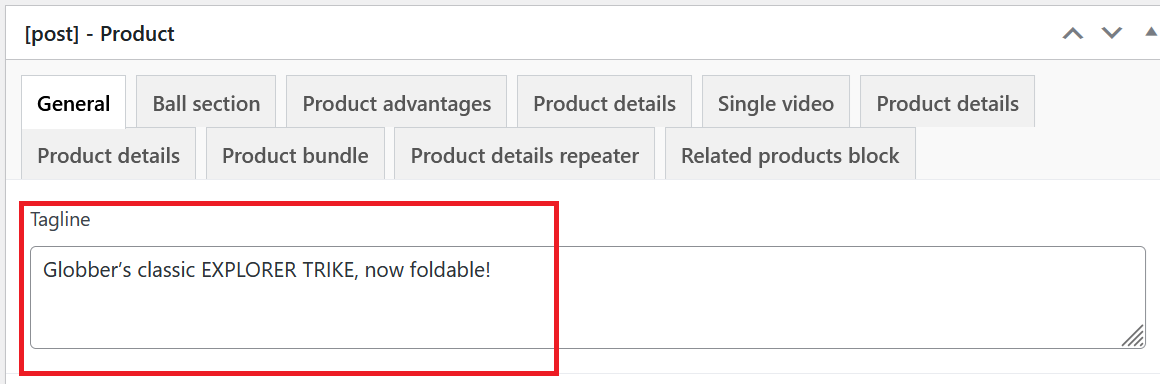
Tagline
The tagline is a short, catchy phrase that highlights your product’s unique selling point.
Taglines are filled under Tagline here.
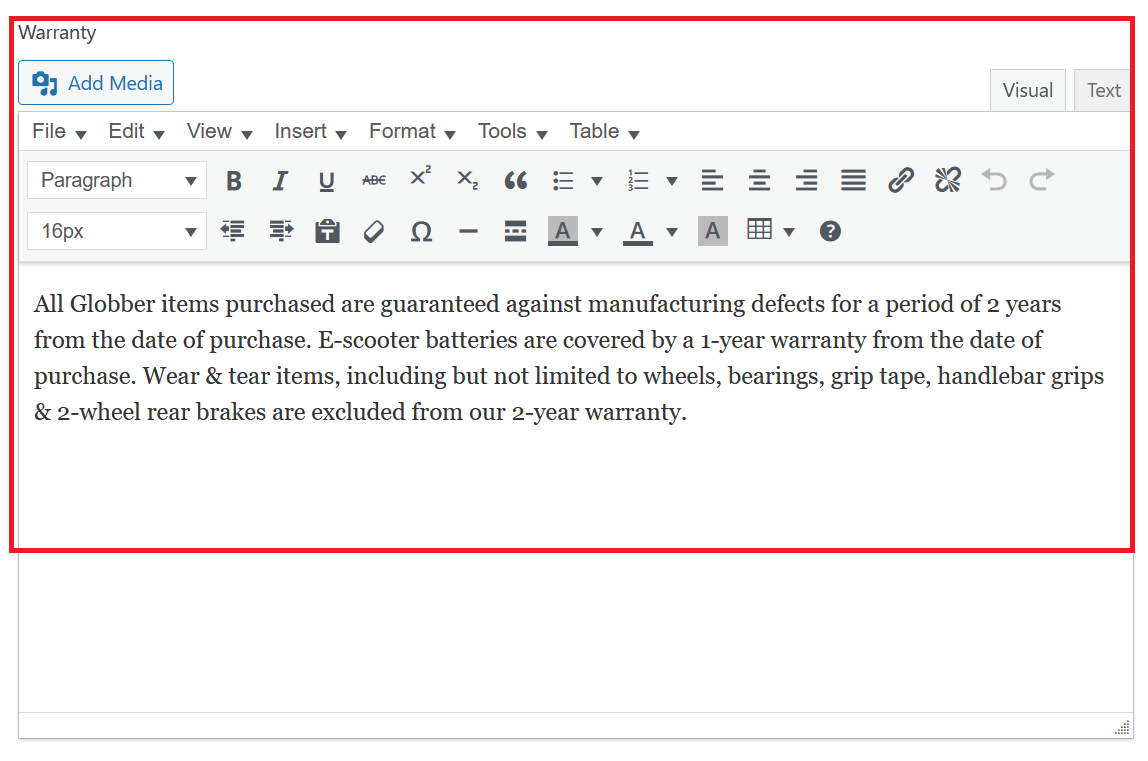
Warranty
Warranty provides customers with information about the product’s coverage and support period.
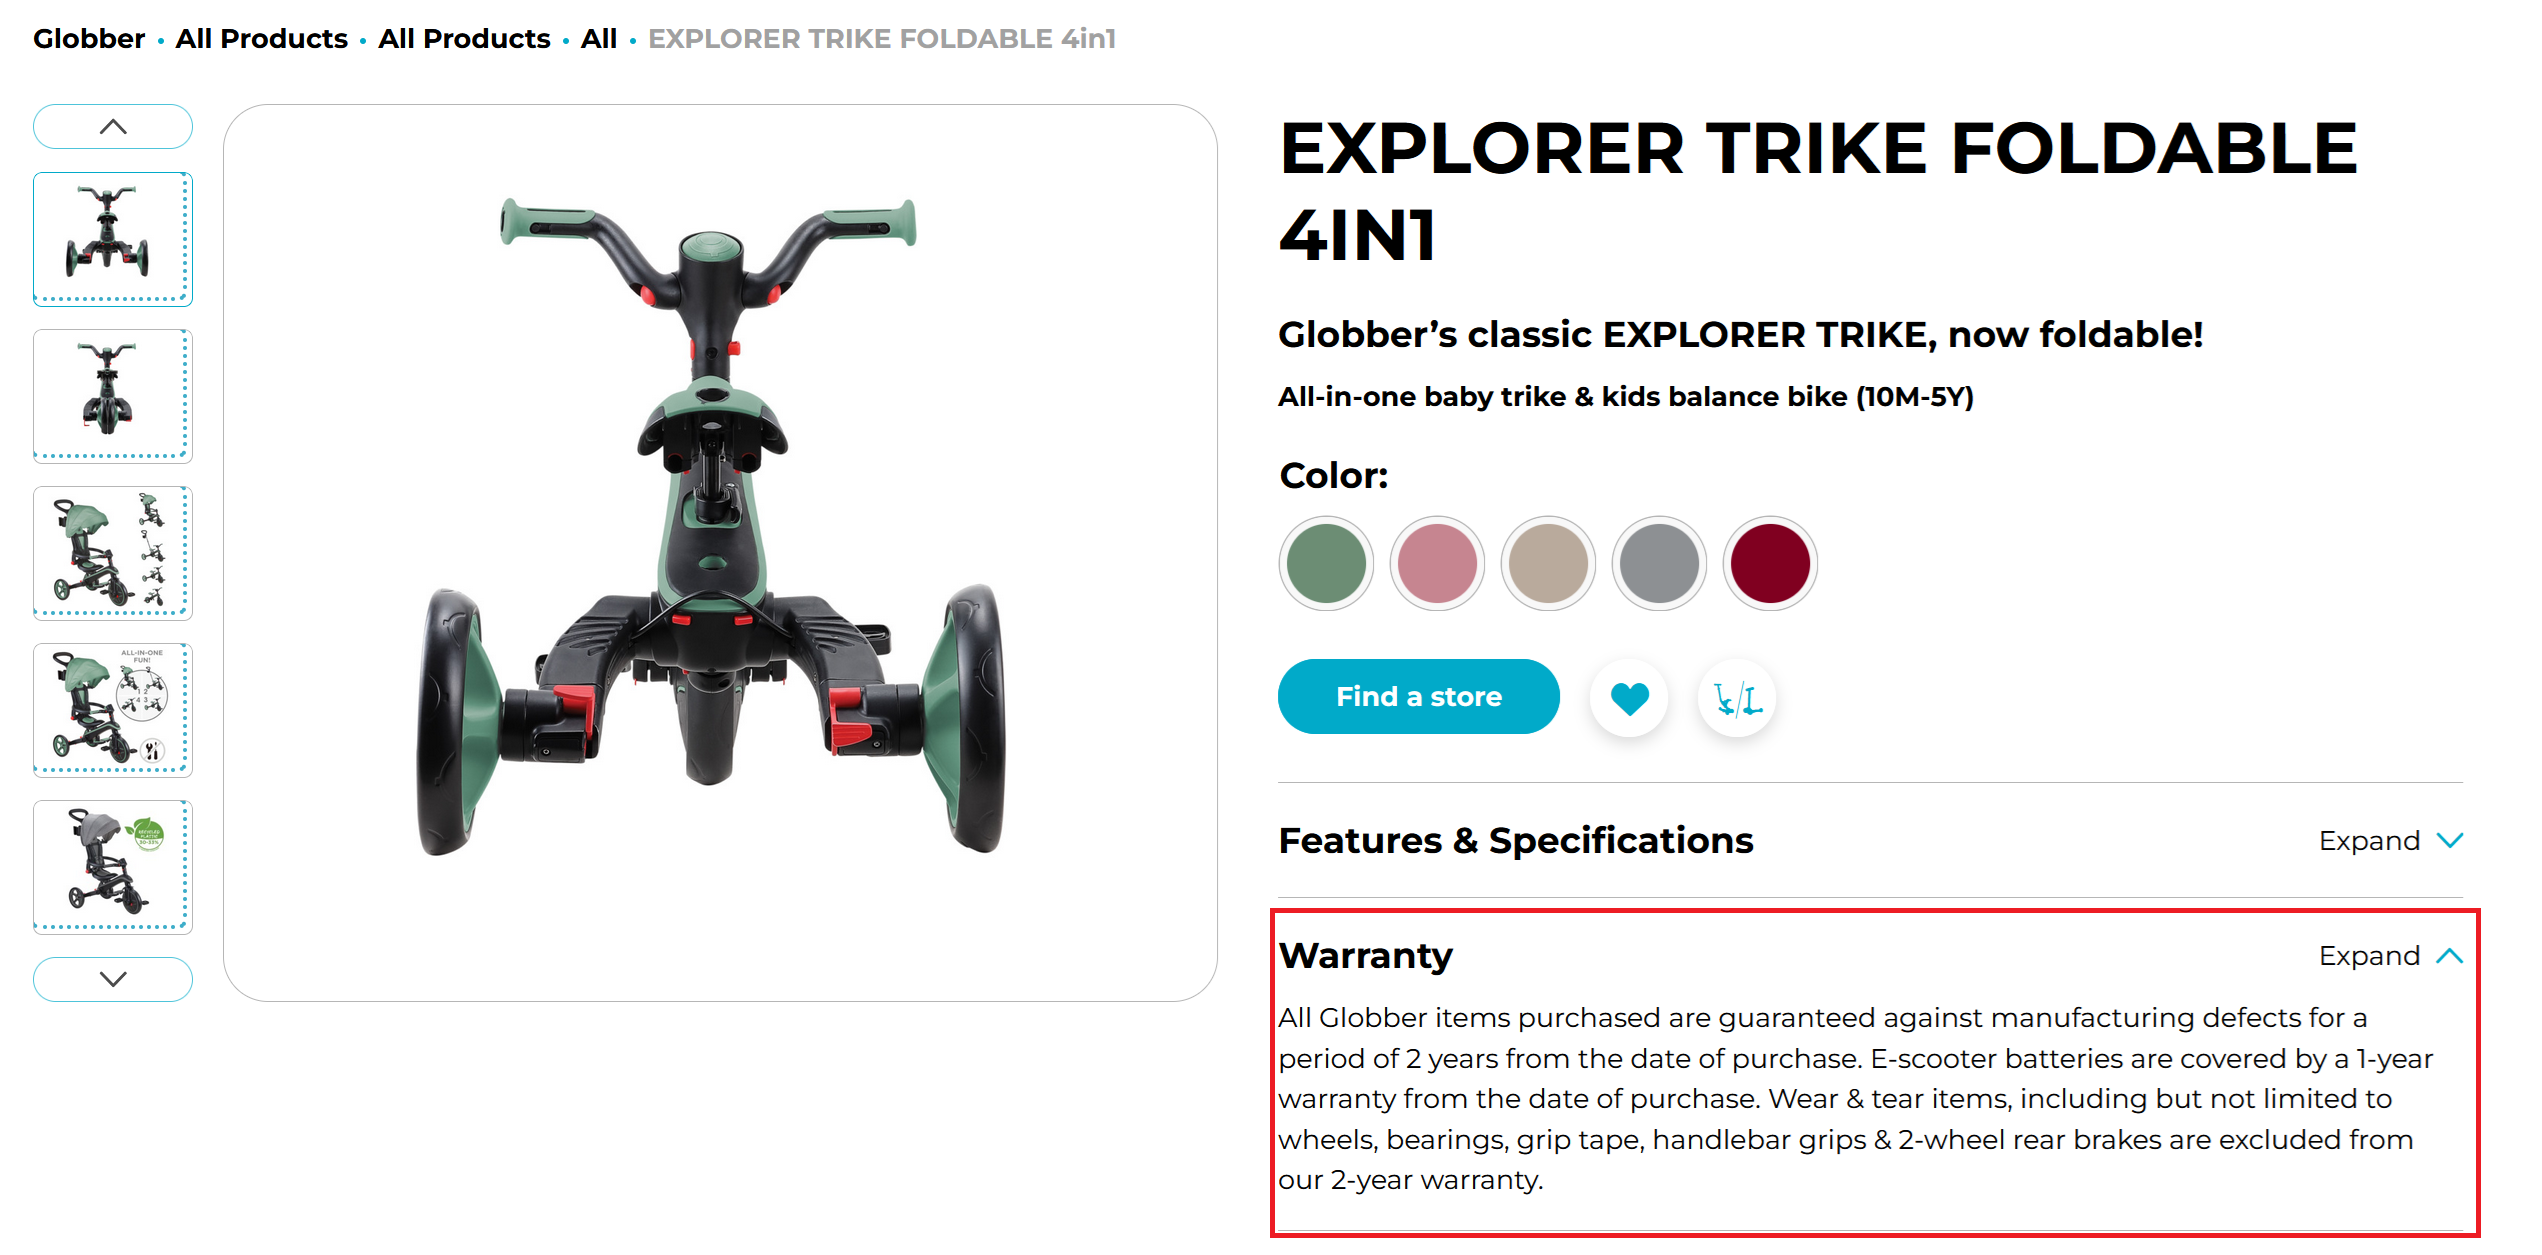
Warranty fields are filled under Warranty here.
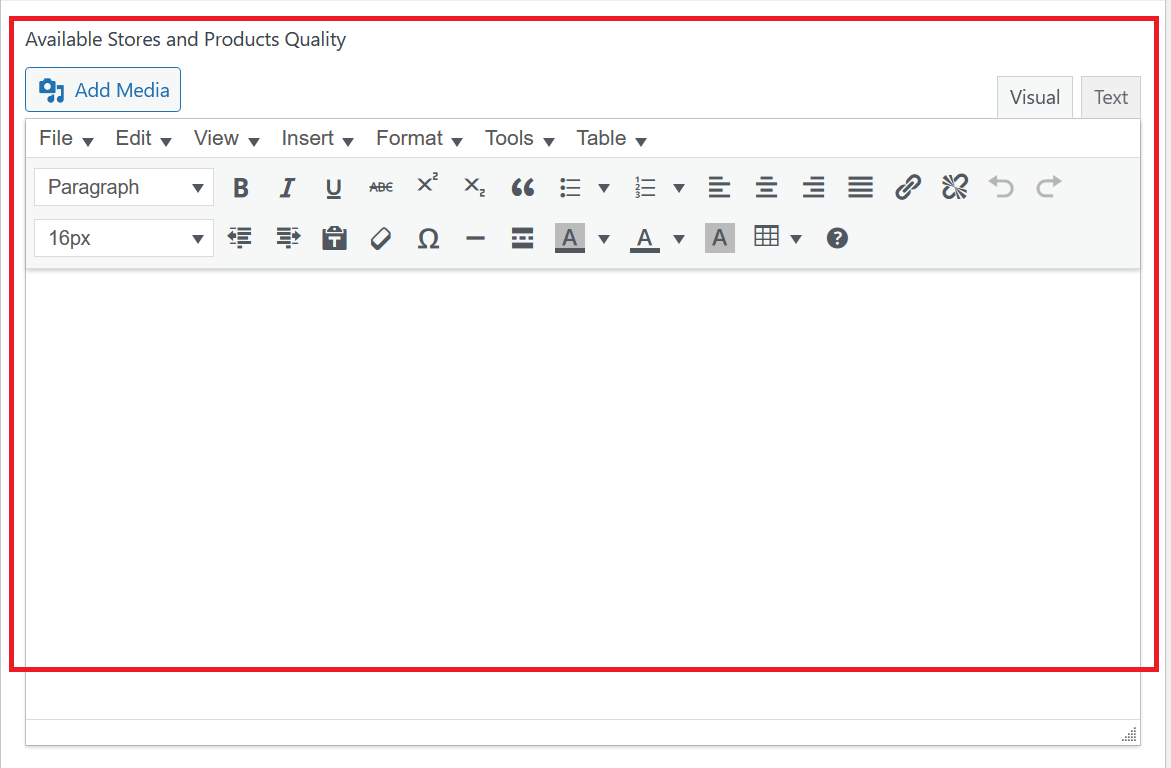
Available Stores and Product Quality
Available Stores and Product Quality indicate where the product can be purchased and its quality rating.

Available Stores and Product Quality fields are filled under Available Stores and Product Quality here.
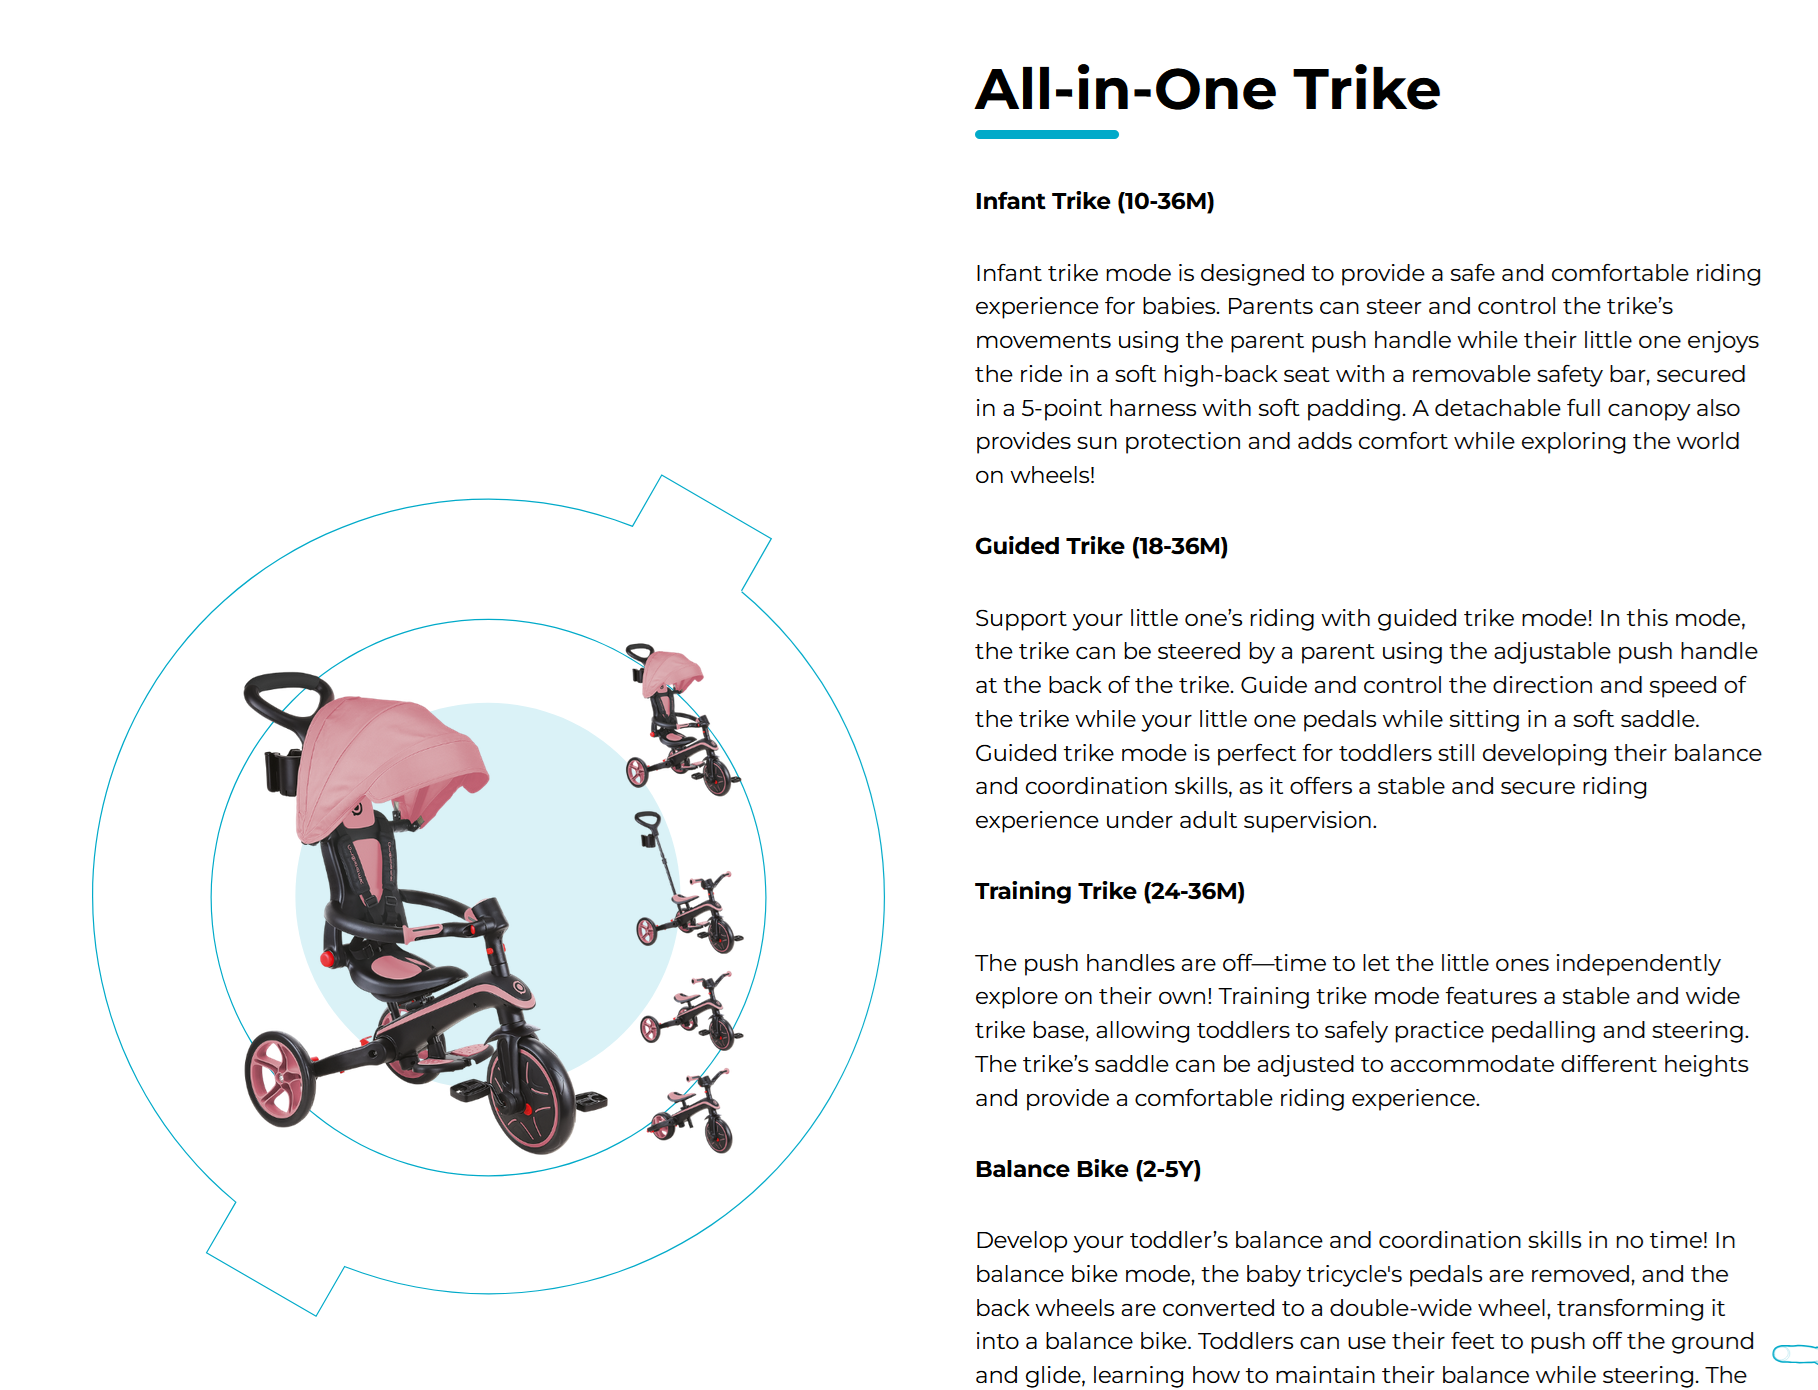
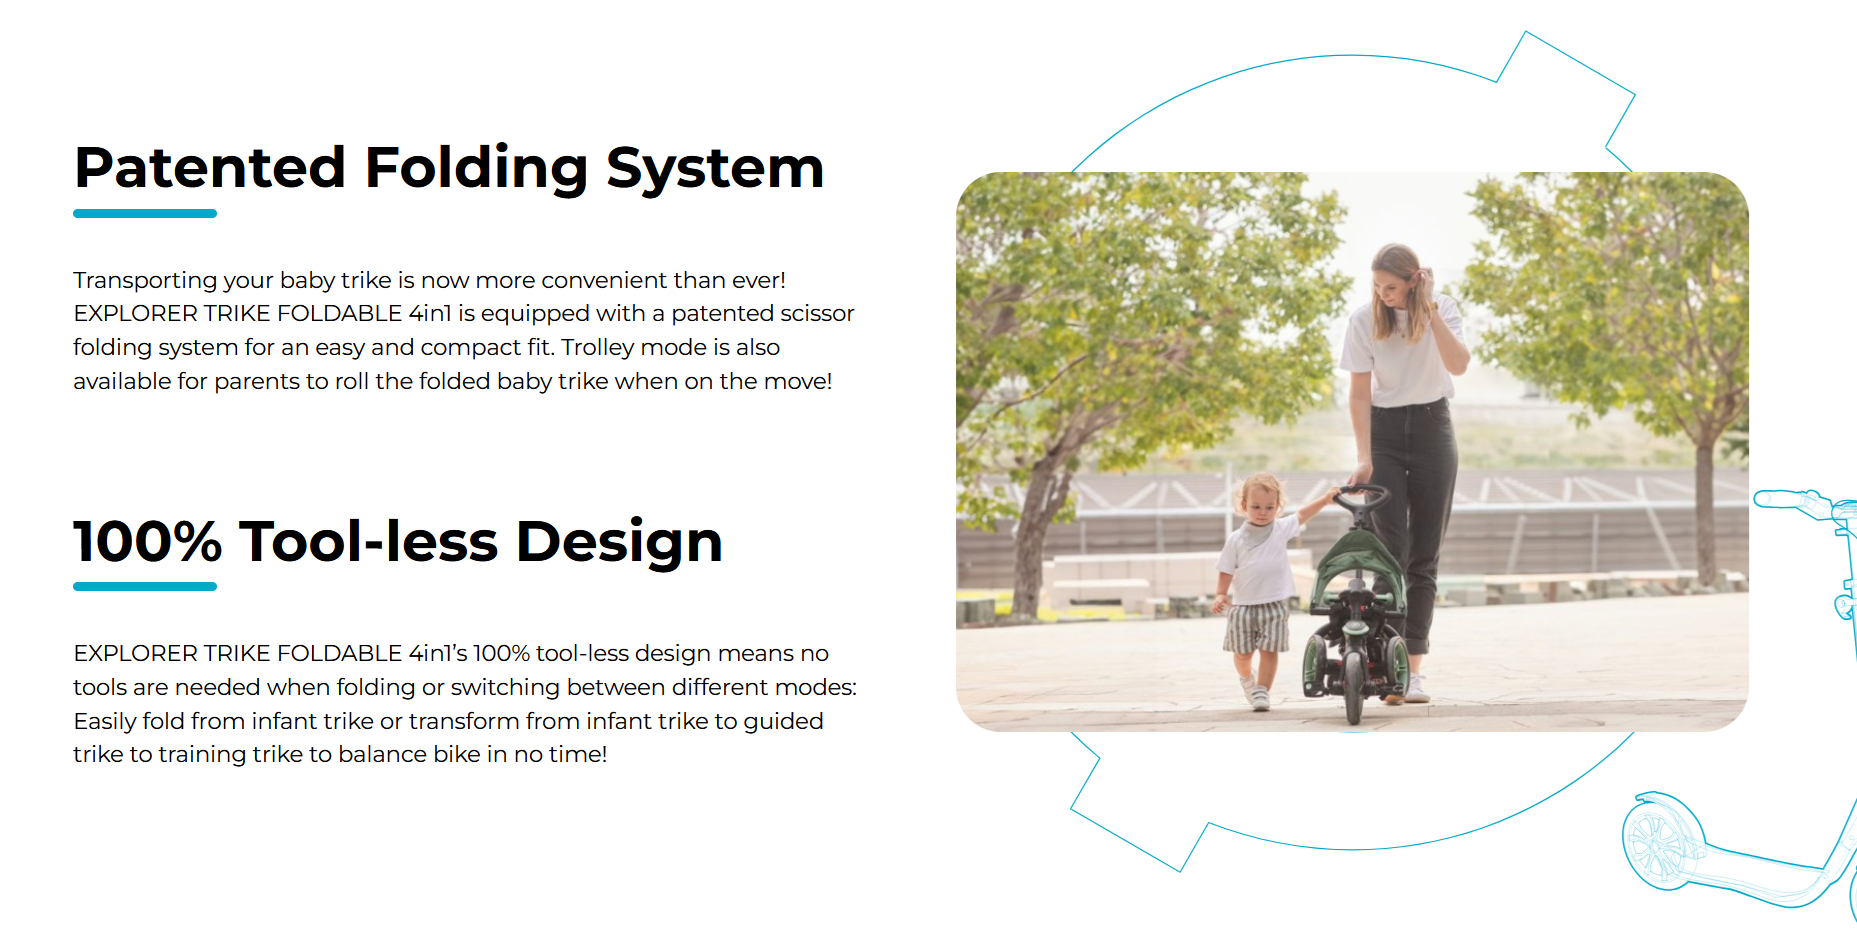
3. Key Benefits
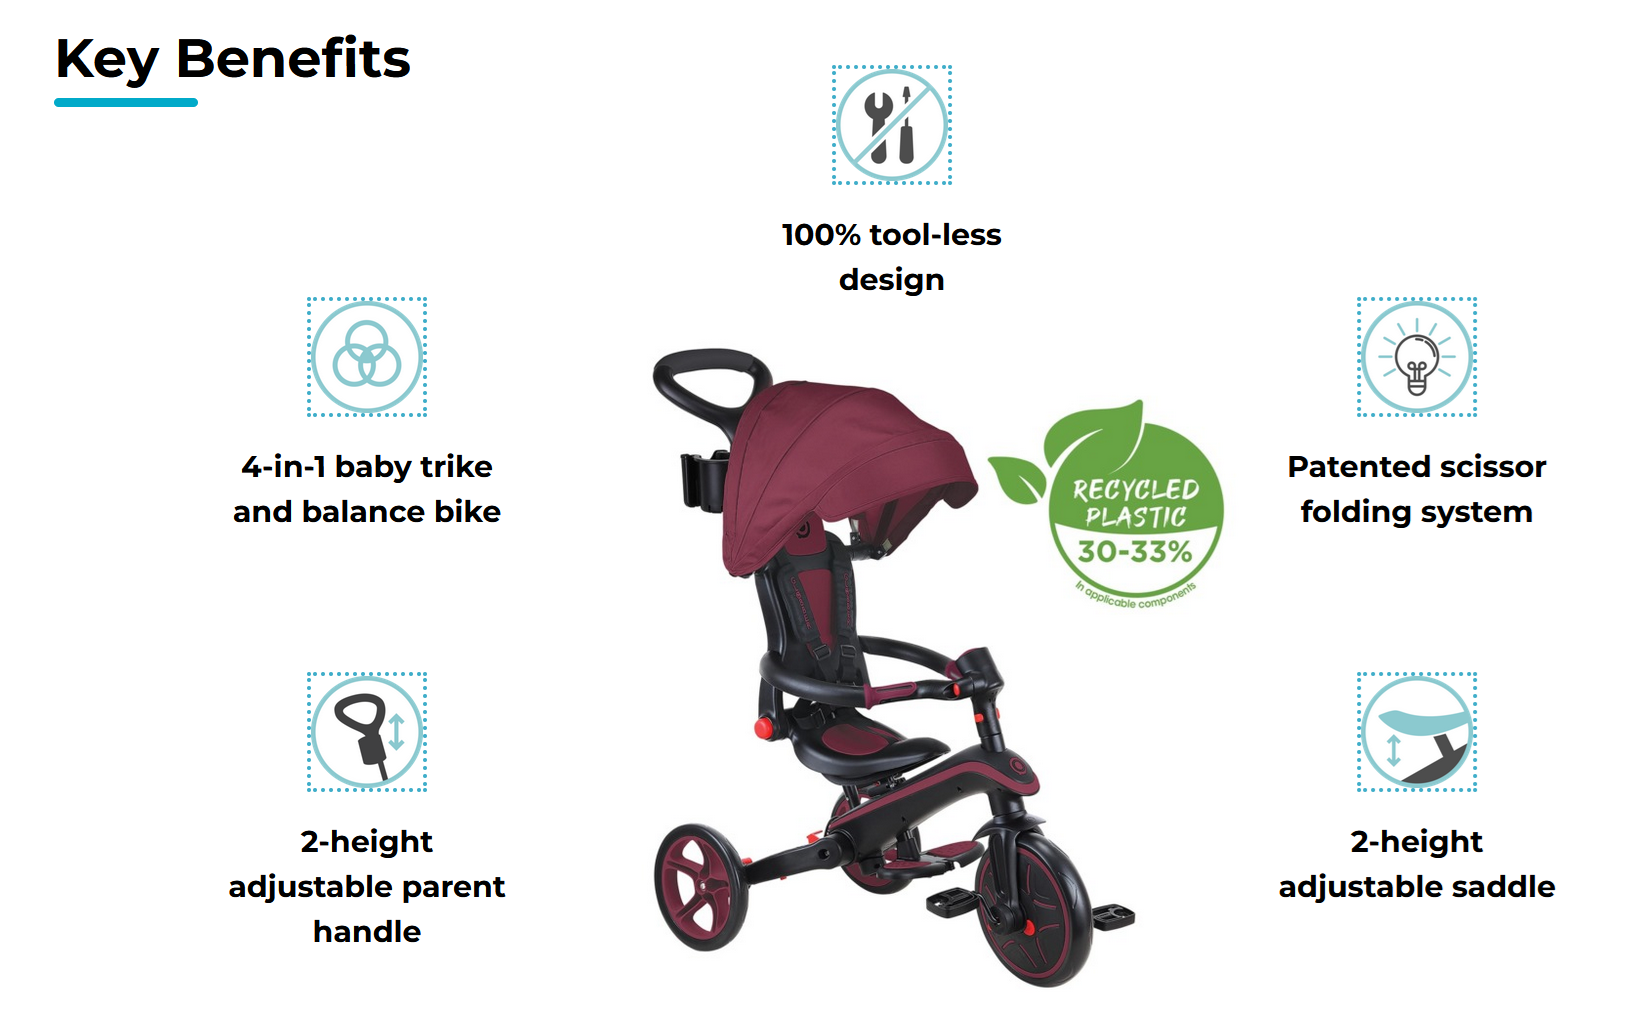
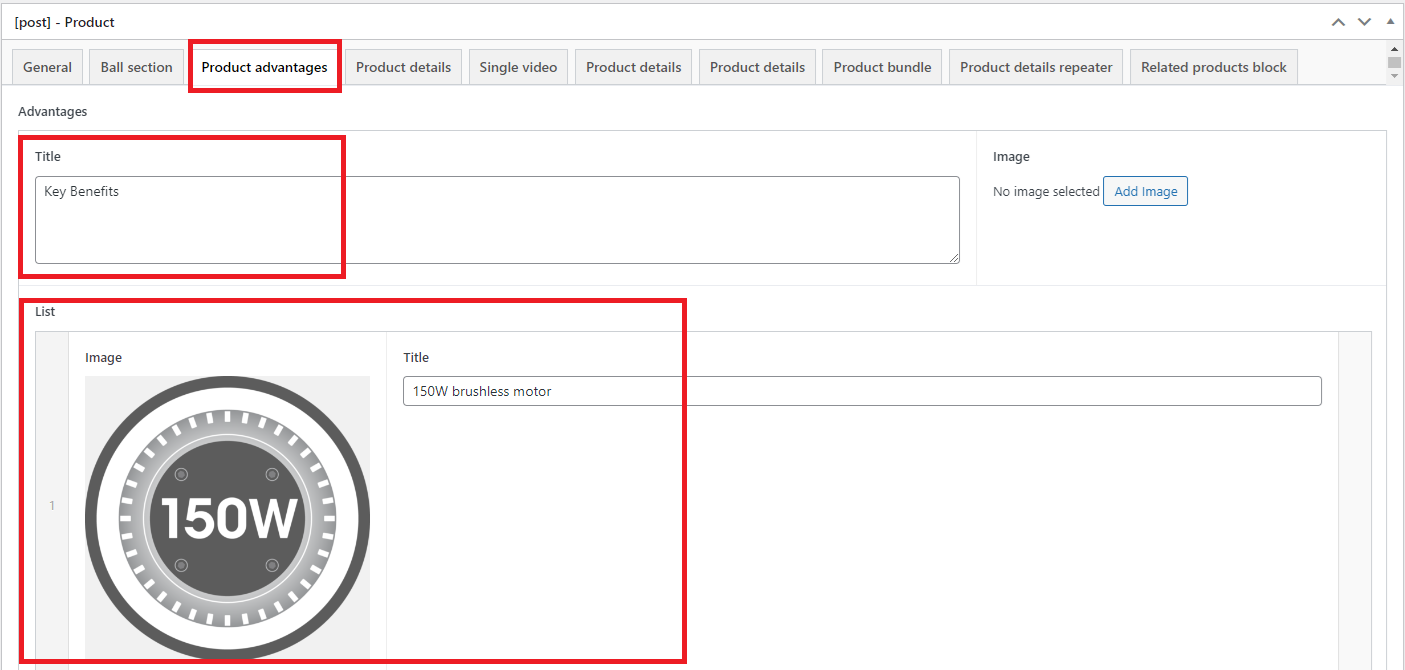
Navigate to Product advantages to write the key benefits section of a product page.
You can rewrite “Key Benefits” under Title to reflect your regional language.
For each new row, you can write a specific key benefit and insert its respective images.
In order to make the products visually-presentable, the recommended maximum number for Key Benefits is 5.
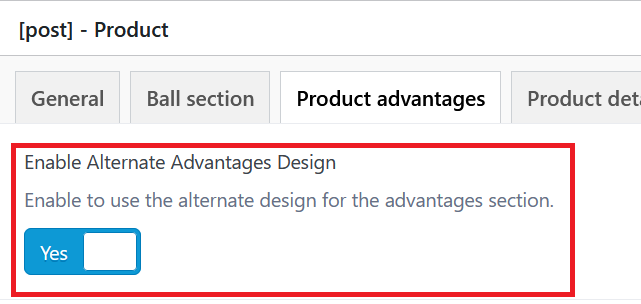
Key benefits can also appear at the bottom of the product gallery.
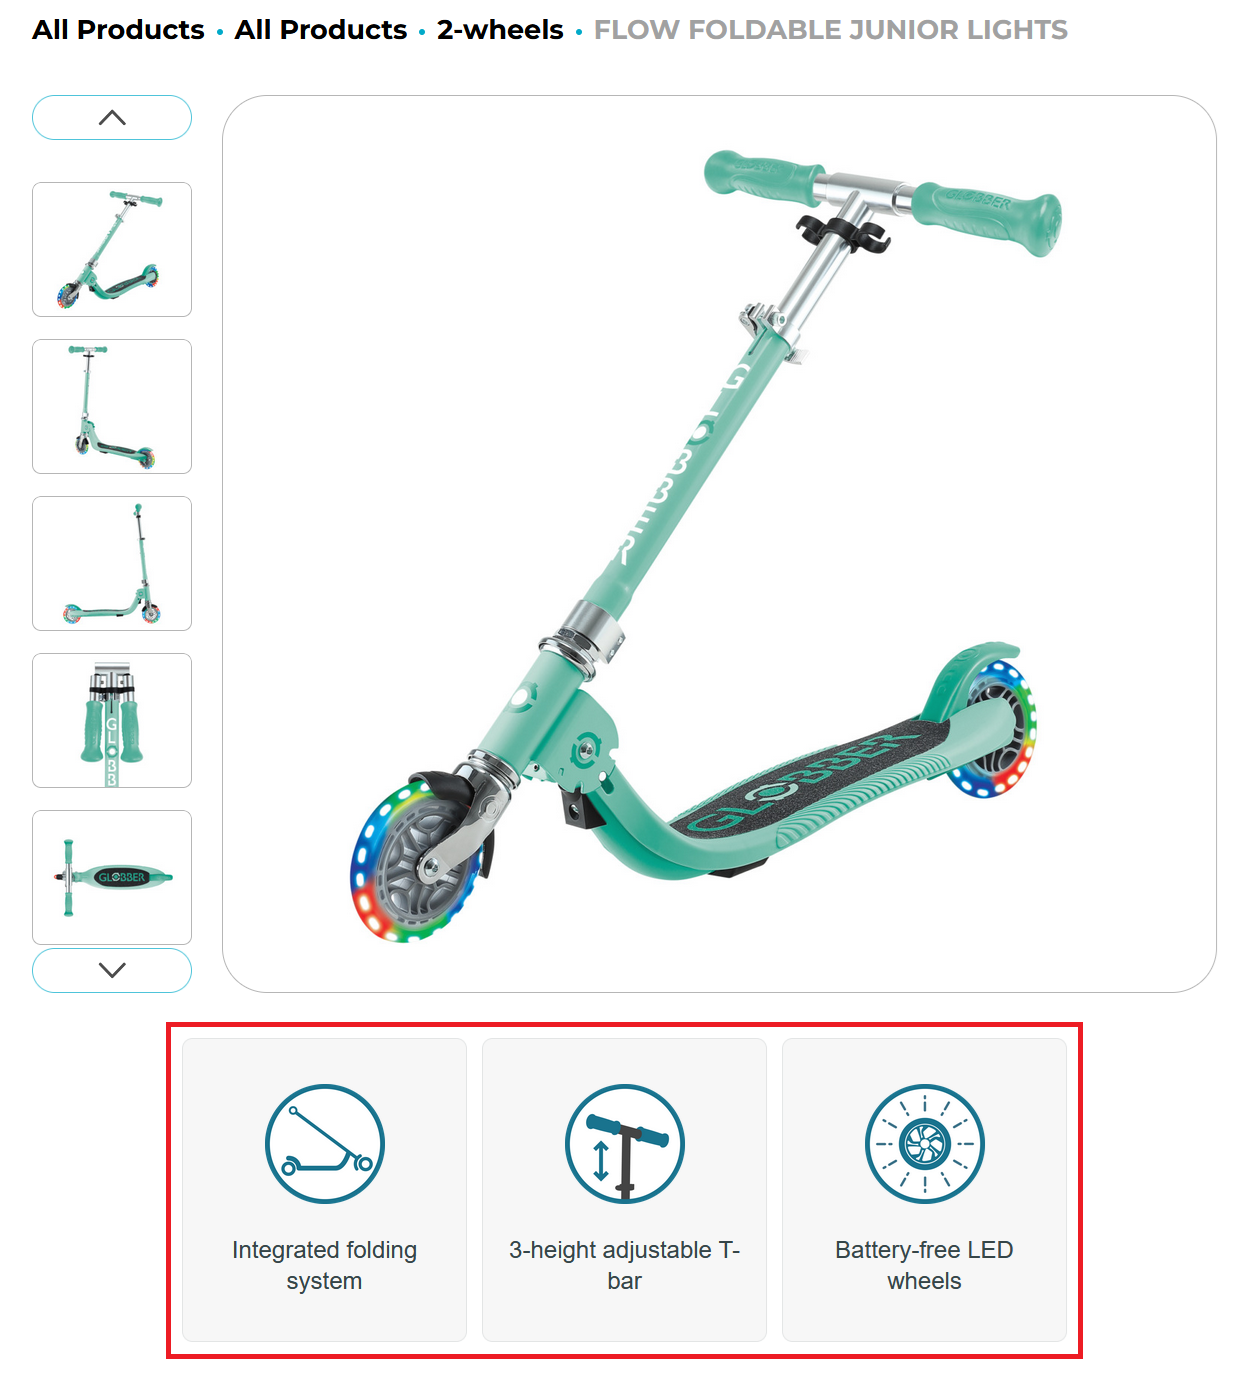
Enable this design by selecting the button in the product editor.
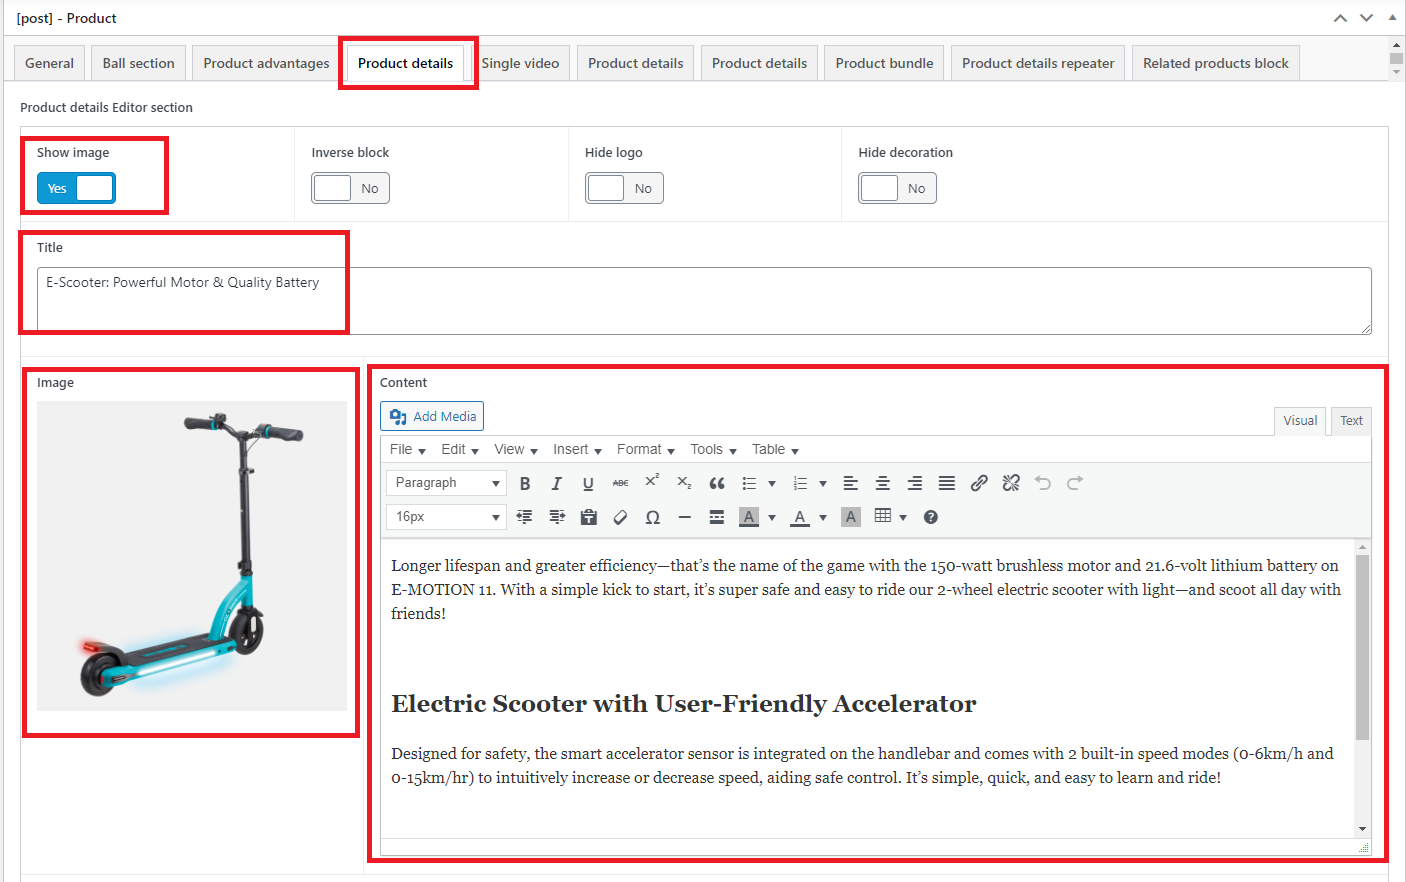
4. Product Details
In Edit Product page, scroll down to the [post] - Product section and select Product details to start writing product details.
In this section, you will have to fill in the following fields:
- Show Image: Yes
- Title: Write the header tagline to introduce the product
- Image: Use transparent background PNGs to ensure they fit within Globber’s brand circle and blend with the built-in WordPress theme.
- Content: Your product descriptions, you can edit use the text editor to bold, italisize or even increase font size.
For every second product detail, select the Inverse block to improve visual presentation.
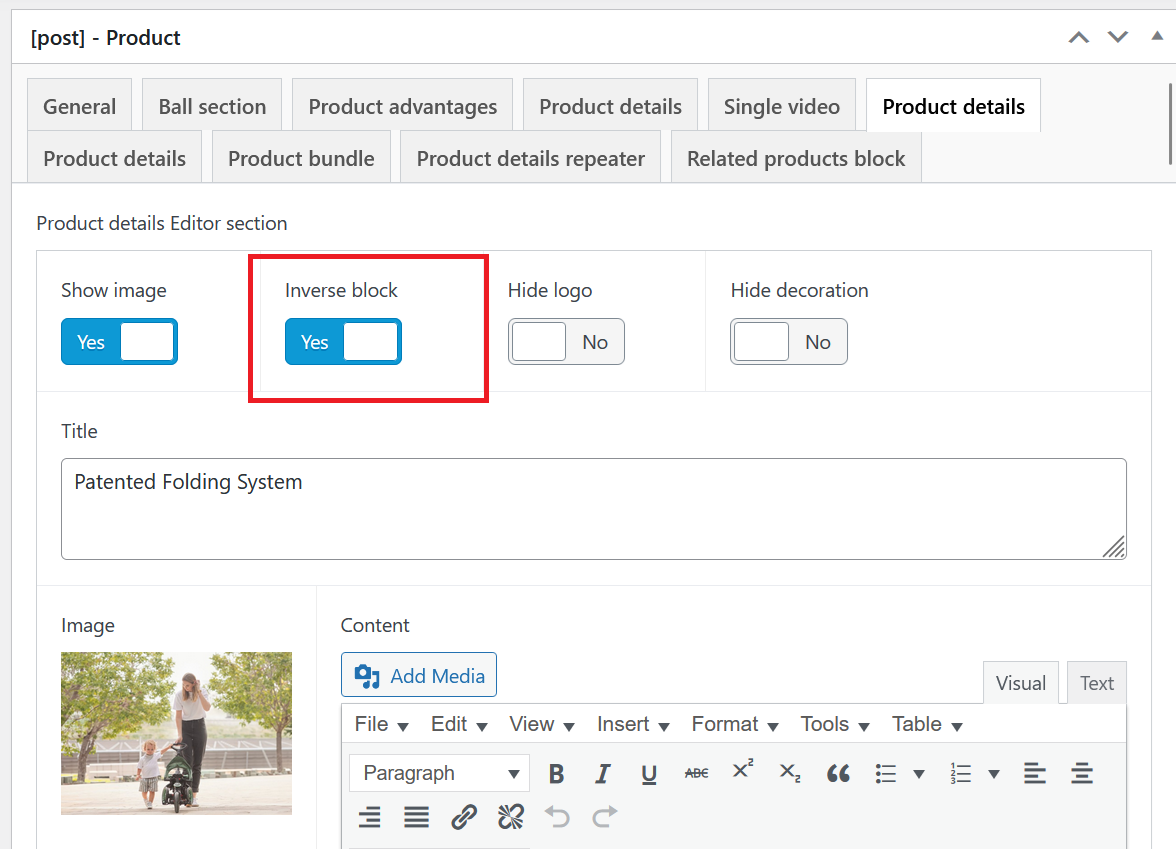
Below is an example of how each second product detail will appear.
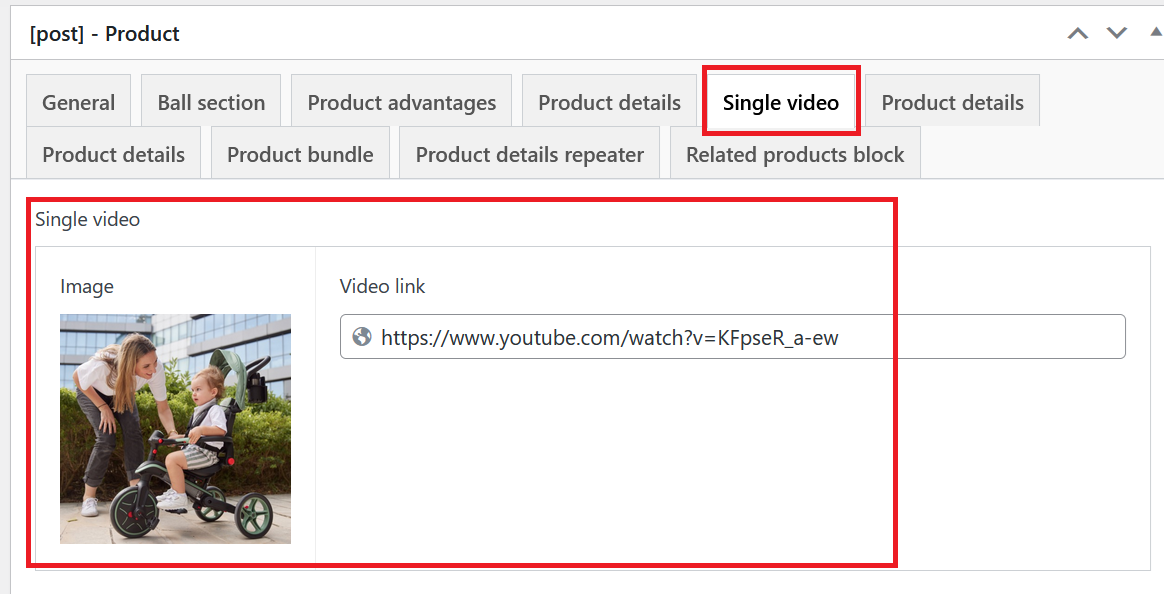
5. Video Section
You have the option to include videos to a specific product page, they are usually placed underneath all the product details after Key Benefits.
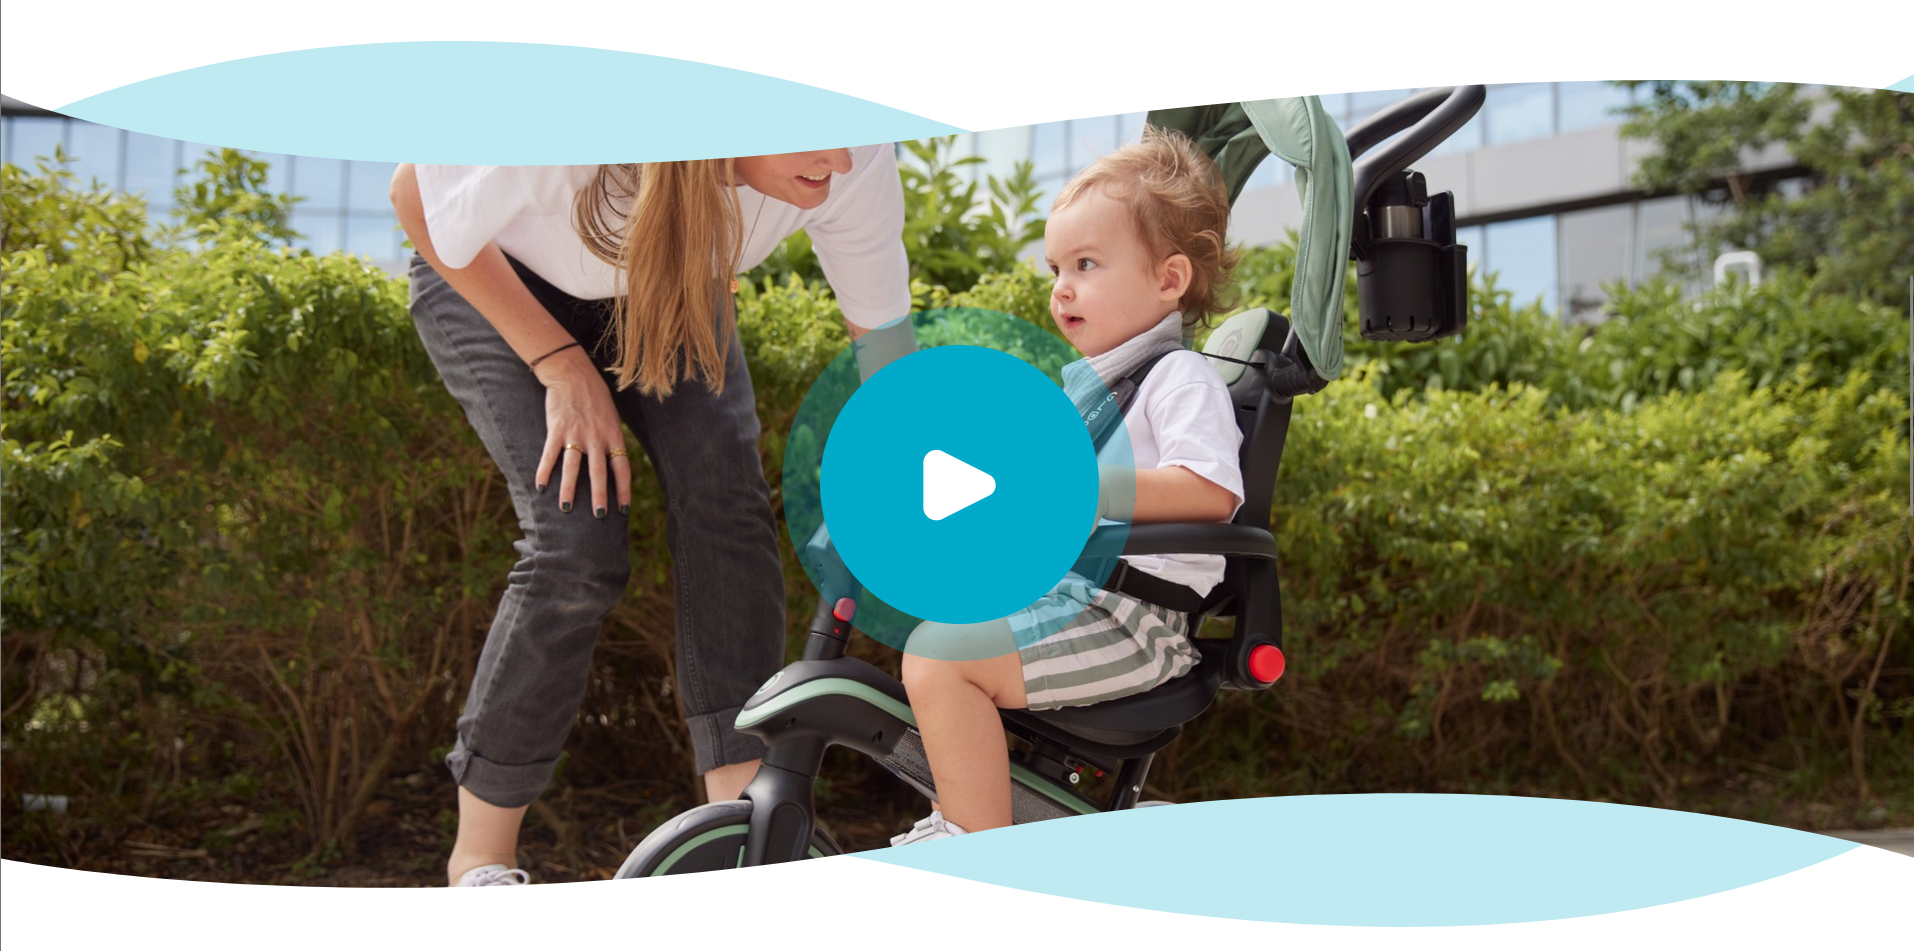
Under [post] - Product, you can add relevant video links under Single video
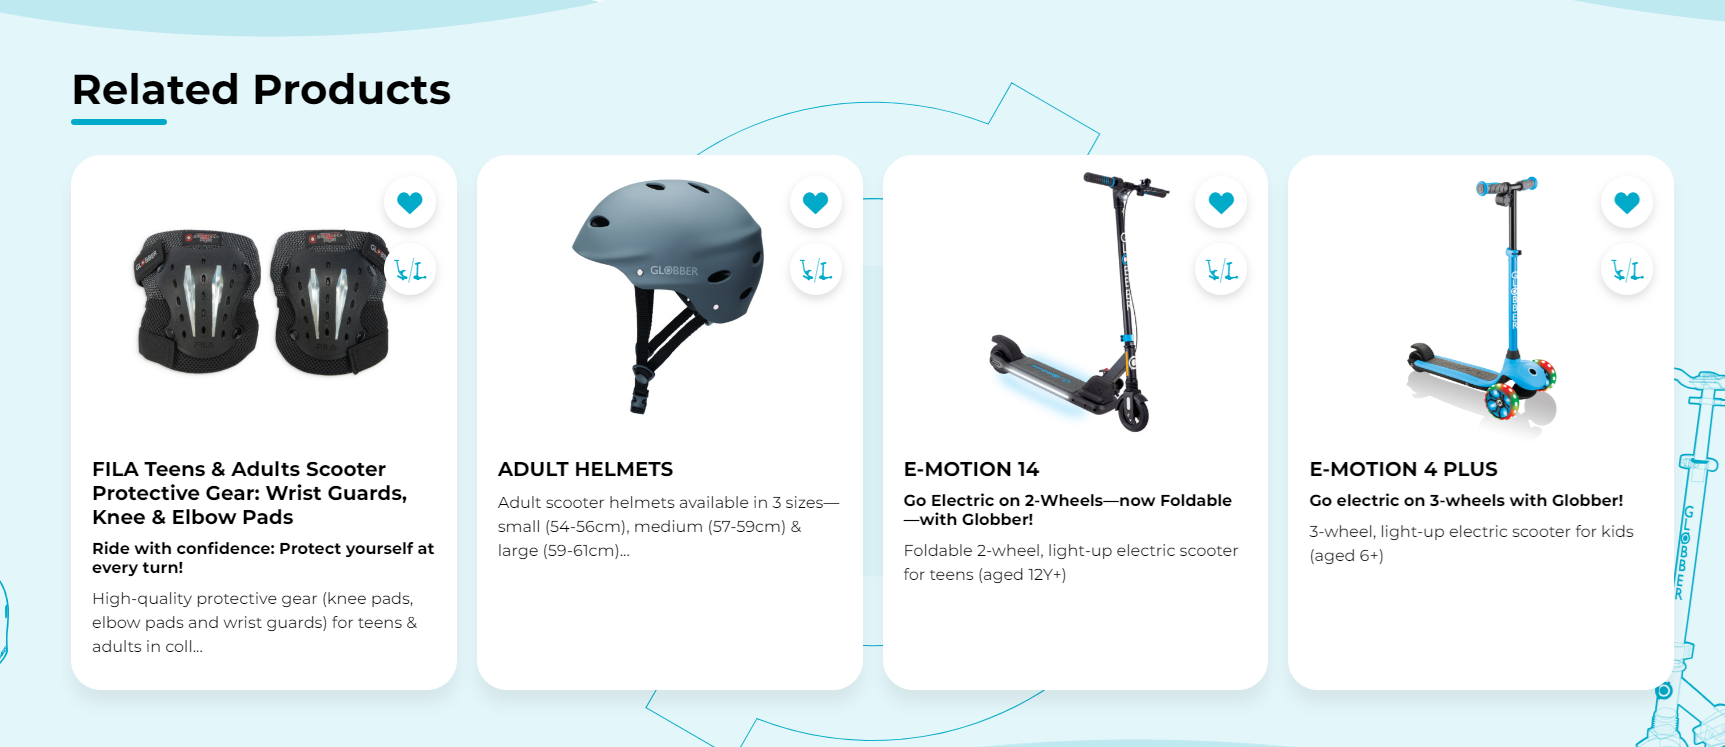
6. Related Products
The "Related products" section is not in use anymore, in order to learn how to setup Upsells and Crossells please click this link.
In Related products block, select the bar under Related products to start adding any products you’d like to recommend.

You can type the relevant products you'd like to recommend with the drop-down menu here.

Related Products will display at the bottom of a product page like this.
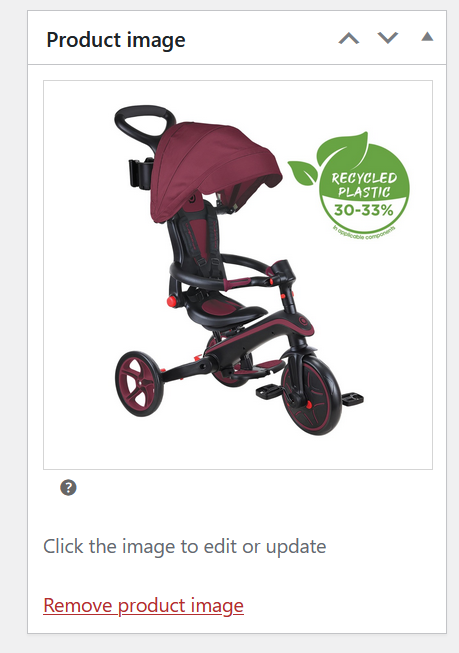
7. Add Product Images
The Product image is your product’s main thumbnail.
The Product gallery displays additional images to showcase other variations or features.
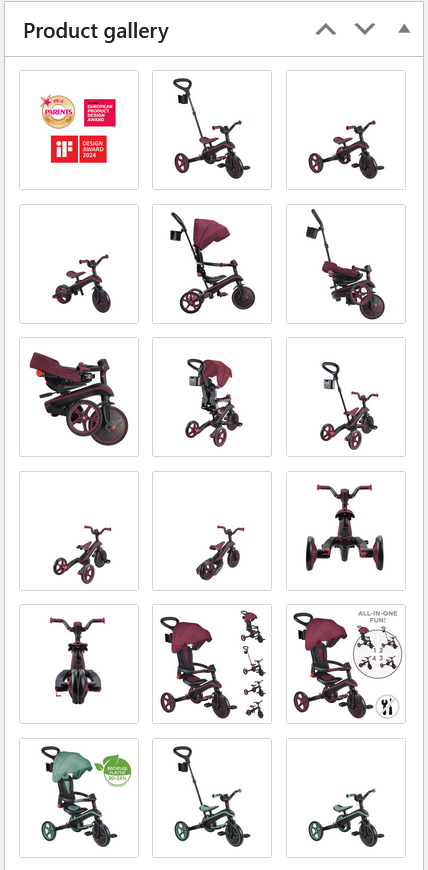
Add product gallery images under Add Product Gallery Images (hold Ctrl to select multiple).

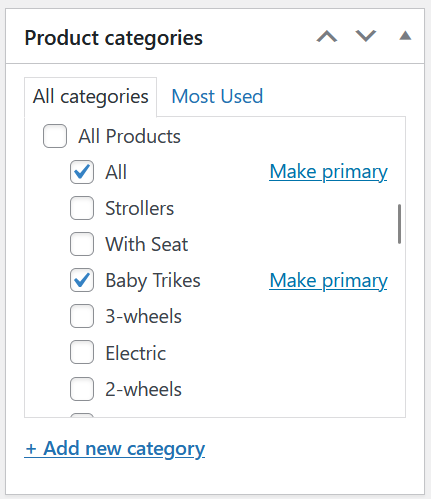
8. Set Categories and Tags
On the right menu of a product page you can choose or create a Product category.
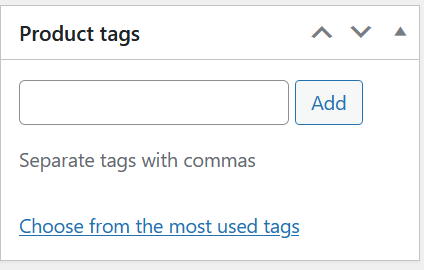
Product tags aren't important to note, they are used internally when trying to categorize or sort products within the website's backend.
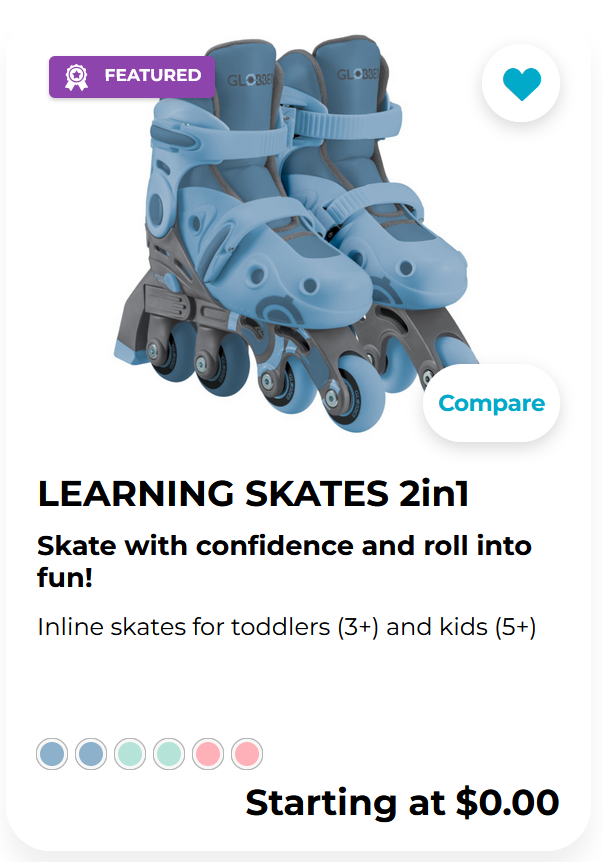
9. Assign Badges
On the right menu, you can assign badges for products.

For Product special badges, use "Featured" if needed.

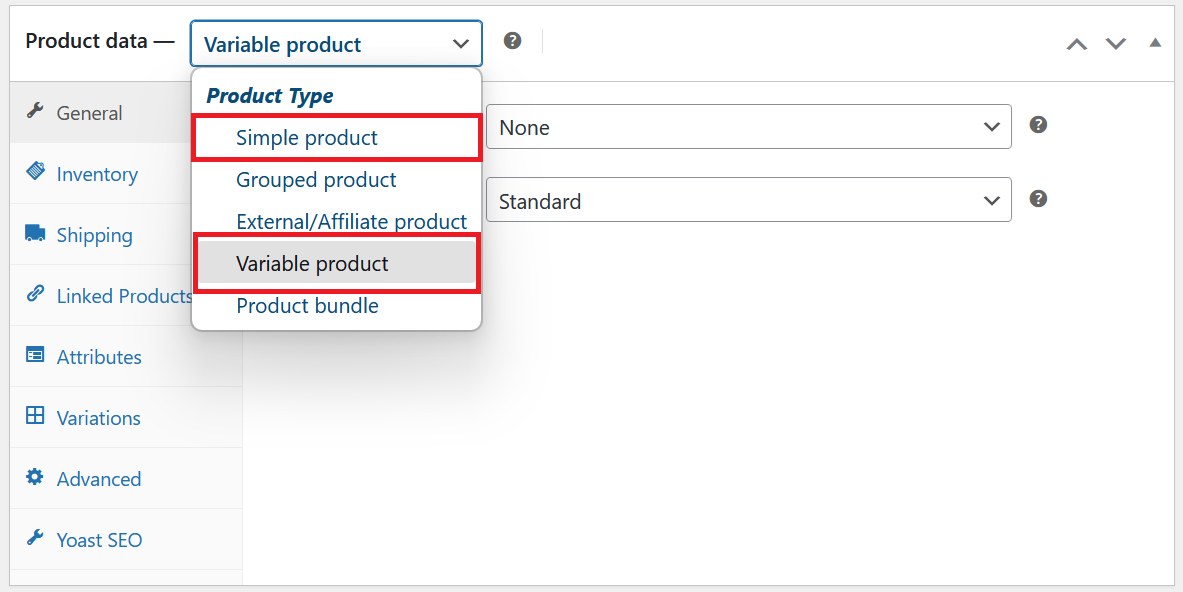
10. WooCommerce Panel
General
In Product Data, select the product page's product data according to the type of products you are distributing.
- If you are only selling one version of a product without variations, select Simple product.
- If you are selling a product with multiple variations (different colors), select Variable product.
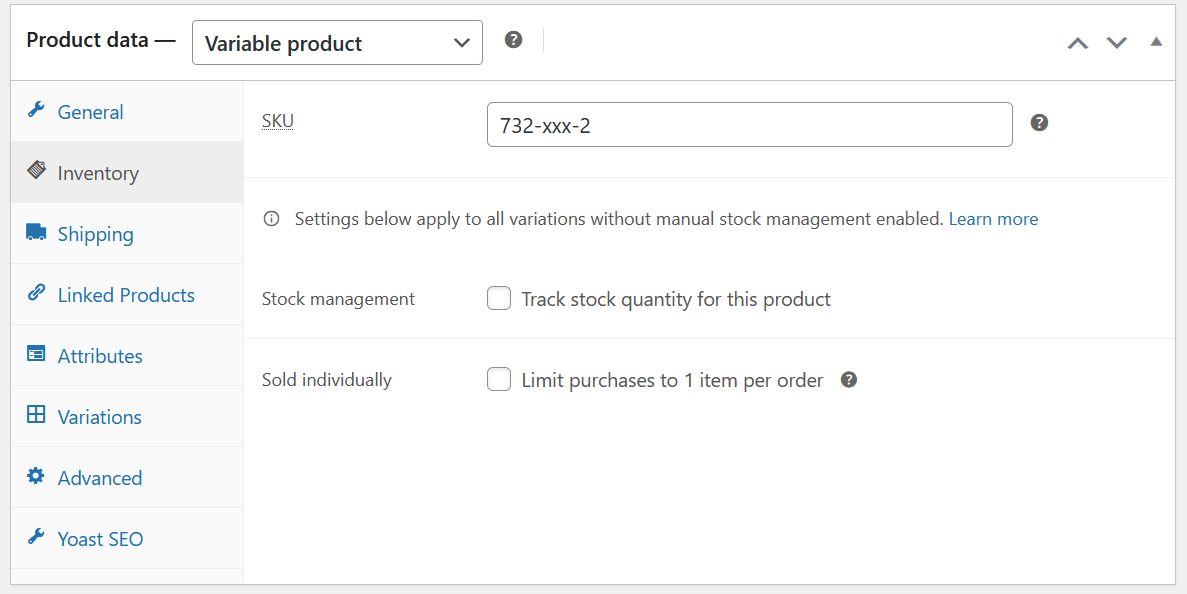
Inventory
Enter the base SKU (example: 732-xxx).
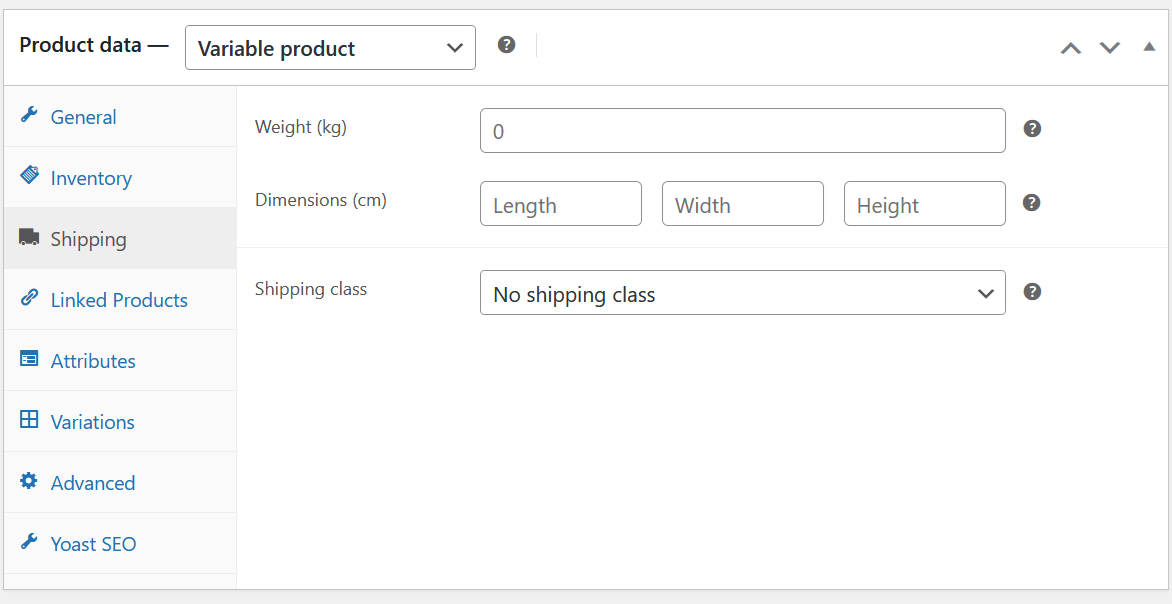
Shipping
Enter the product's weight and dimensions. Assign a shipping class if set up.
Linked Products
Learn more about upselling & cross-selling products at product page and cart pages here.
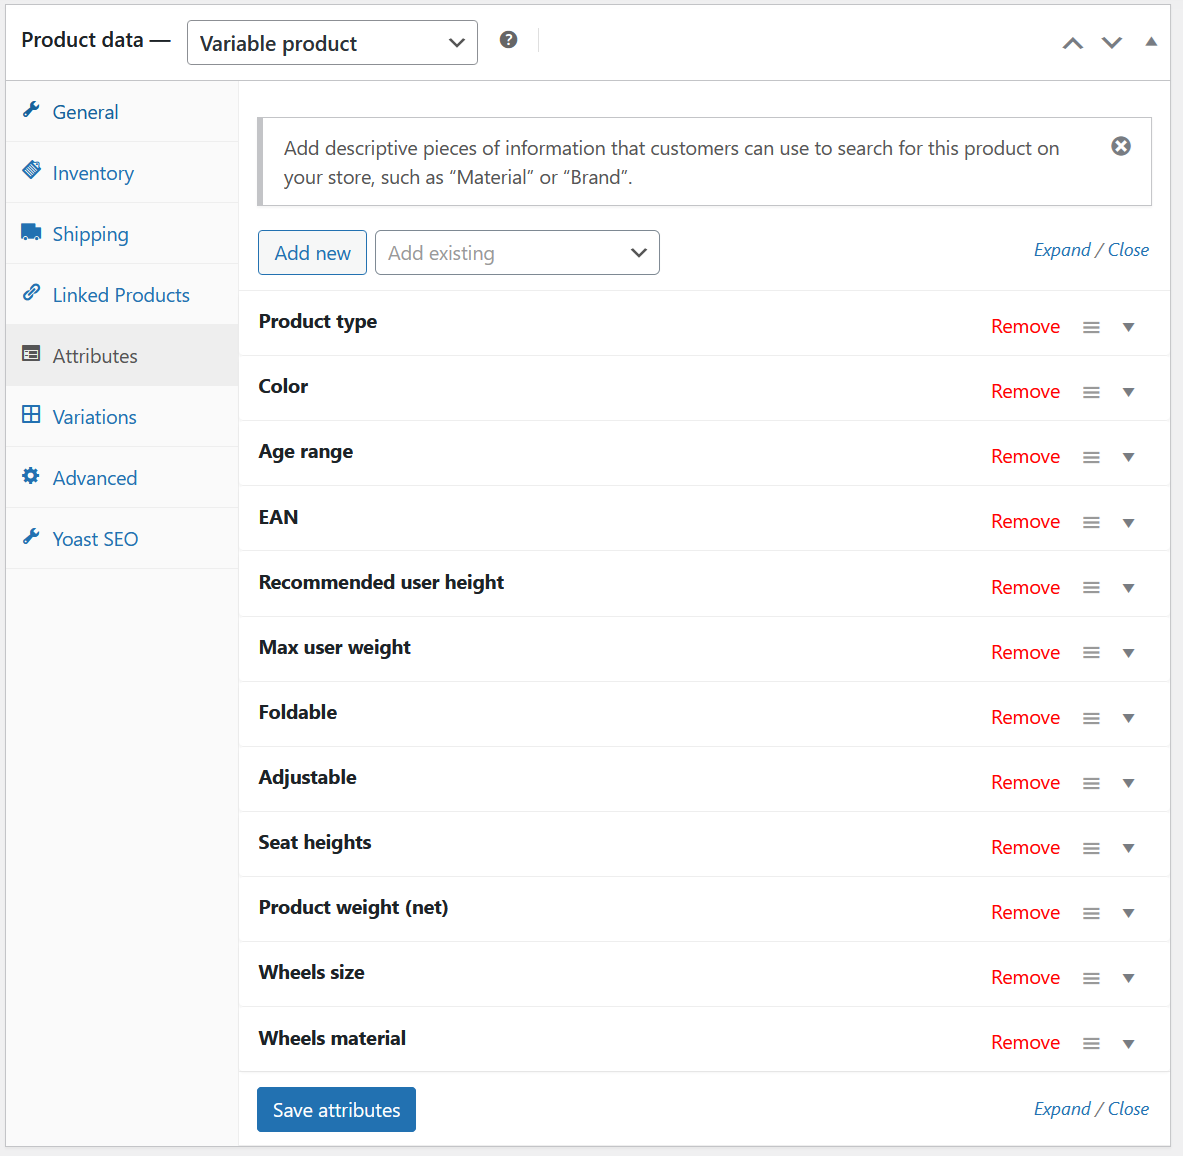
Attributes
Enter all values (e.g. Product type, colors, age range) and hit Save attributes.
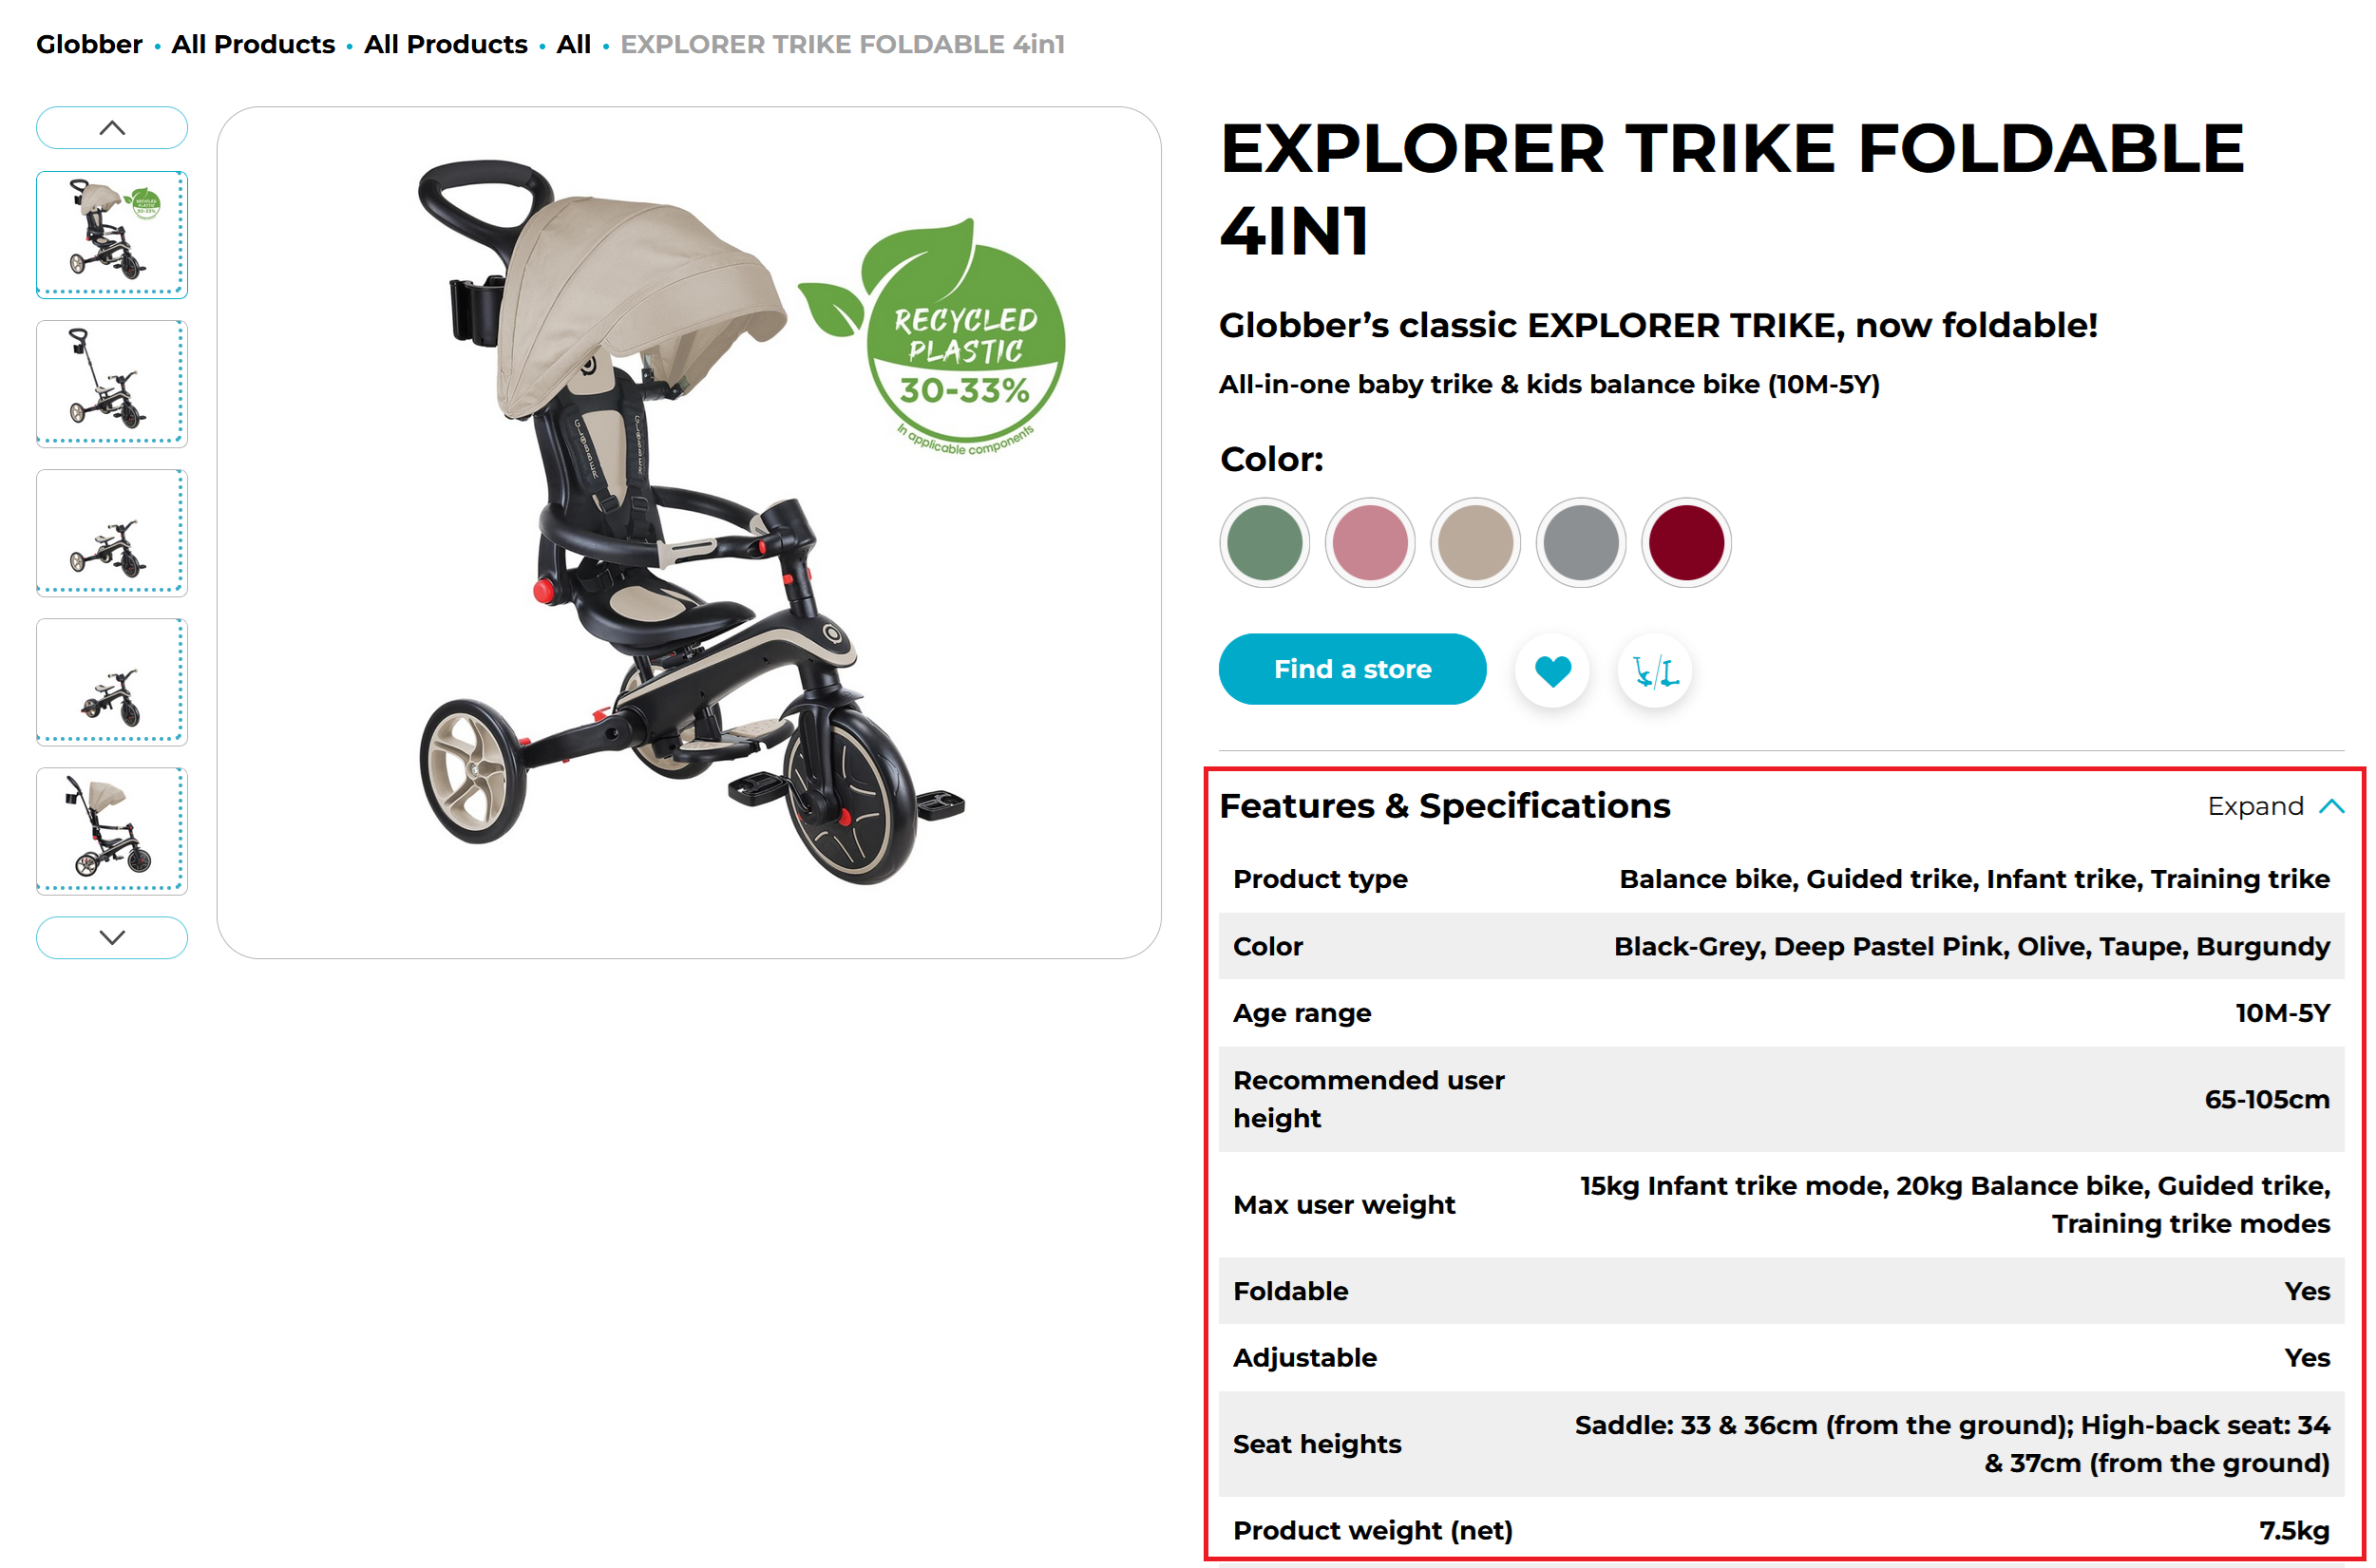
Attributes will appear on product pages under Features & Specifications section like this.
Variations
- Use Create variations from all attributes to generate variations.
- For each variation, set SKU, image, prices, stock, weight, shipping, and tax class.
- Use Manage Stock for each variation.
- Enter the product description at the bottom.
- Repeat for all variations, then click Save Changes.
- Click Publish to make the product live.
- The product page will show the main image, description, price, and badges. Selecting a color shows the correct image. Upsell products appear as recommended.
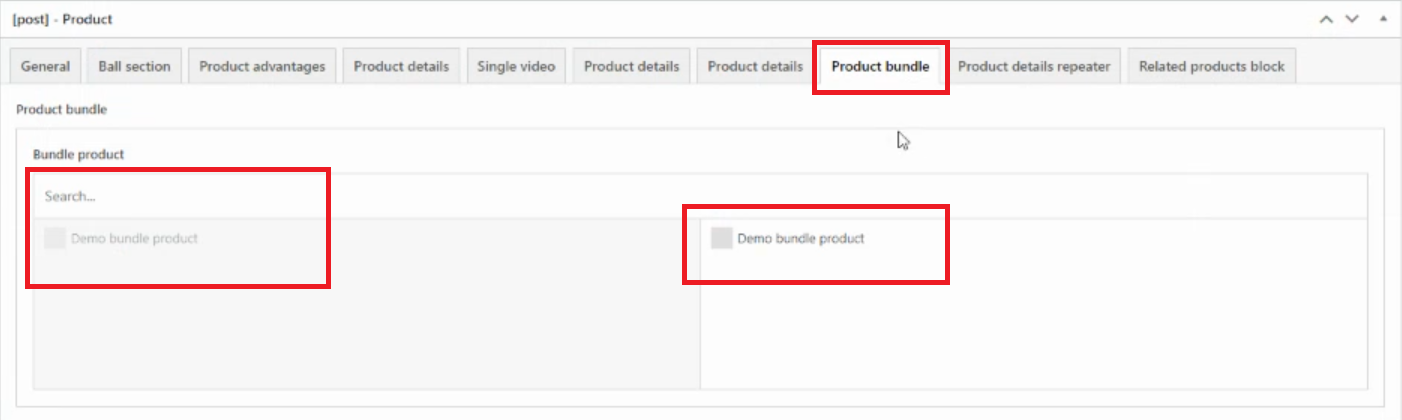
11. Product Bundle (E-Commerce)
For E-Commerce subsites, you can consider pushing product bundles through Product Bundle.
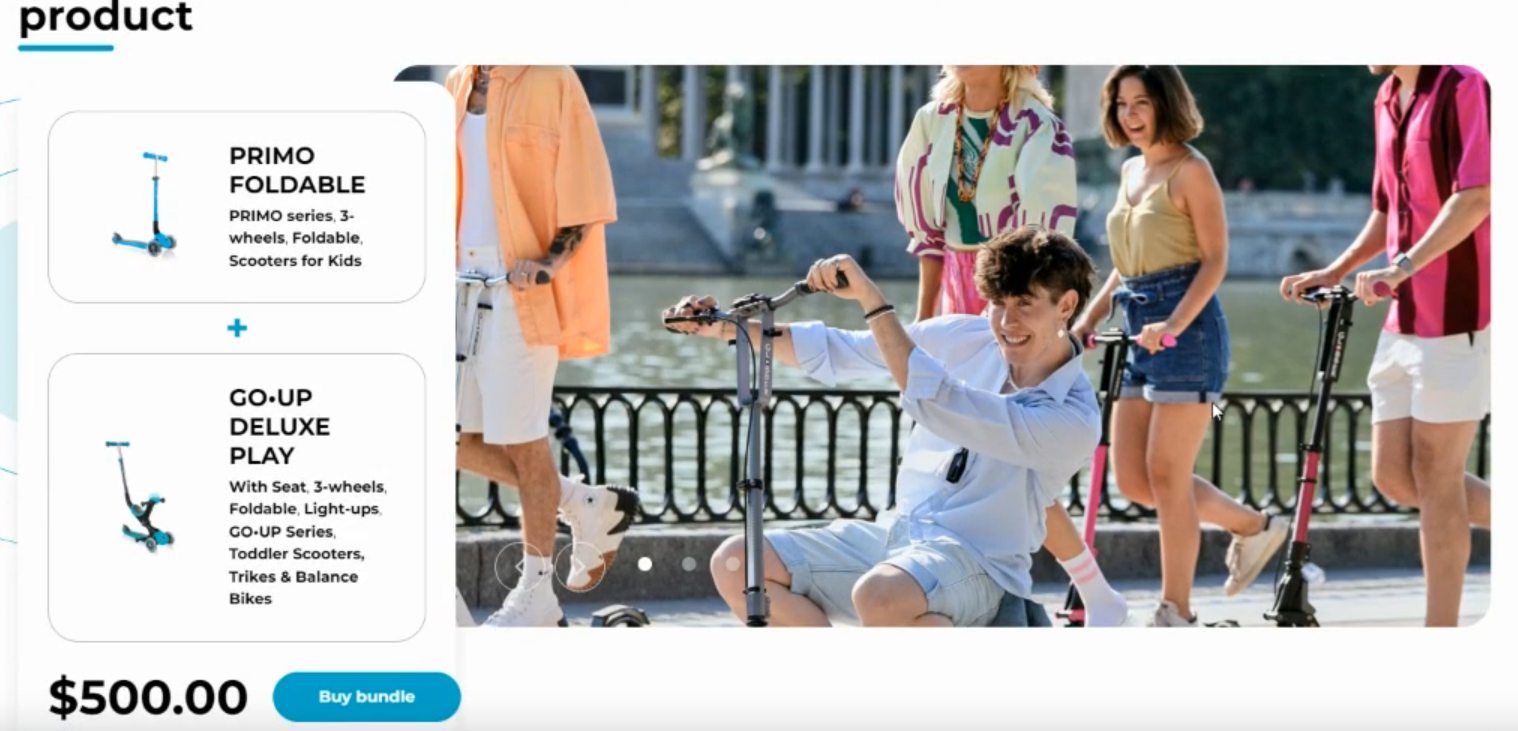
Under Product bundle section, select your desired products to form into bundles.
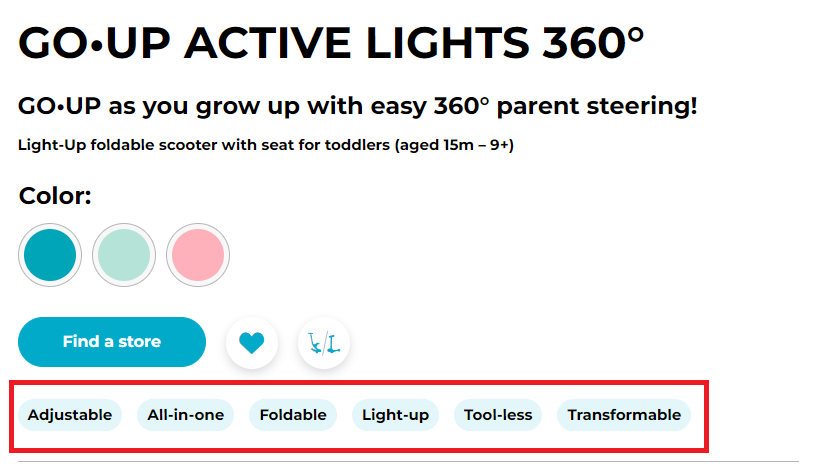
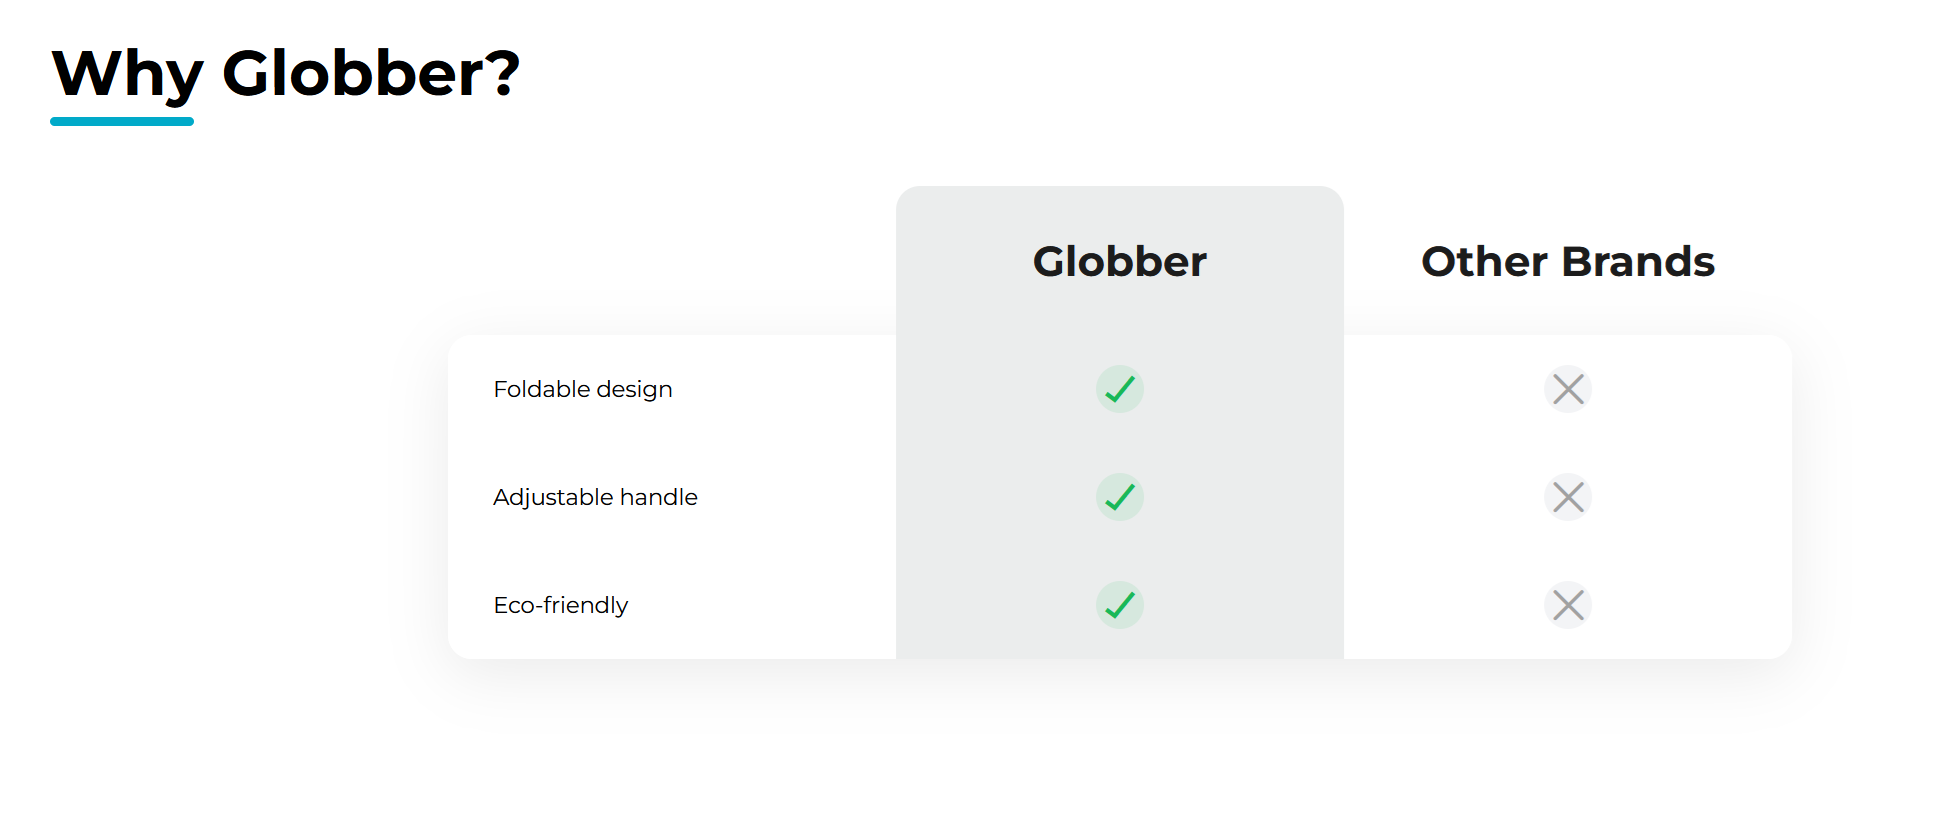
12. Brand Advantages Comparison
You now can show a simple side-by-side comparison of product benefits between Globber and competitors.
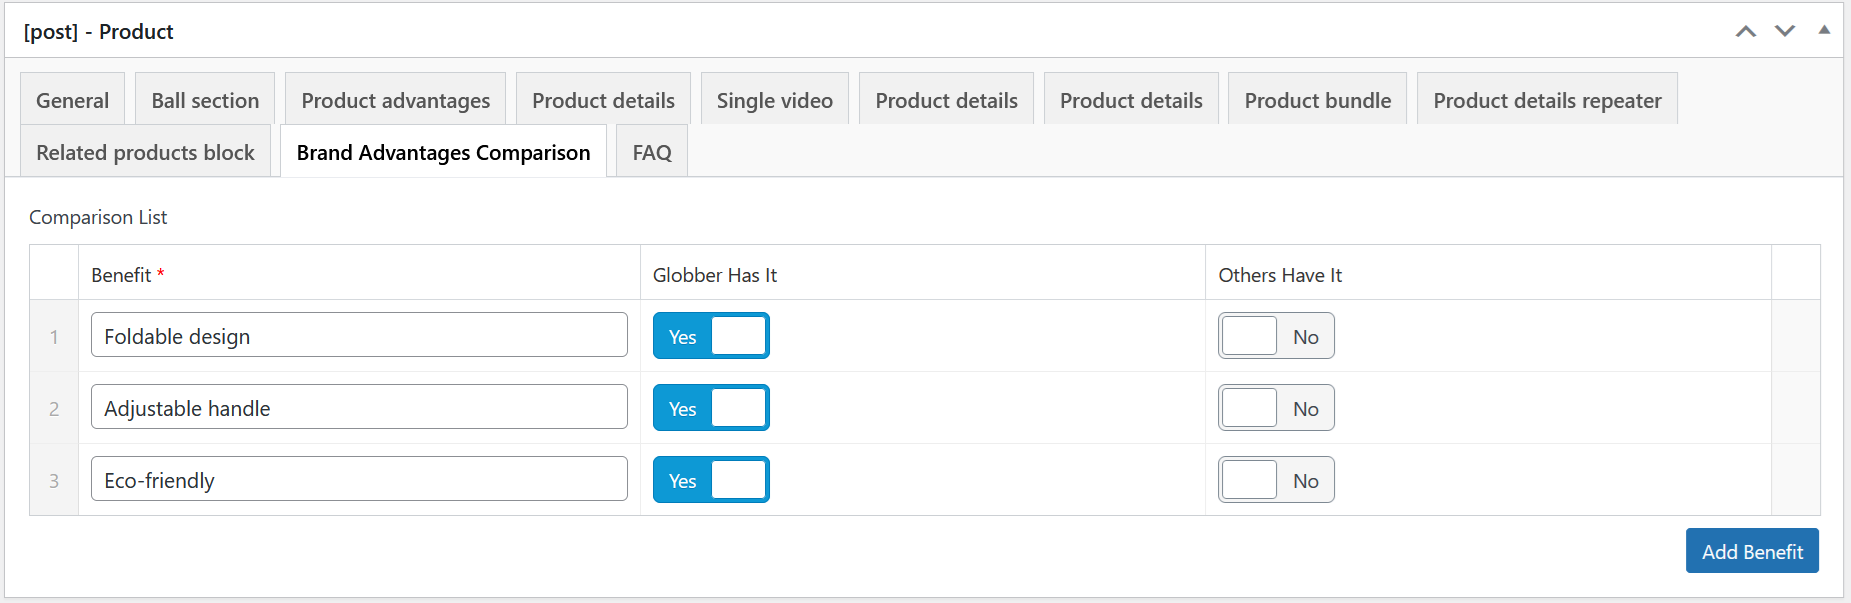
Under [post] - Product, you can add different benefits and select whether Globber or competitors have/don't have the benefit.

In the product edit screen, scroll to the [post] - Product panel and open the Brand Advantages Comparison tab.
These are the different fields:
- Benefit: Required short label for the advantage (e.g., “Foldable design”).
- Globber Has It: Toggle to confirm the benefit is available for the Globber product.
- Others Have It: Toggle if competitors also have it.

Tips
- Keep benefit labels short (3–6 words) and consistent in style.
- Aim for 3–8 items for best readability.
- Avoid duplicating the exact phrasing already used in Key Benefits; focus on quick, comparable points.
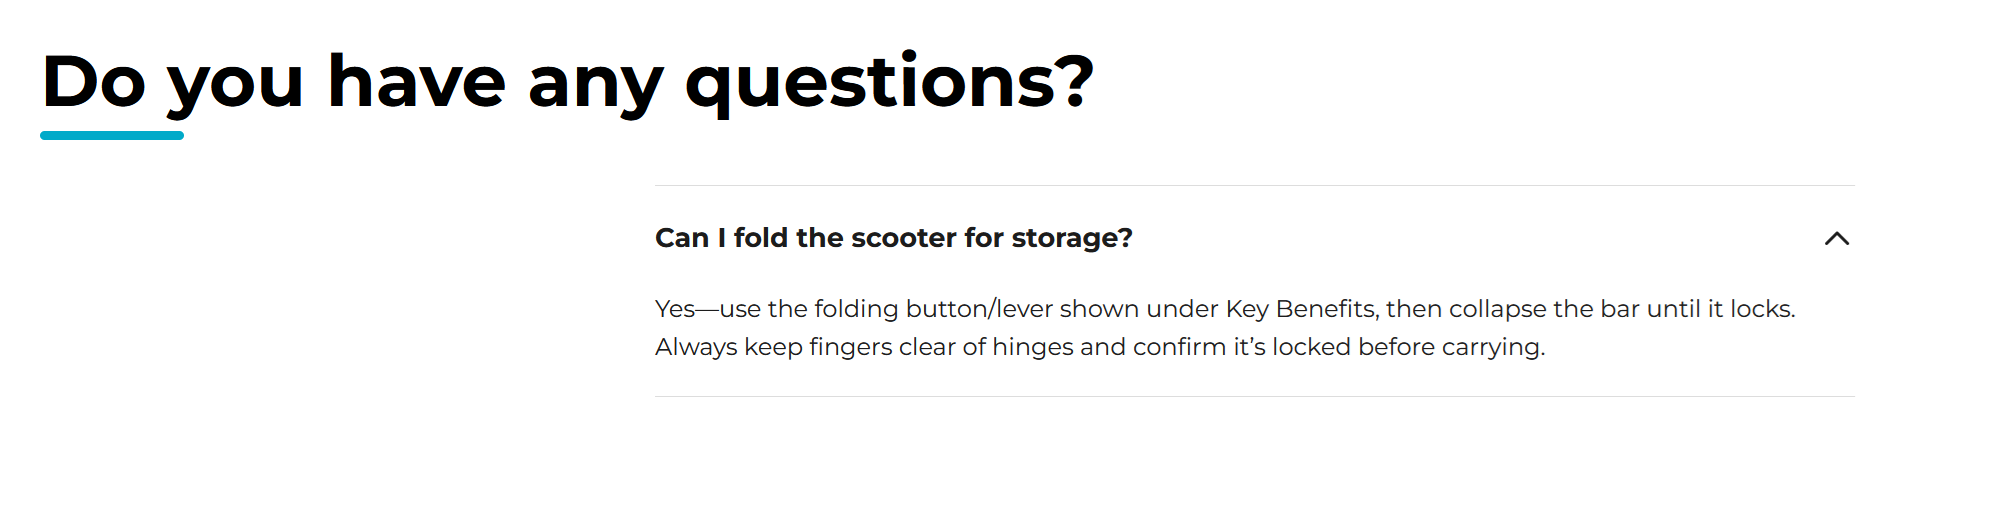
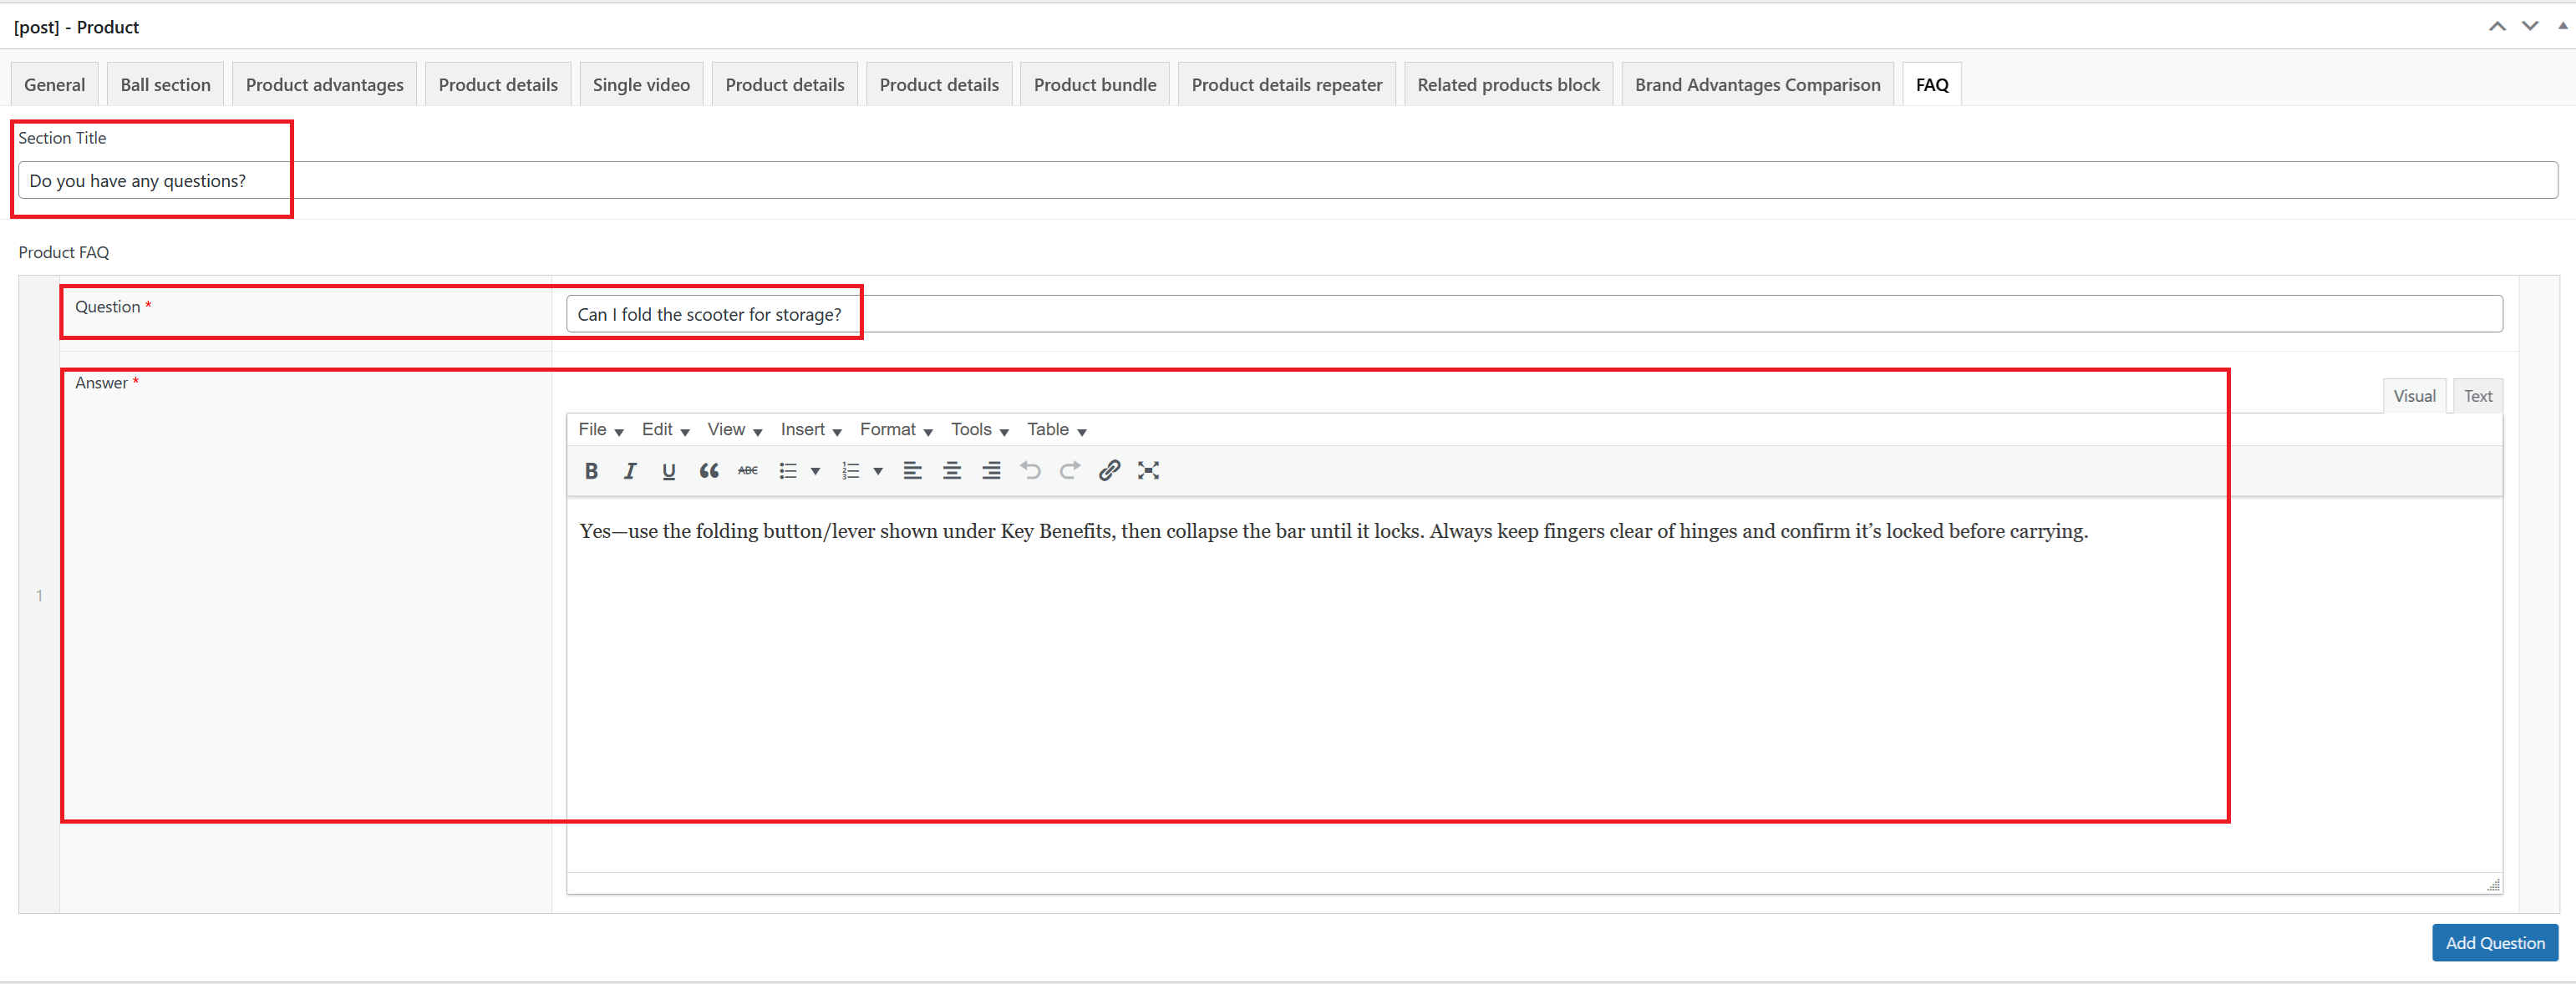
13. FAQ
You now can show use an FAQ section to address common customer questions directly on the product page.
In the product edit screen, scroll to the [post] - Product panel and open the FAQ tab. Click Add Question to get started.

These are the relevant fields:
- Section Title: Optional header shown above the FAQ list (e.g., “Do you have any questions?”).
- Product FAQ: Repeater with the following per row:
- Question: Required short question.
- Answer: Required answer; supports formatting (bold, lists, links, etc.).
Tips
- Keep questions clear and scoped to the product.
- Use concise answers; prefer bullets for multi‑step guidance.
14. Manually Import/Export New Features
Since the product advantages alternative view, brand advantages comparison table and FAQ are brand new features, they will need manual importing to utilise these features effectively.
Please contact the Globber IT team for the template before setting up these new features.
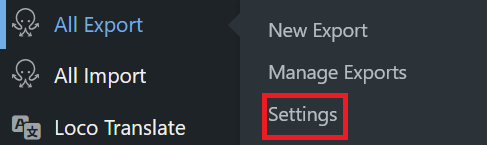
After receiving the template, navigate to All Export and select Settings.
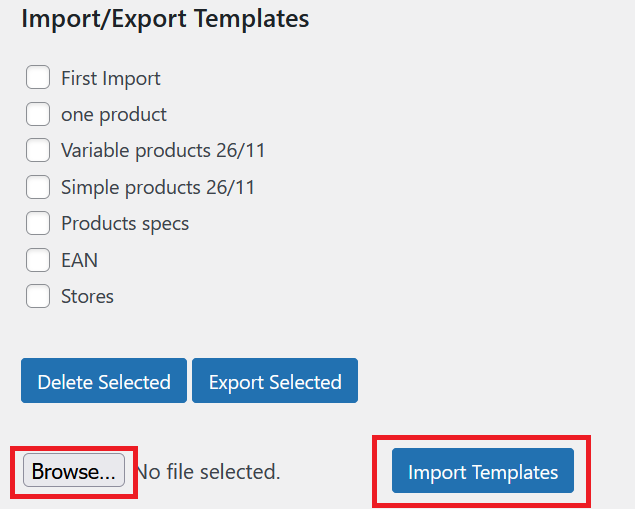
Click Browse and insert the template file provided by Globber IT team.
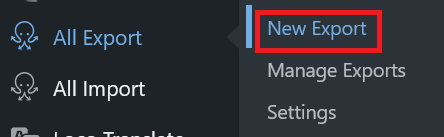
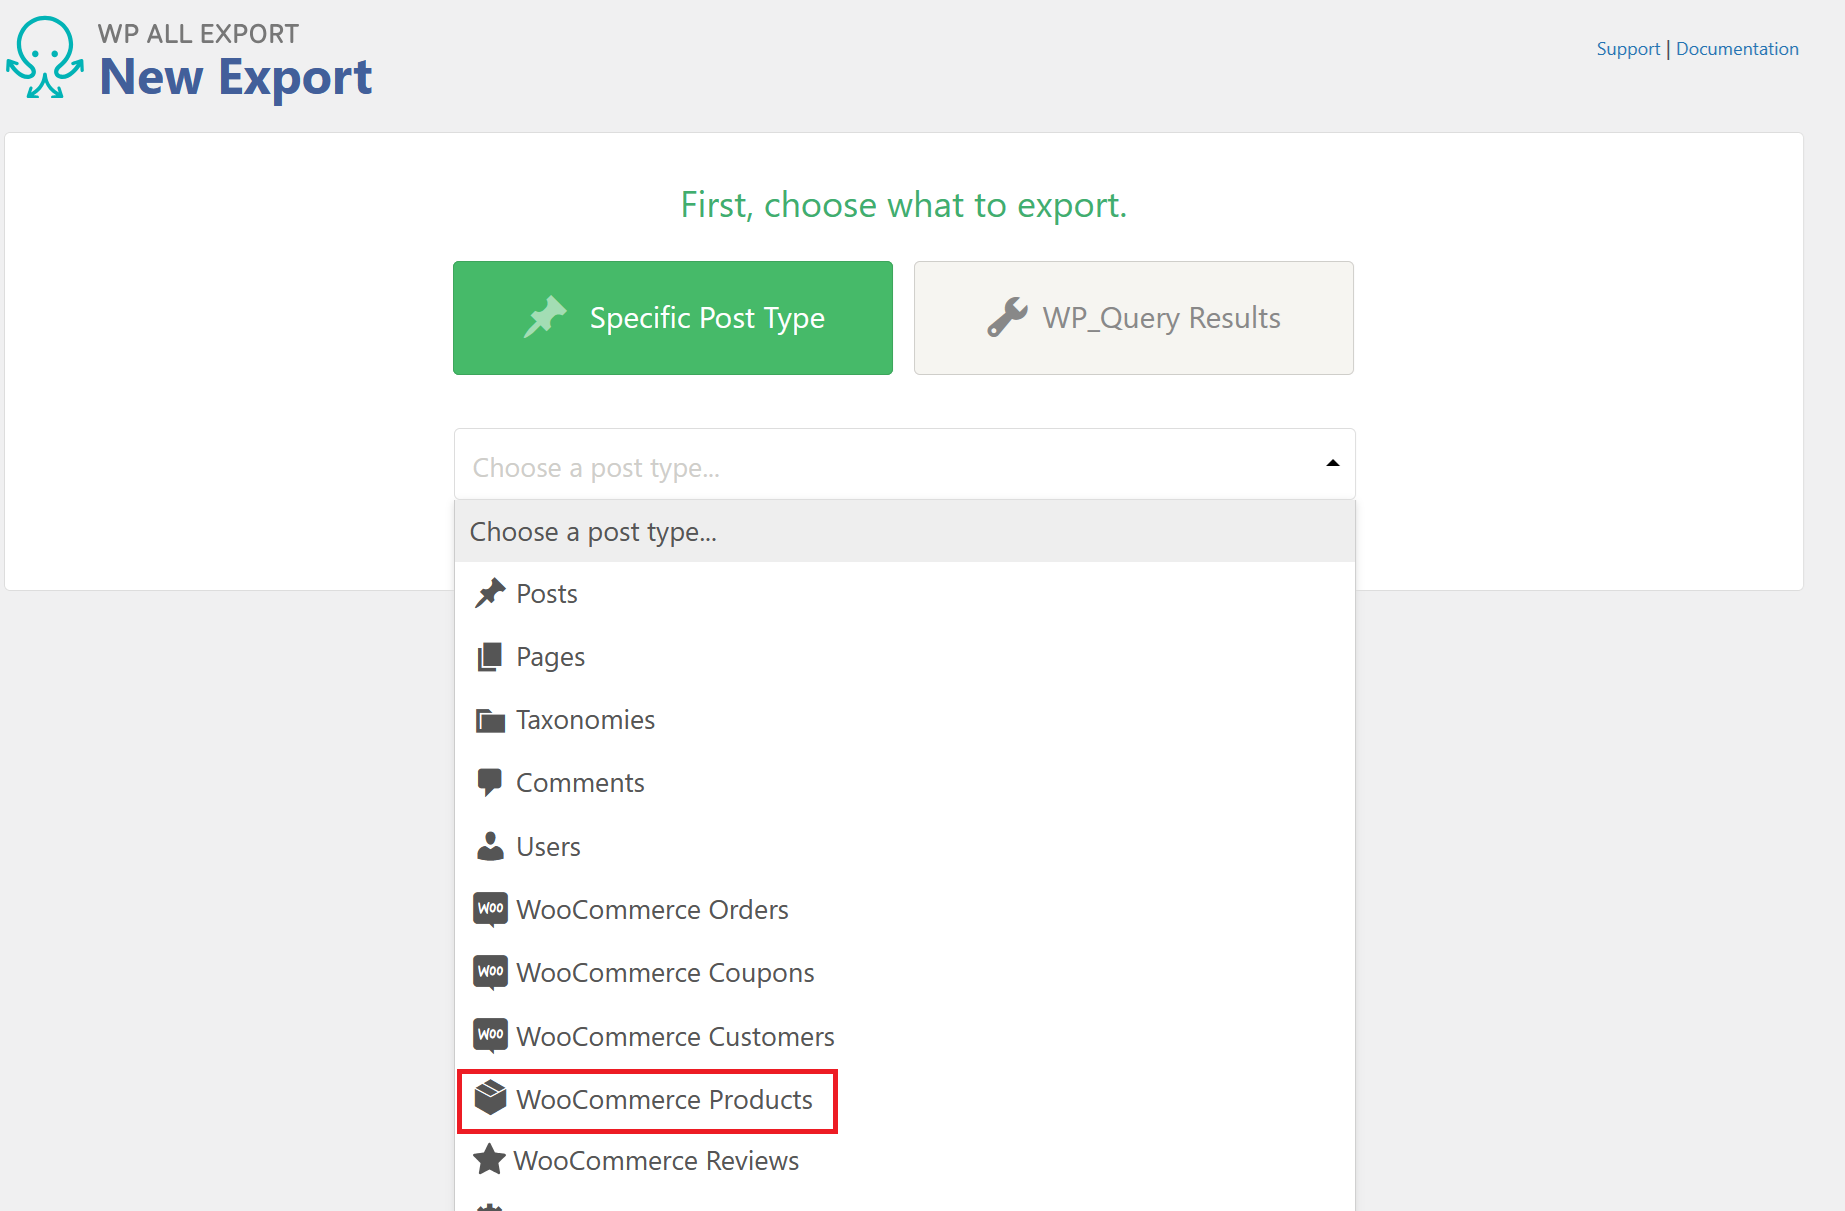
Once the template has been uploaded to your Globber subsite, go back to All Export and select New Export.
In the New Export menu, select WooCommerce Products.
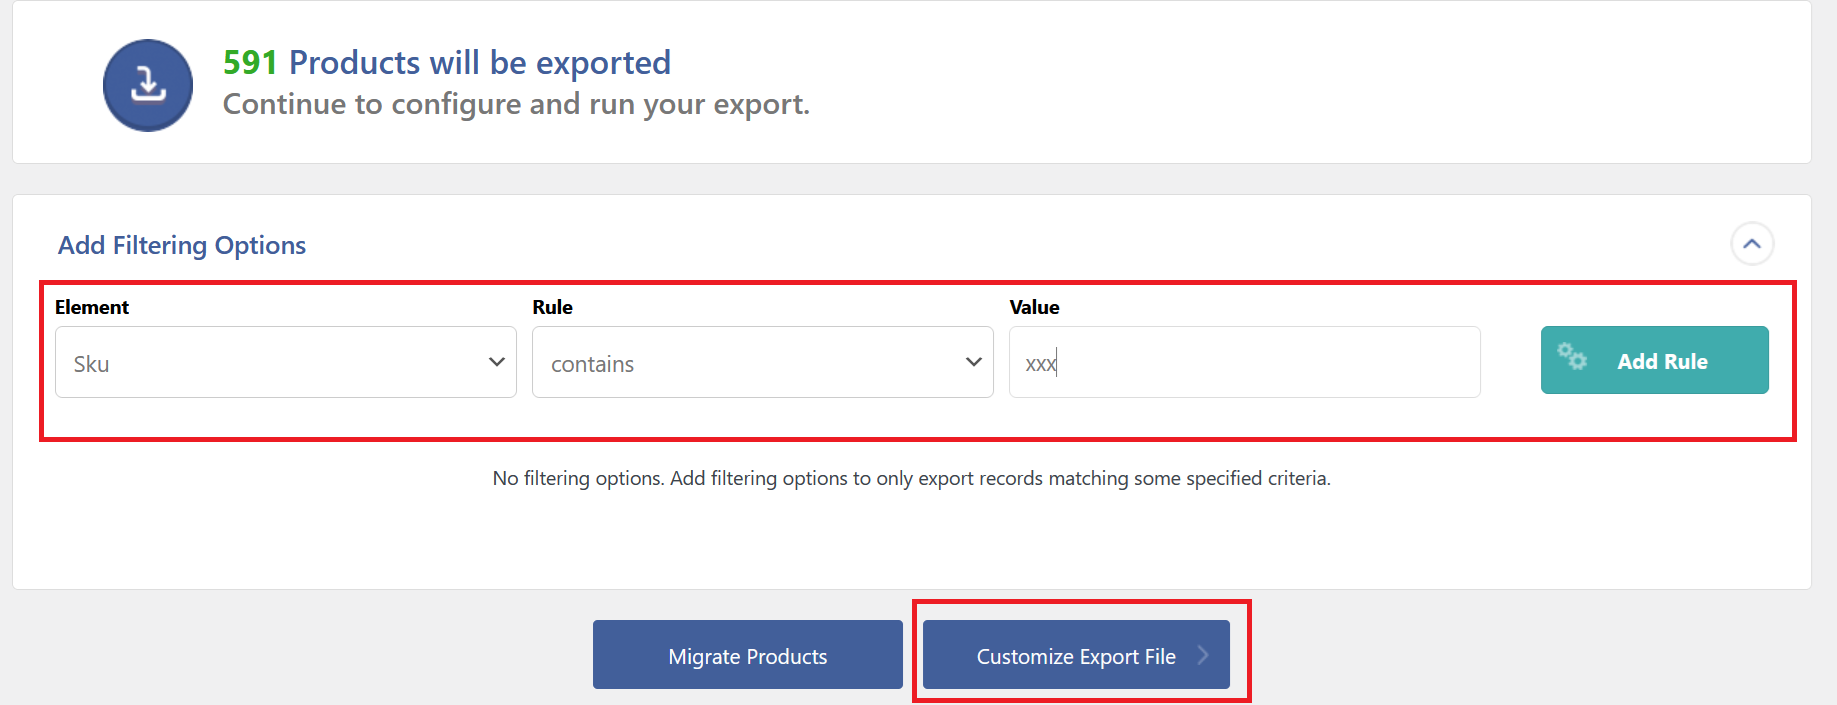
Before you move to the next step, add a filtering option for Sku, contains, xxx - this will filter out redundant product information since there are product variations in the website.
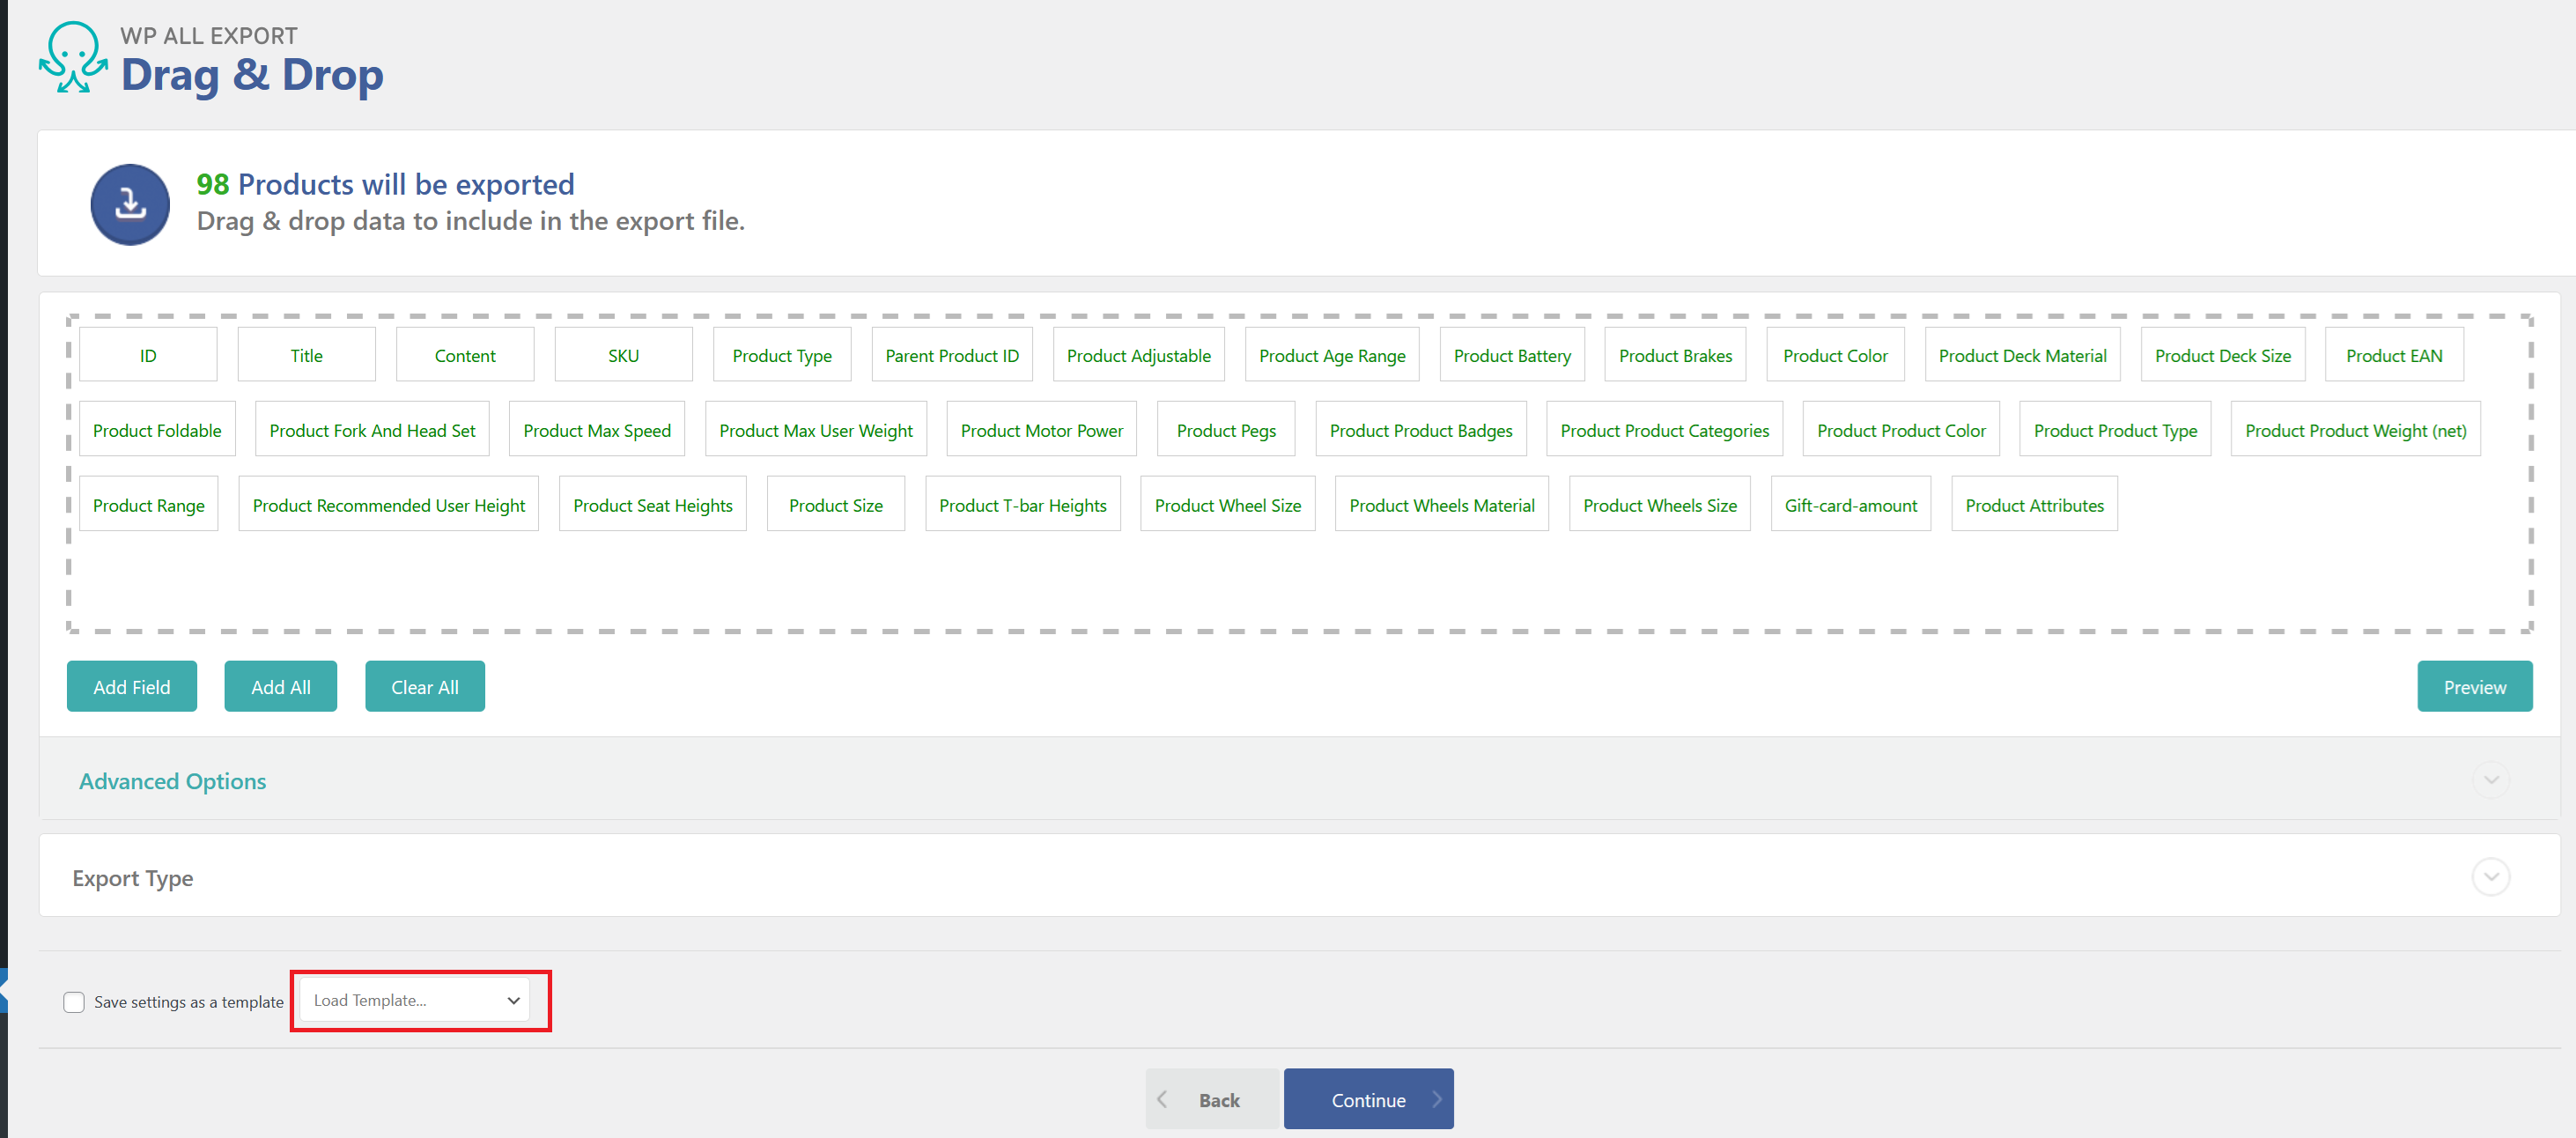
In the drag & drop section, select the Load Template box.
Select the template you imported.
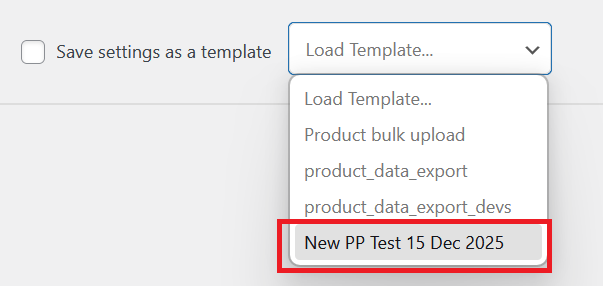
Once the template is loaded, select Continue.
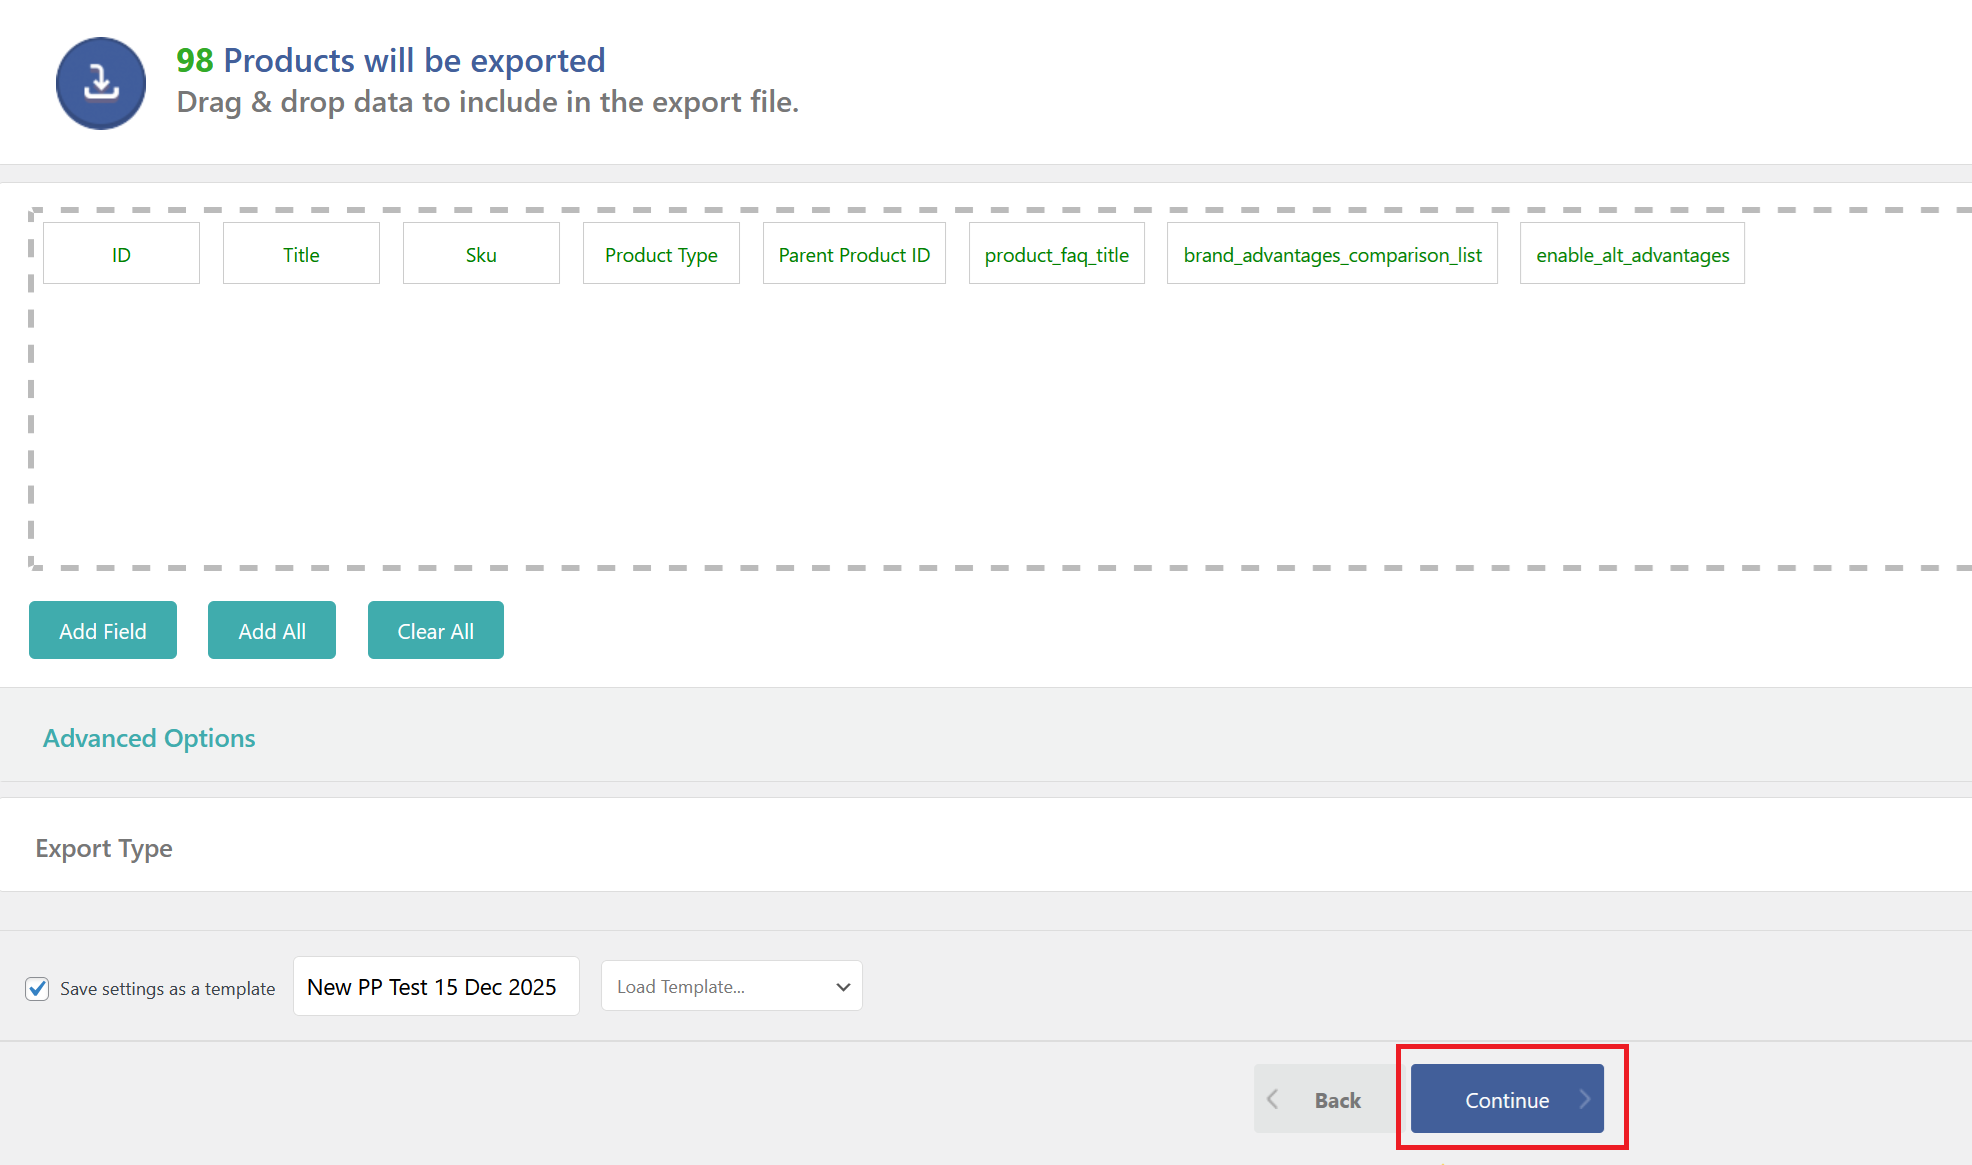
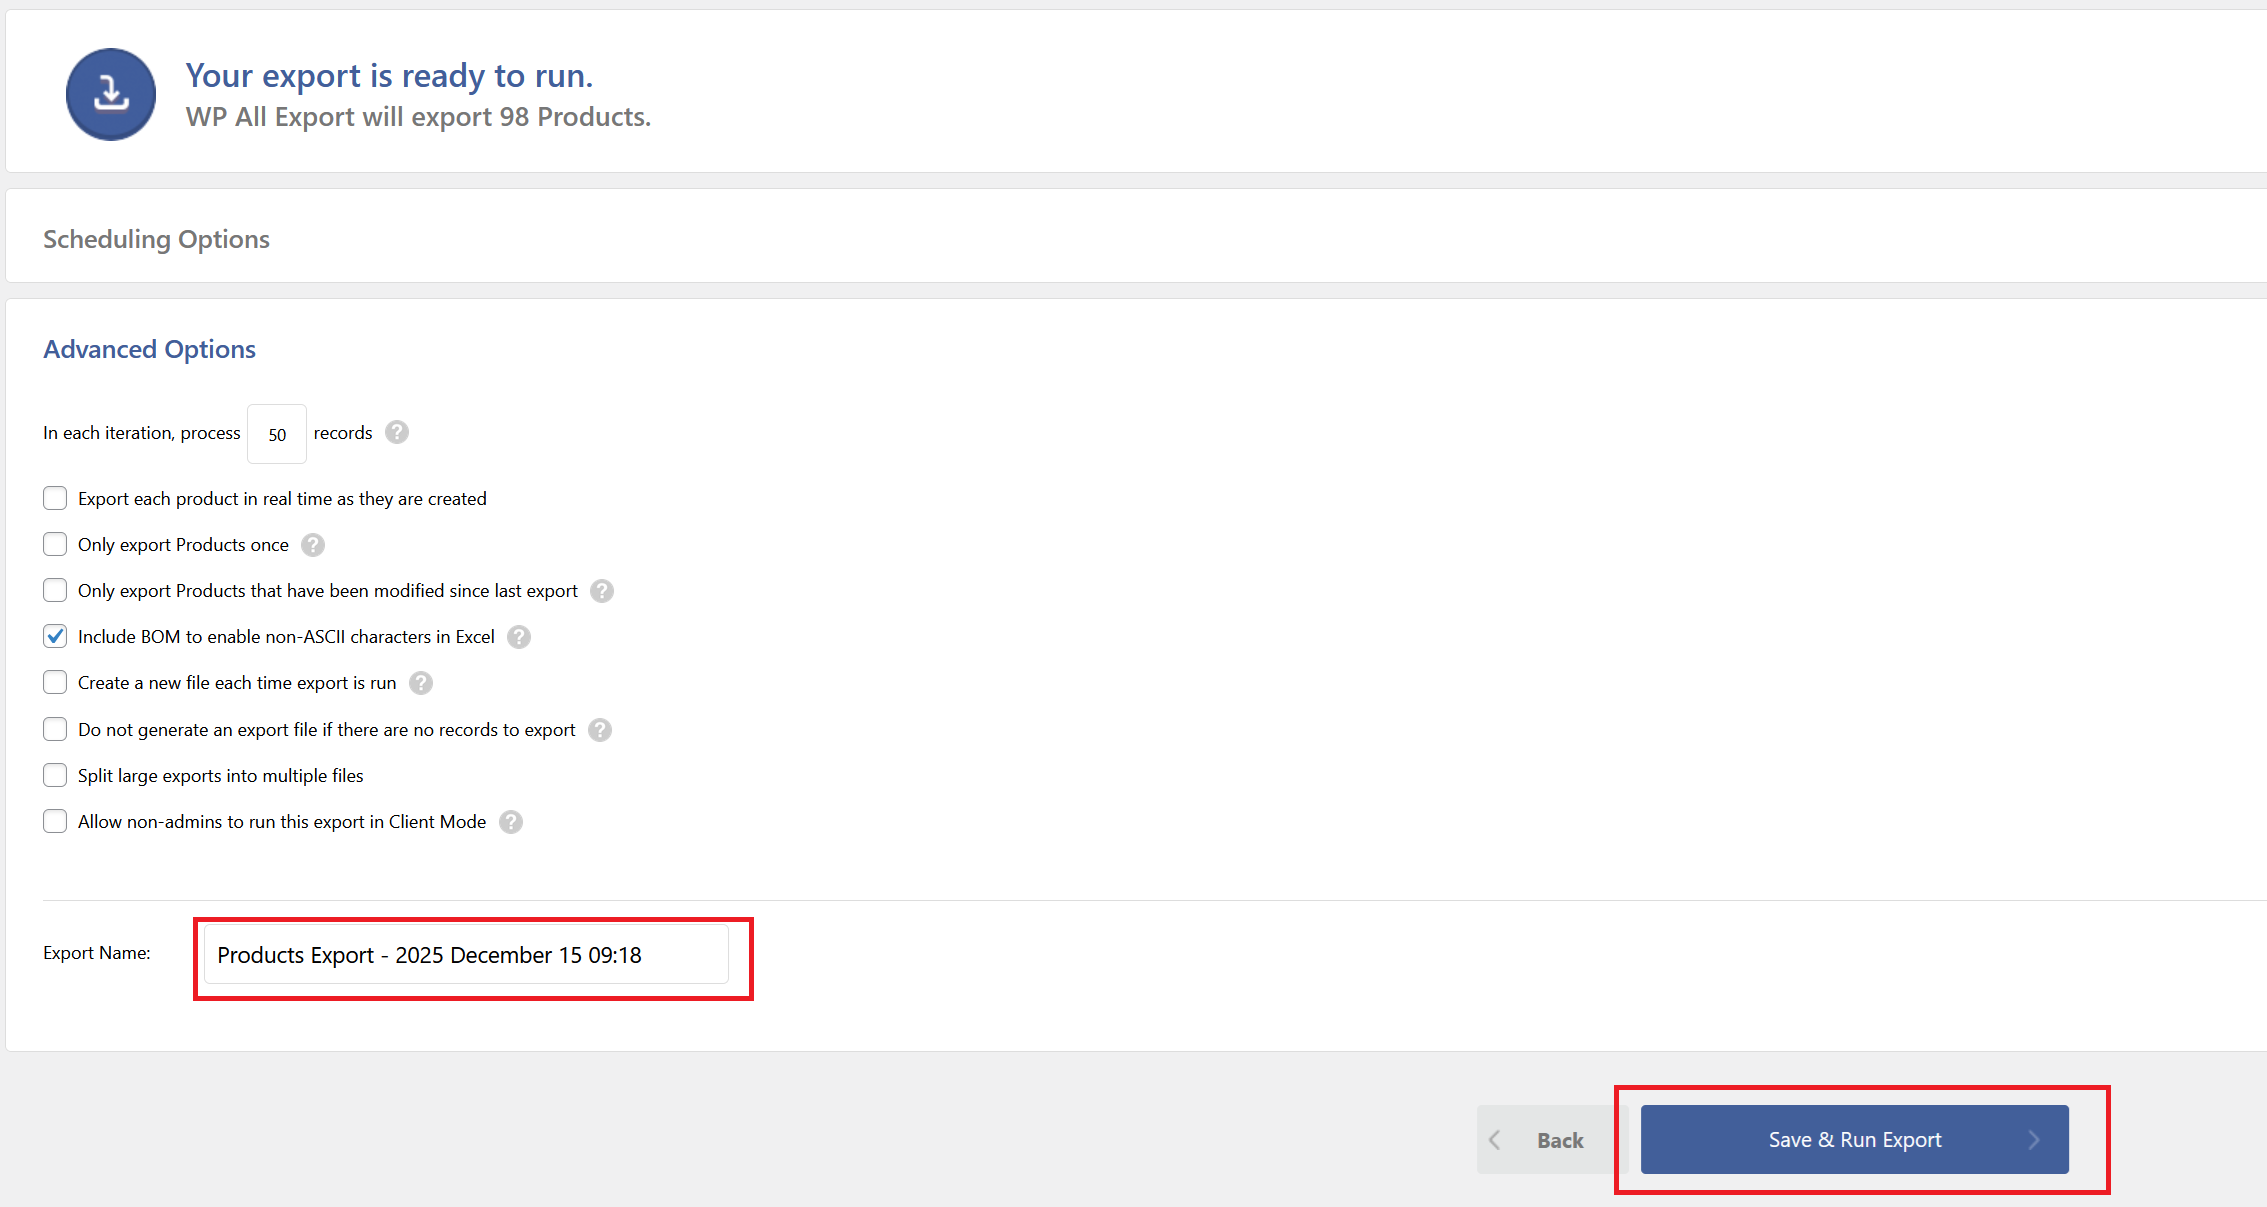
You can re-name the Export file name. When you're ready, click Save & Run Export.
In the excel file, you will have these type of fields to fill in for the new product features:

Field Explanations
product_faq_title
Text value for the FAQ section header (e.g., "Do you have any questions?").
product_faq_items
Number indicating total FAQ entries.
enable_alt_advantages
Value 0 for no and 1 for yes to enable the alternative key benefits display at the bottom of the product gallery.
brand_advantages_comparison_list
Number indicating total brand comparison items.
brand_advantages_comparison_list_0_benefit
Text value for the benefit label (e.g., "Benefit 1", "Eco-friendly").
brand_advantages_comparison_list_0_globber_has_it
Toggle value (0 or 1) indicating if Globber has this benefit.
brand_advantages_comparison_list_0_others_have_it
Toggle value (0 or 1) indicating if competitors have this benefit.
Note: To add more benefits, use the pattern brand_advantages_comparison_list_1_benefit, brand_advantages_comparison_list_2_benefit, etc., with their respective globber_has_it and others_have_it fields.
product_faq_items_0_question
Text value for the first FAQ question.
product_faq_items_0_answer
HTML-formatted text for the first FAQ answer (supports paragraph tags, formatting).
Manually Importing New Features
Once you finished filling in the export file, navigate to All Import and select Settings.
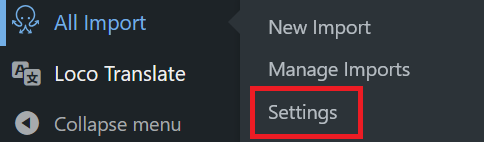
Similar to the inital steps, click Browse and insert the template file provided by Globber IT team.
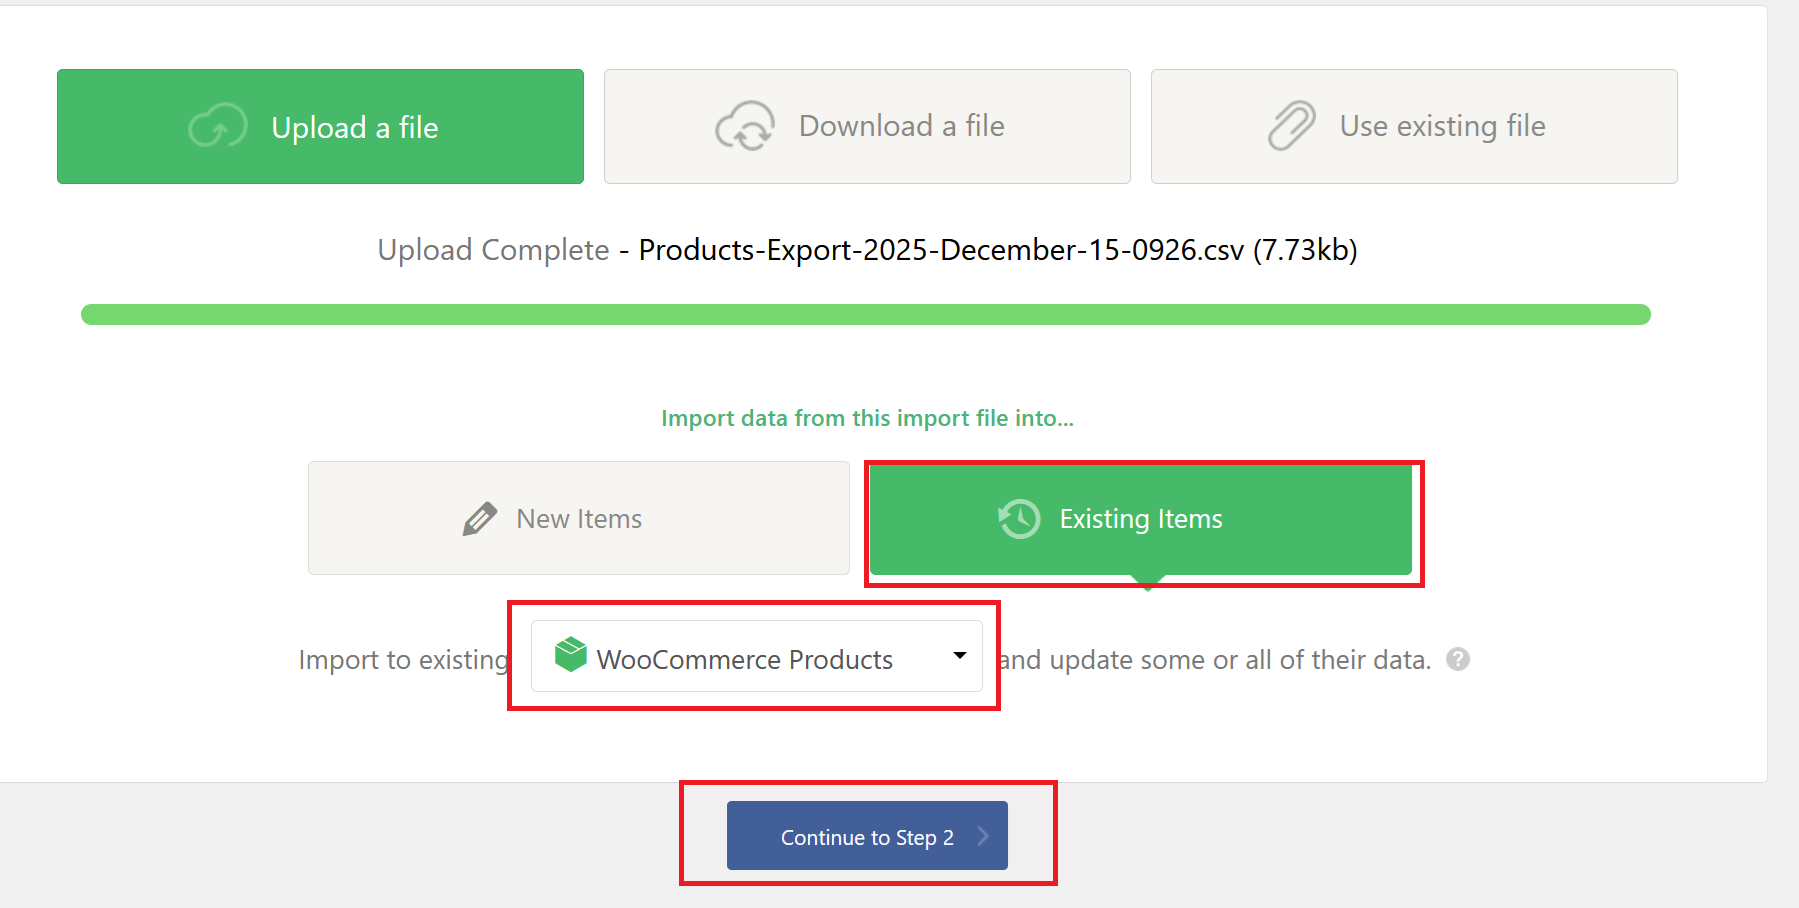
Once the template has been uploaded to your Globber subsite, go back to All Import and select New Import.
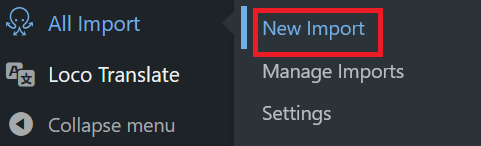
From here, select Existing Items, import to existing WooCommerce Products and Continue to Step 2.
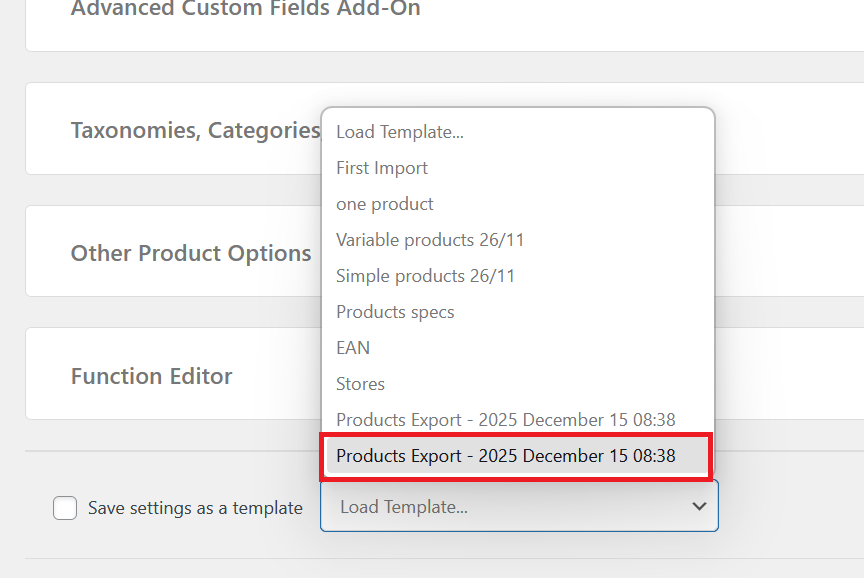
On this page, scroll to the bottom to Load Template and select the template Globber IT team also provided you with.
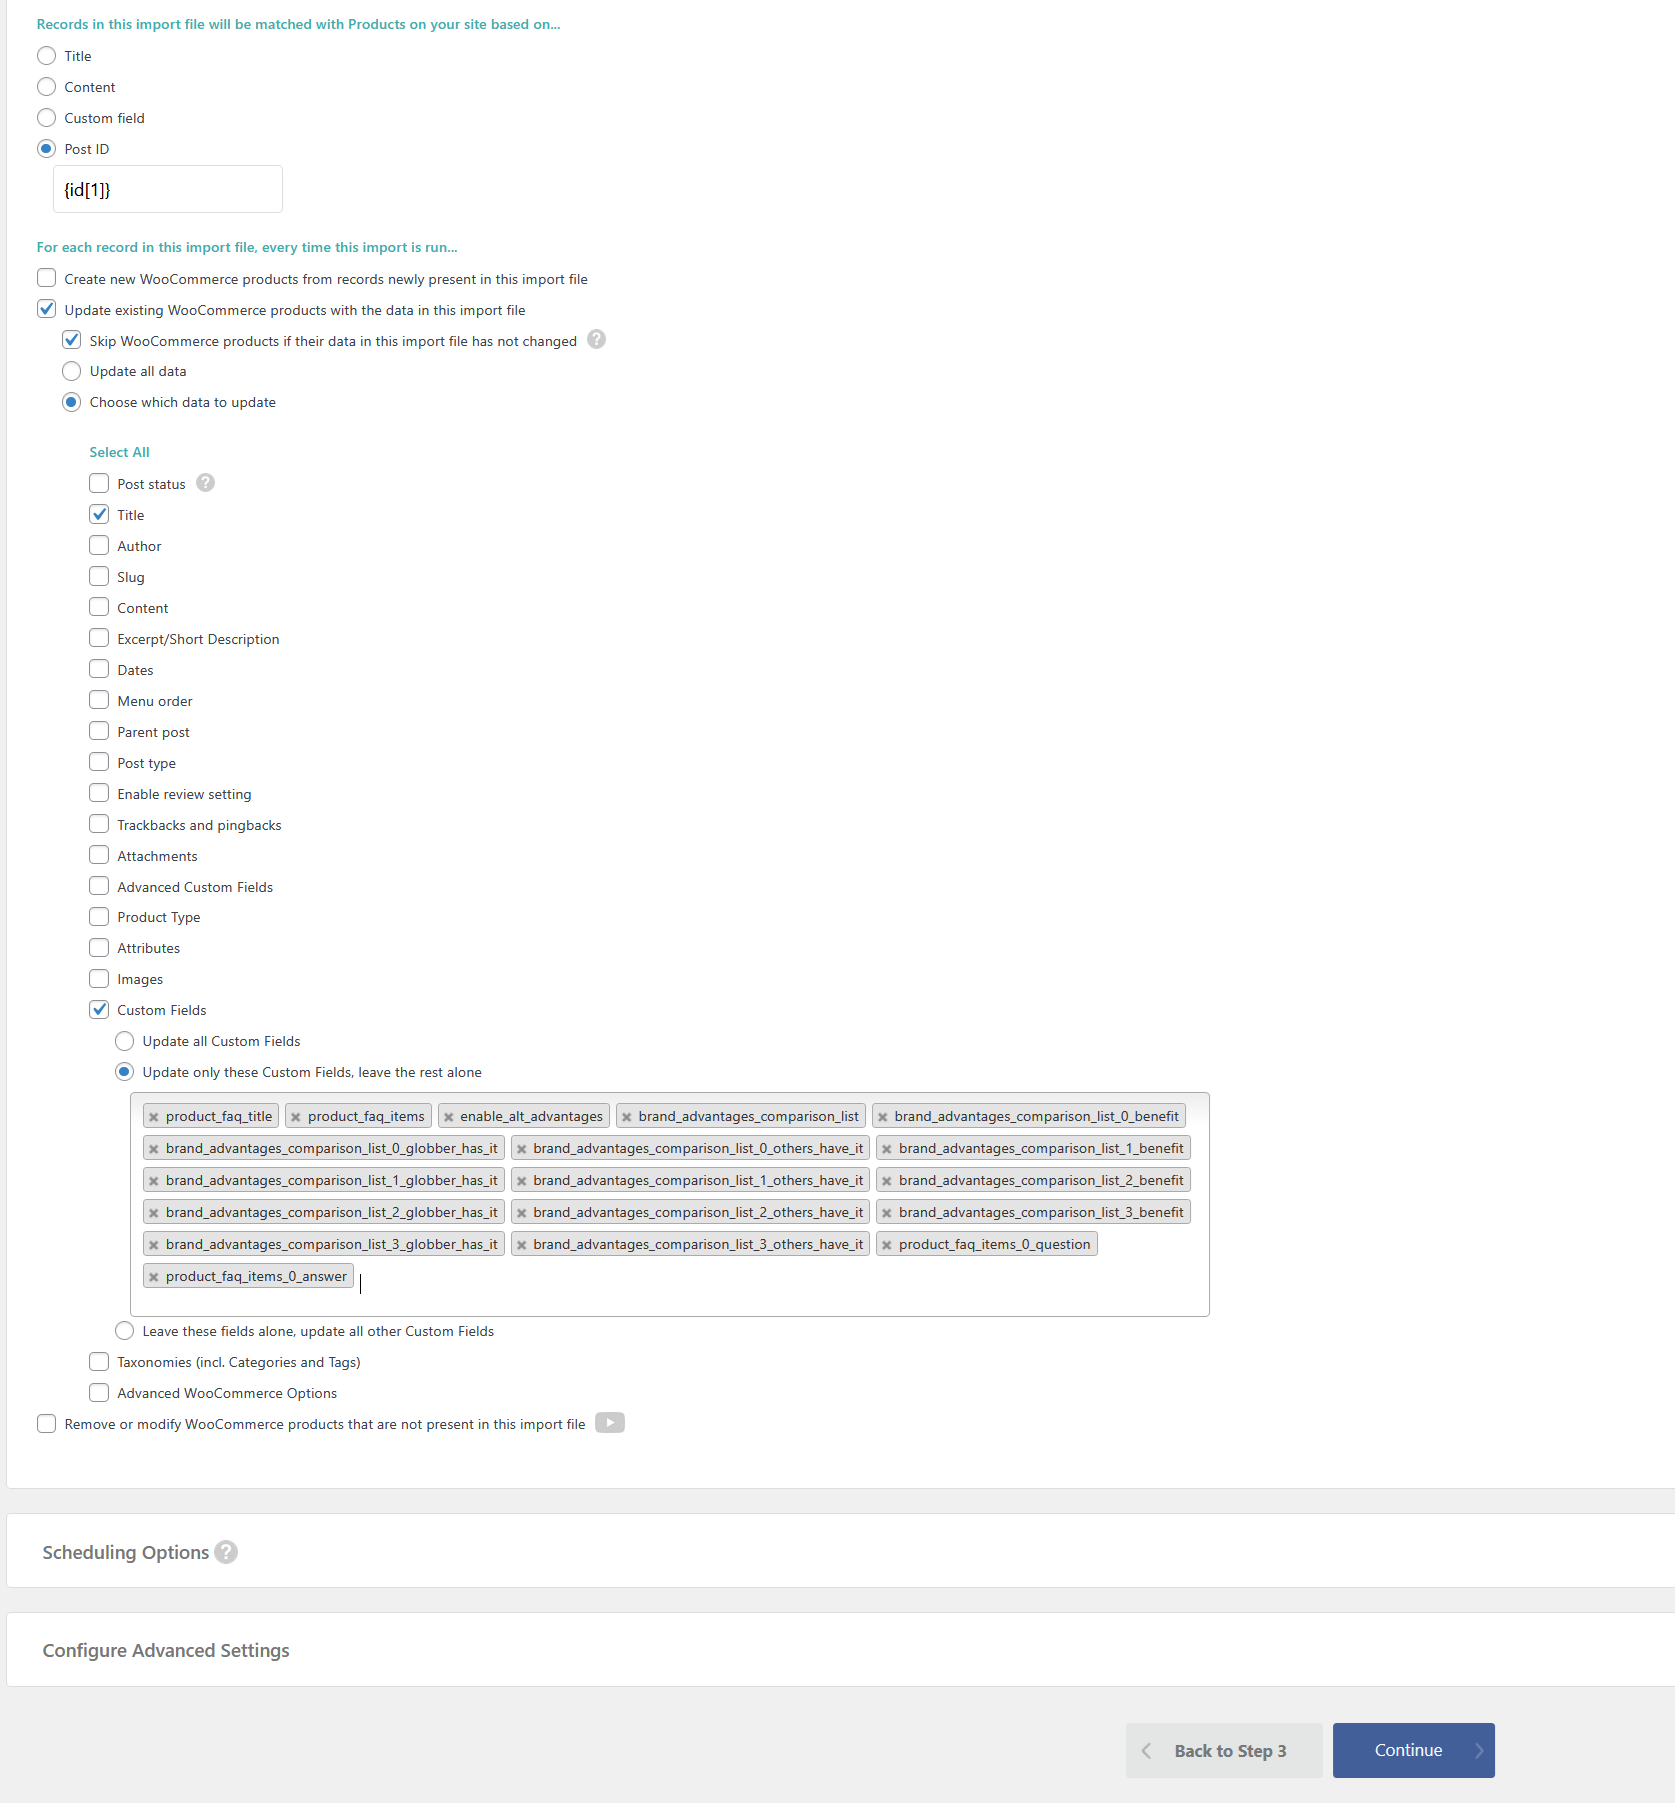
Once loaded, proceed to Step 4 to continue the import process.

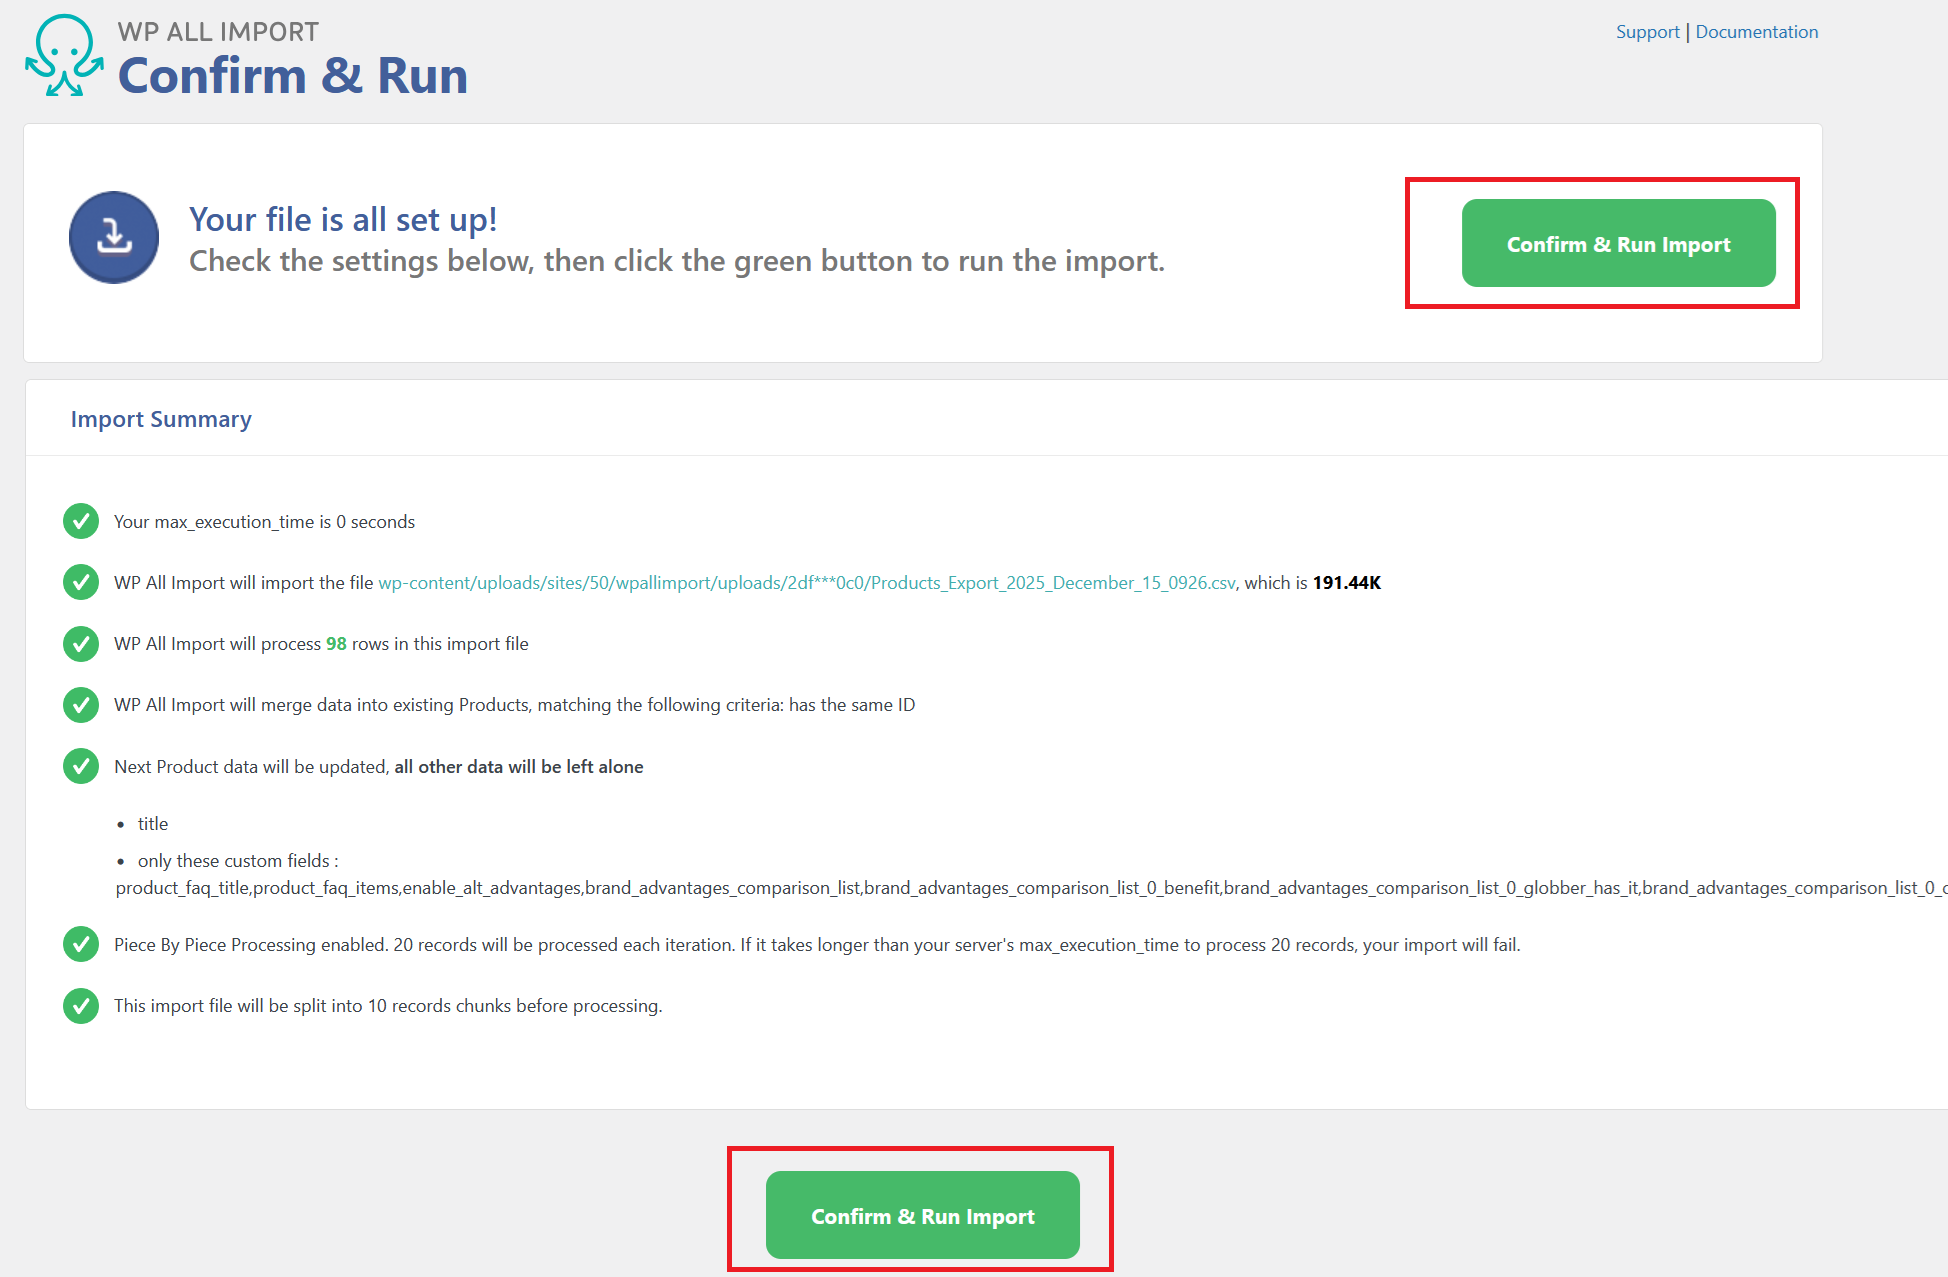
The template should have configured the final step of the import process, when you are ready, select Continue.
Click Confirm & Run Import and you're done!