Discounts
This page explains how to manage discount tags for products in WordPress.
The discount is a taxonomy that links to pages, allowing you to associate products with discounts and create an automatically generated discount page.
You can promote discounts with the top banner, which is covered in this page.
Create Discounts
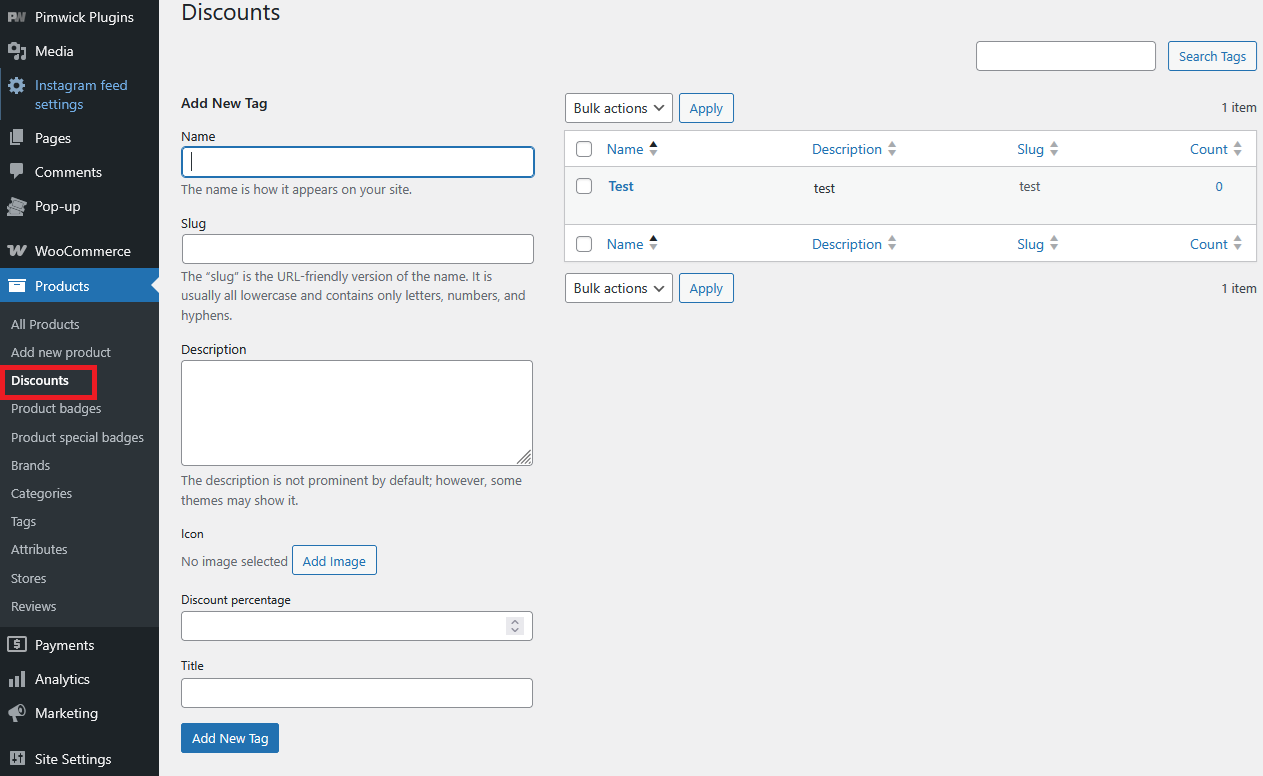
Navigate to Products > Discounts on the left-hand side menu.
You can add a discount tag to any product by editing that product and selecting the tag on its edit page.


Top Discount Banner
In WordPress, navigate to Products and select Discounts on the left-hand side menu.

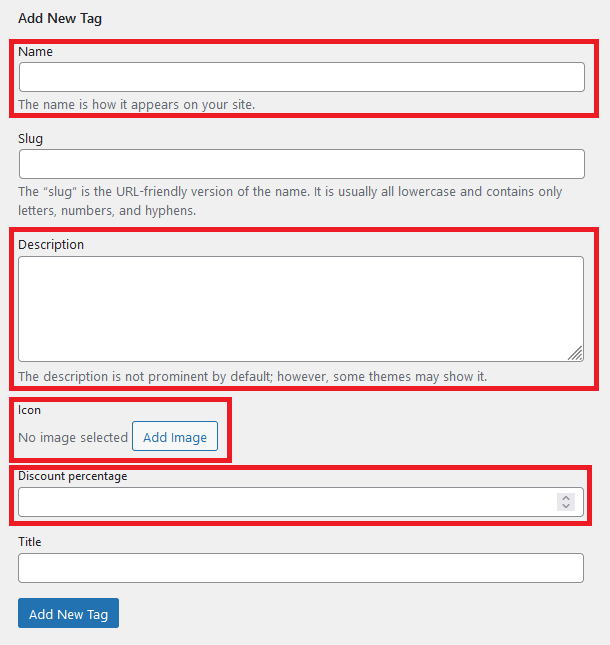
In the left-hand side of Discounts section, under "Add New Tag", fill in the Name, Description, Icon and Discount percentage fields.
-
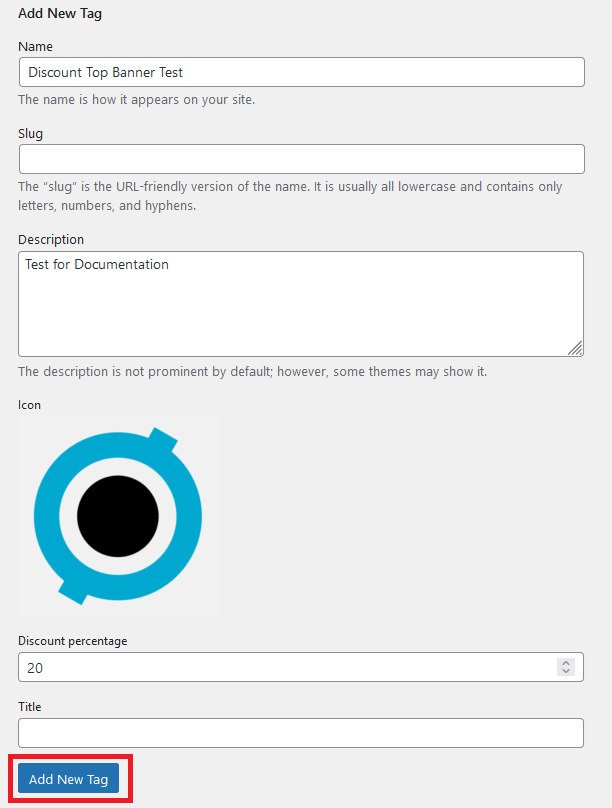
Name is where your banner message will be displayed too.
-
Description will be a sub-header displayed inside your discount banner page.
-
Slug field can also be filled in, but it's typically generated by default based on the discount's name, so it's your choice whether to modify it.
-
Under [taxonomy] discount section, if you leave the Discount percentage field empty, banner text won't display at all.
For icons, only small images can be inserted. Larger images that aren't considered icons will not display and will instead appear as a grey box icon.
When you are ready to publish, select Add New Tag.
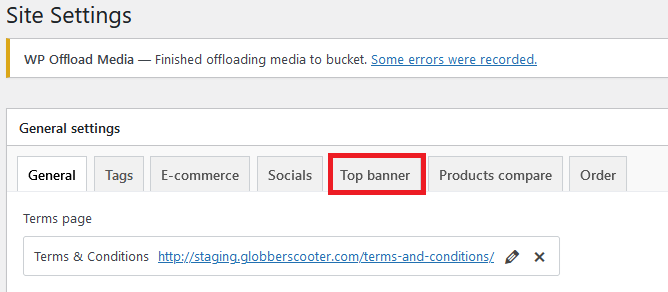
Once discount is created, hover over to the left-hand side menu, navigate to Site Settings and select Site Settings.

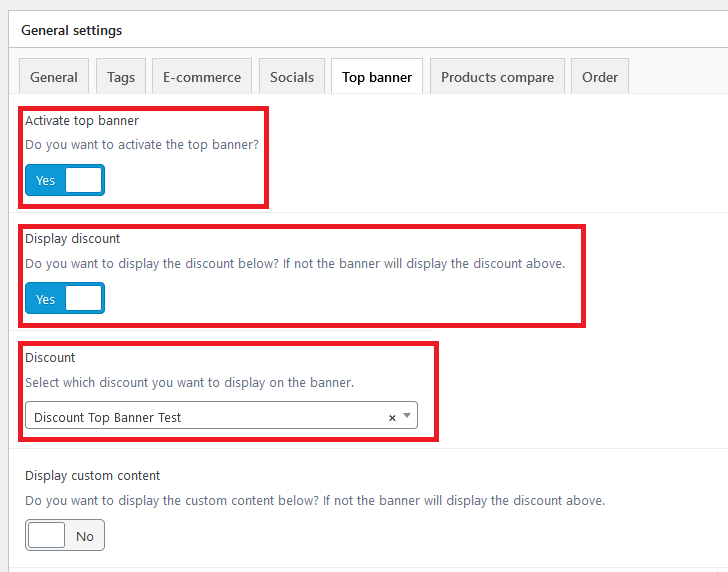
Under General Settings in Site Settings, select Top banner tab.
To activate Top Banner discount promotion, ensure the following settings are set:
- Activate top banner - Yes
- Display discount - Yes
- Discount - select your created discount
When you're ready to publish your discount banner, click Update on the right-hand side under Publish box.

Now you can view your discount banner on your Globber website.
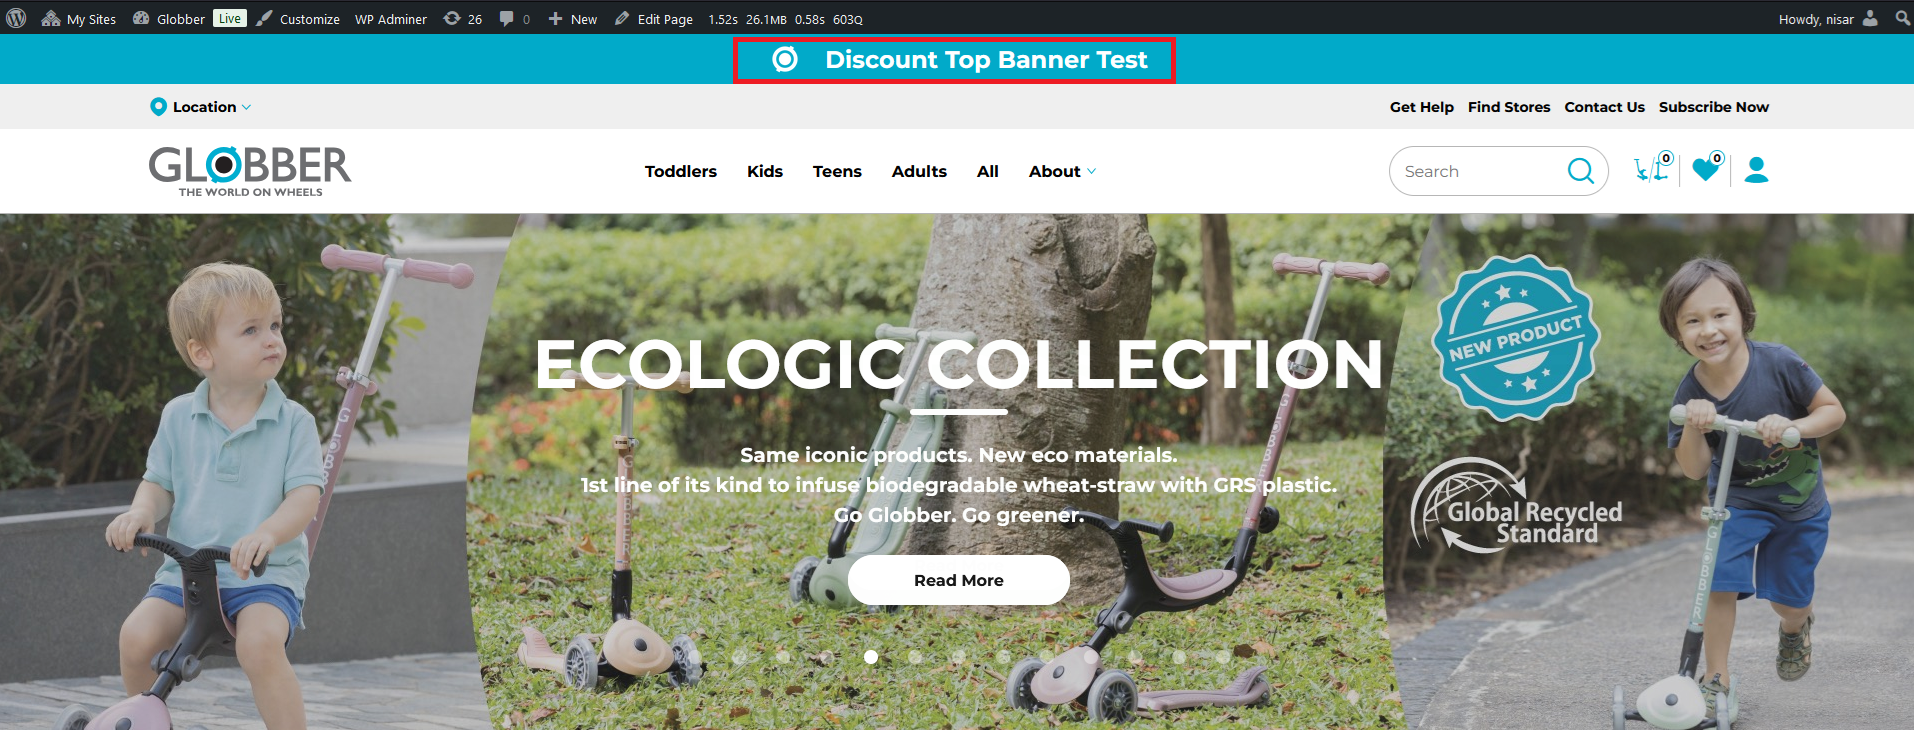
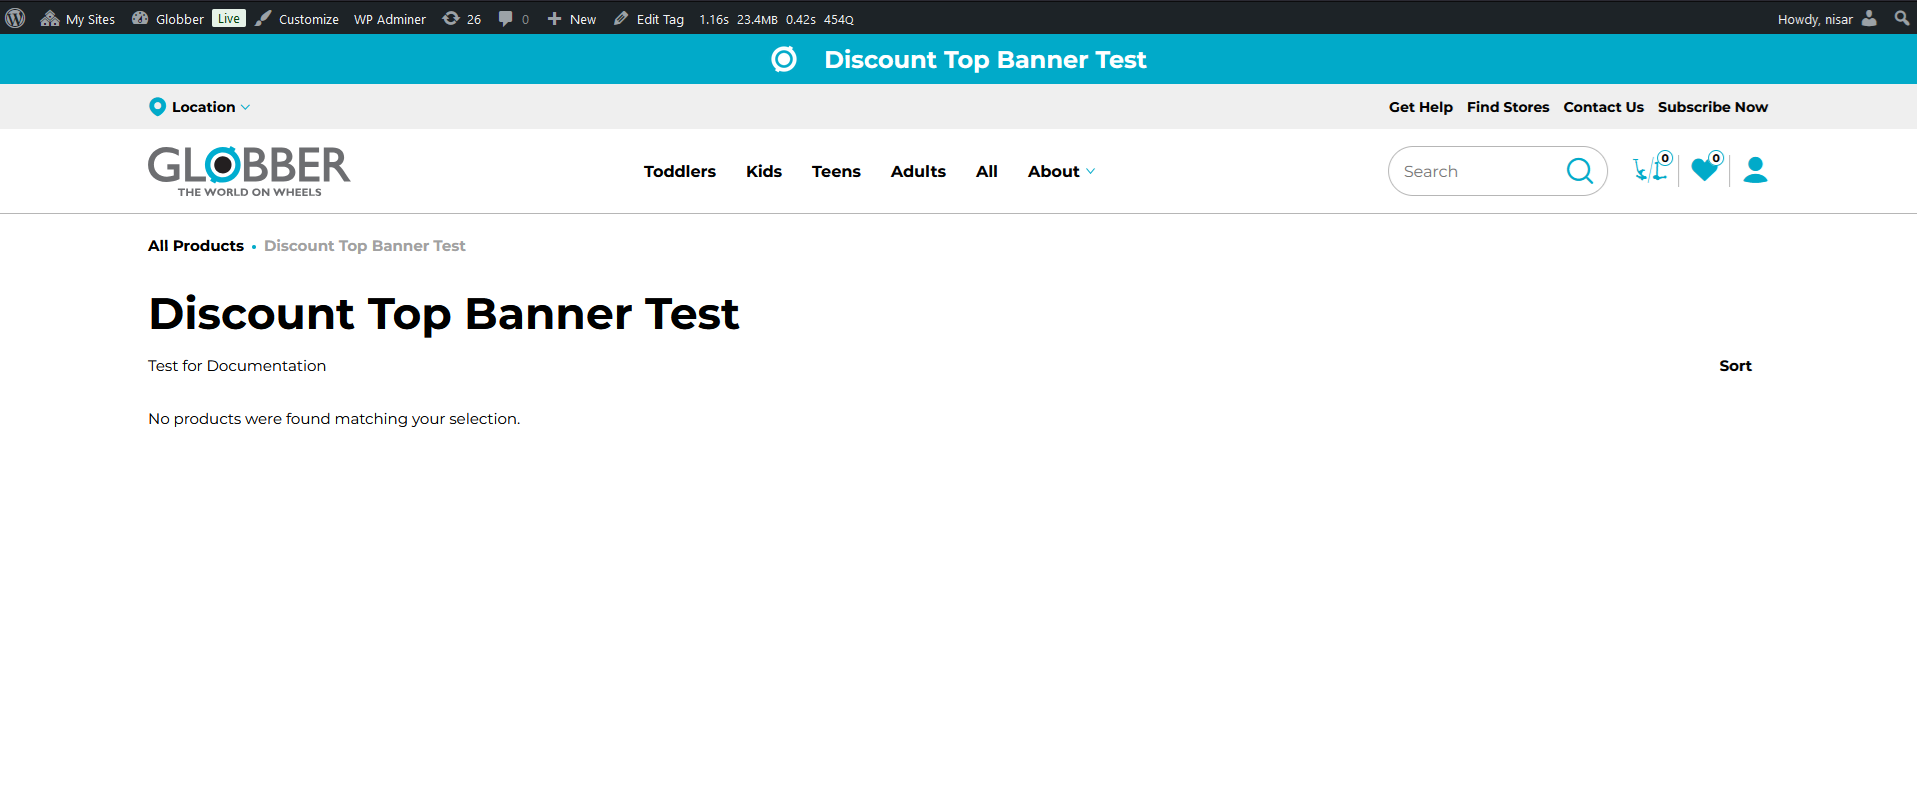
Clicking on the text displayed on the discount banner will take you to the discount banner page.
You can select specific products to display on this page, which we will cover in the next section.
Add Products Inside Top Discount Banner
To select the products you'd like to highlight on the Discount Banner page, navigate to Products in WordPress's left-hand side menu and select All Products.

Click Edit on the specific products you'd like to add into Discount Banner page.

On the right-hand side menu of the product page, enter your created discount in the Discounts box and select it from the options.

Once selected, click Add to confirm your product with the chosen discount.

Next, click Update under the 'Publish' box to save your changes to the selected product.

You can now see all the products you've selected on the discount page.
Important Notes
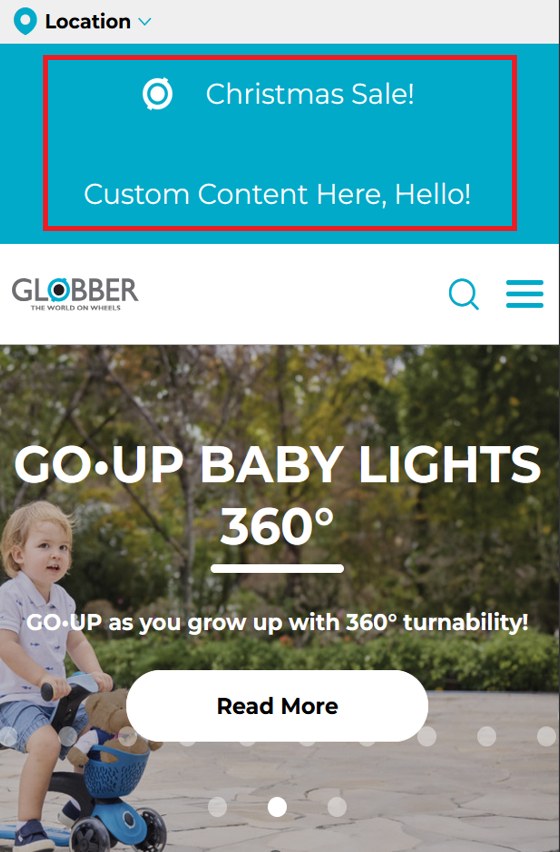
Using Top Banner Custom Content with the Discount Banner may cause spacing issues. Please consider this on the Globber regional site. For more information on Top Banner's custom content, refer to documentation here.
Only small images are accepted for the discount banner icon. Images larger than 1000x1000 px will show as a grey box. Please keep this in mind when uploading.
