Globber Gift Cards
The Globber Gift Cards plugin lets you generate, manage, deliver, and redeem branded Globber gift cards directly within WooCommerce. Cards support custom expiration schedules, scheduled delivery, personalised messages, and a full cancellation and refund workflow.
Plugin Settings
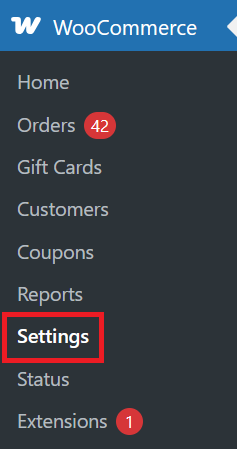
Configure global defaults under WooCommerce → Settings → Globber Gift Cards.

| Setting | Description |
|---|---|
| Enable Gift Cards | Master switch to enable or disable the plugin. |
| Default Expiry Type | The expiry rule applied to new gift card products unless overridden per product. Options: Never expires, Days from purchase, Months from purchase, Years from purchase. |
| Default Expiry Value | Numeric value for the default rolling expiry (e.g. 365 for one year). |
| Expiry Reminder | Send an automatic email reminder before a card expires. |
| Reminder Days Before | How many days before expiry to send the reminder email (default: 7). |
| Code Prefix | Short prefix prepended to all generated codes (default: GLOB). |
| Brand Color | Hex colour used in gift card emails. |
| Terms & Conditions | Text shown next to the gift card field at checkout. |
| Auto-Cancel on Refund | Automatically cancel gift cards when their originating order is refunded. |
| Gift Card Field on Cart Page | Show the redemption field on the cart page in addition to checkout. |
Creating a Gift Card Product
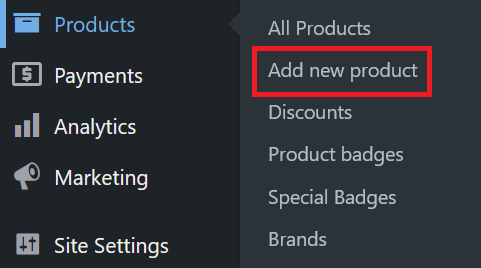
- Go to Products → Add New.
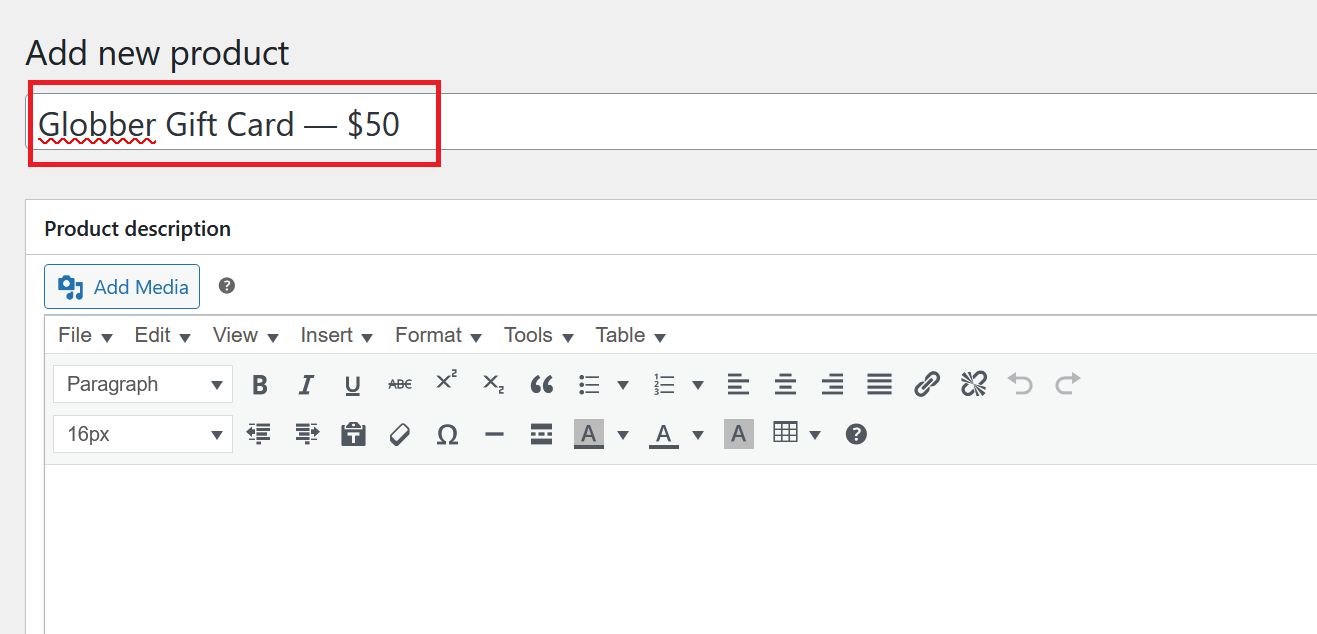
- Enter a product name (e.g. Globber Gift Card — $50).
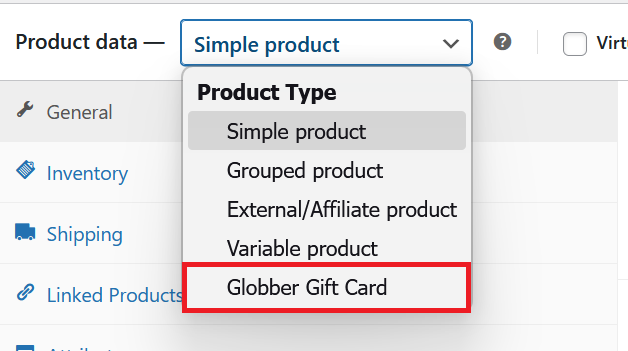
- Scroll down the Product data panel, open the Product type dropdown and select Globber Gift Card.
- In the General tab, set the Regular price — this becomes the card's loaded value.

- Switch to the Gift Card Settings tab and configure:
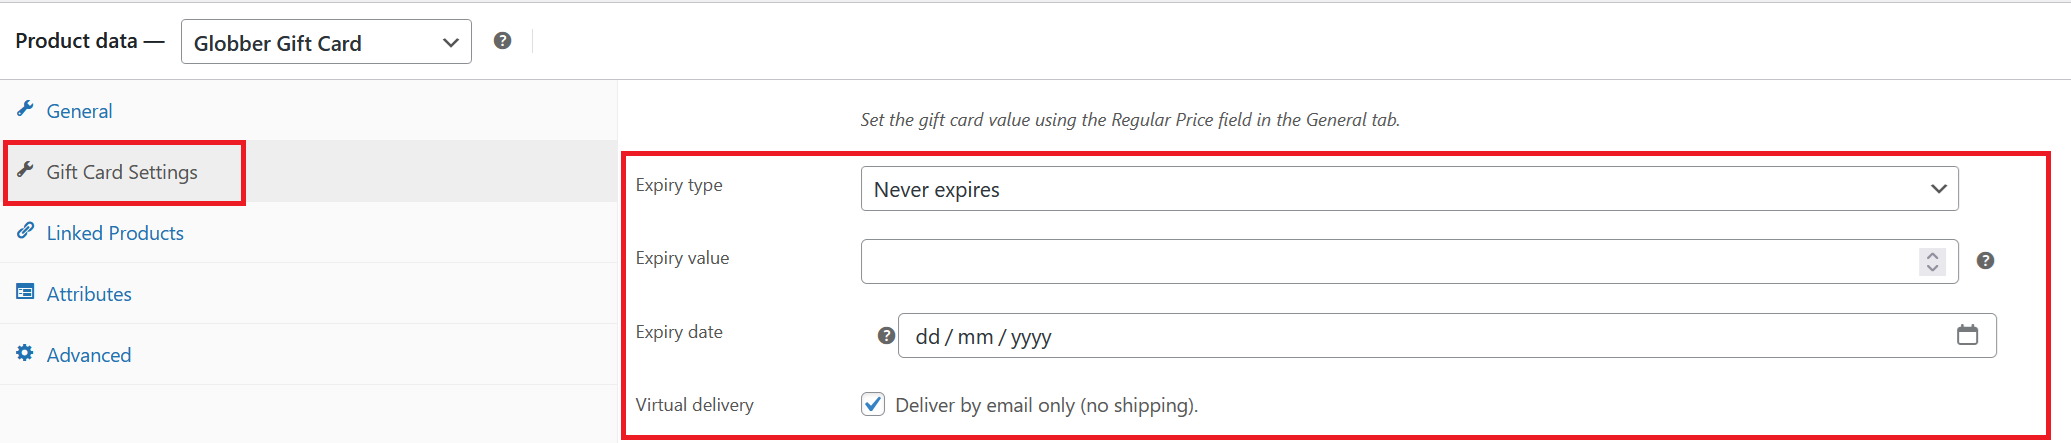
- Expiry type — choose one of: Never expires, Fixed date, Rolling — days from purchase, Rolling — months from purchase, Rolling — years from purchase.
- Expiry value — enter a number when using a rolling expiry type (e.g.
12for 12 months). - Expiry date — select a calendar date when using Fixed date.
- Virtual delivery — tick to deliver by email only (no shipping required). Leave unticked for physical cards.
- Complete the remaining product fields (images, categories, description) as needed.
- Click Publish.
Set the value using the Regular Price field in the General tab — this is the only field that controls the card's monetary value.
Managing Gift Cards
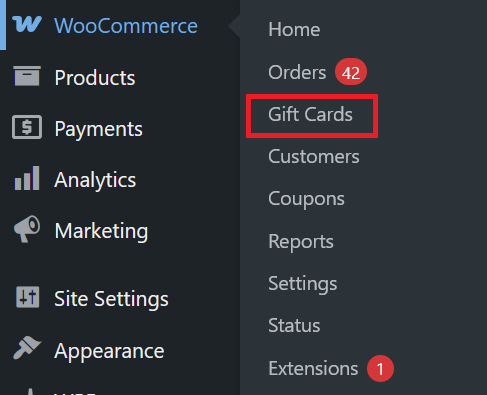
Navigate to WooCommerce → Gift Cards to access the full gift card management panel.
Viewing the Gift Card List
The list table shows all cards with columns for code, status, balance, recipient, and expiry. Use the Search box to filter by code or recipient email.
Available bulk action: select multiple cards and choose Disable to set them to disabled status in one step.
Header actions:
- Create Gift Card — manually issue a new card (see below).
- Export CSV — download a full export of all cards.
- Run Expiry Check — manually trigger the expiry engine instead of waiting for the daily cron job.
Creating a Gift Card Manually
- Click Create Gift Card at the top of the list.
- Fill in:
- Recipient email and Recipient name
- Sender name and optional Message
- Amount (the card's initial loaded balance)
- Expiry type and expiry value/date (optional)
- Scheduled send date — leave blank to deliver immediately, or pick a future date.
- Click Create.
The card is created with status active and the recipient receives a gift card email with their unique code.
Viewing a Single Card
Click any card code in the list to open its detail page. The detail view shows:
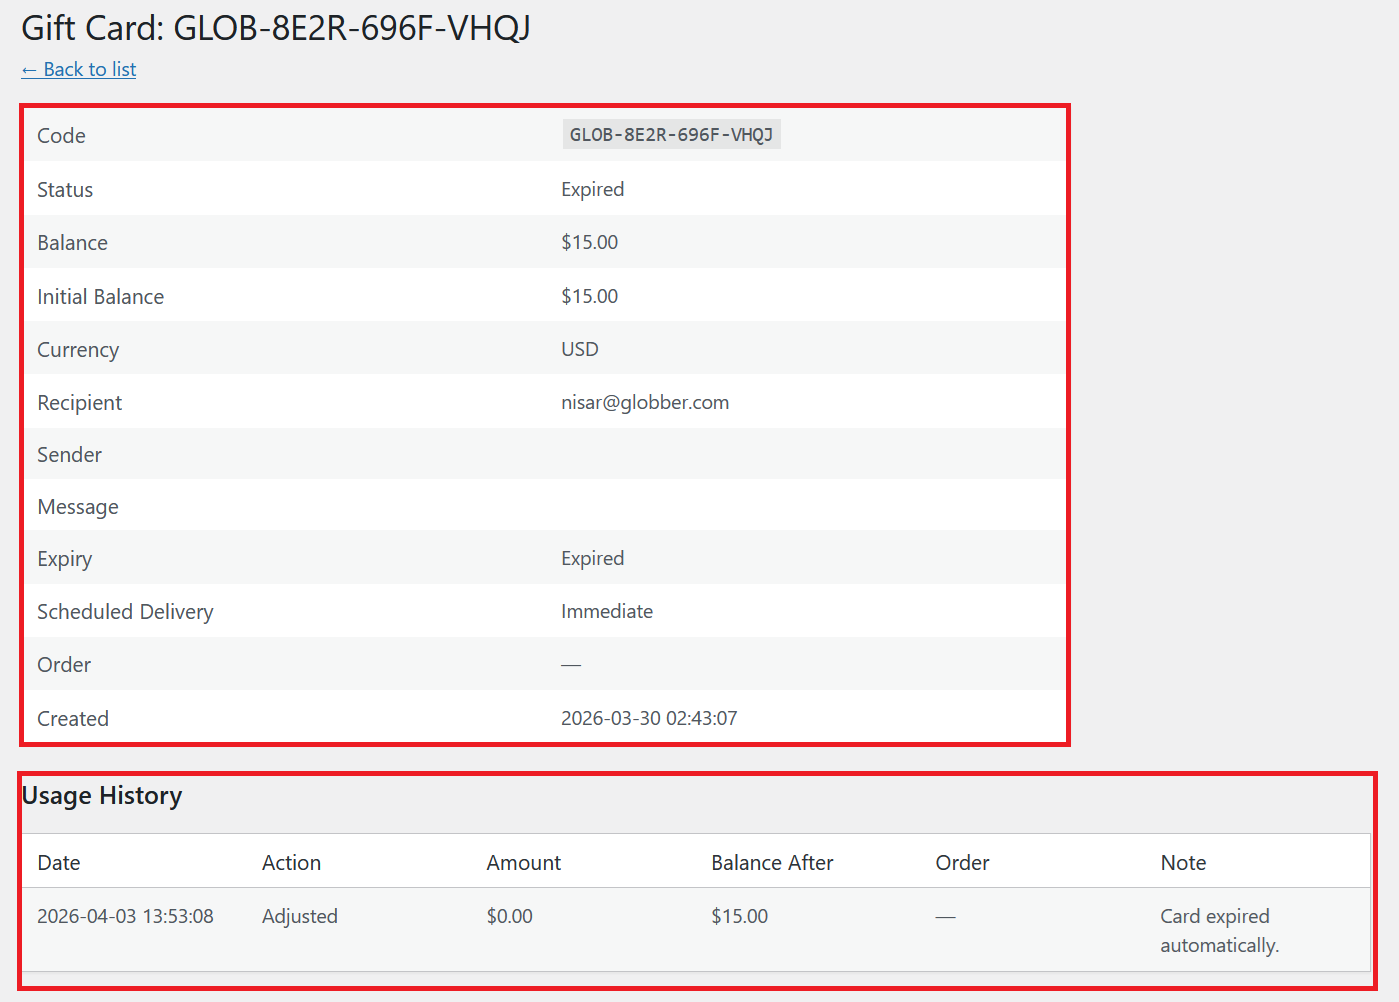
- Code, status, current balance, and initial balance
- Recipient and sender details
- Expiry information
- Cancellation details (if cancelled)
- Full usage history
Adjusting a Card's Balance
On the card detail page, use the Adjust Balance form to add or subtract an amount:
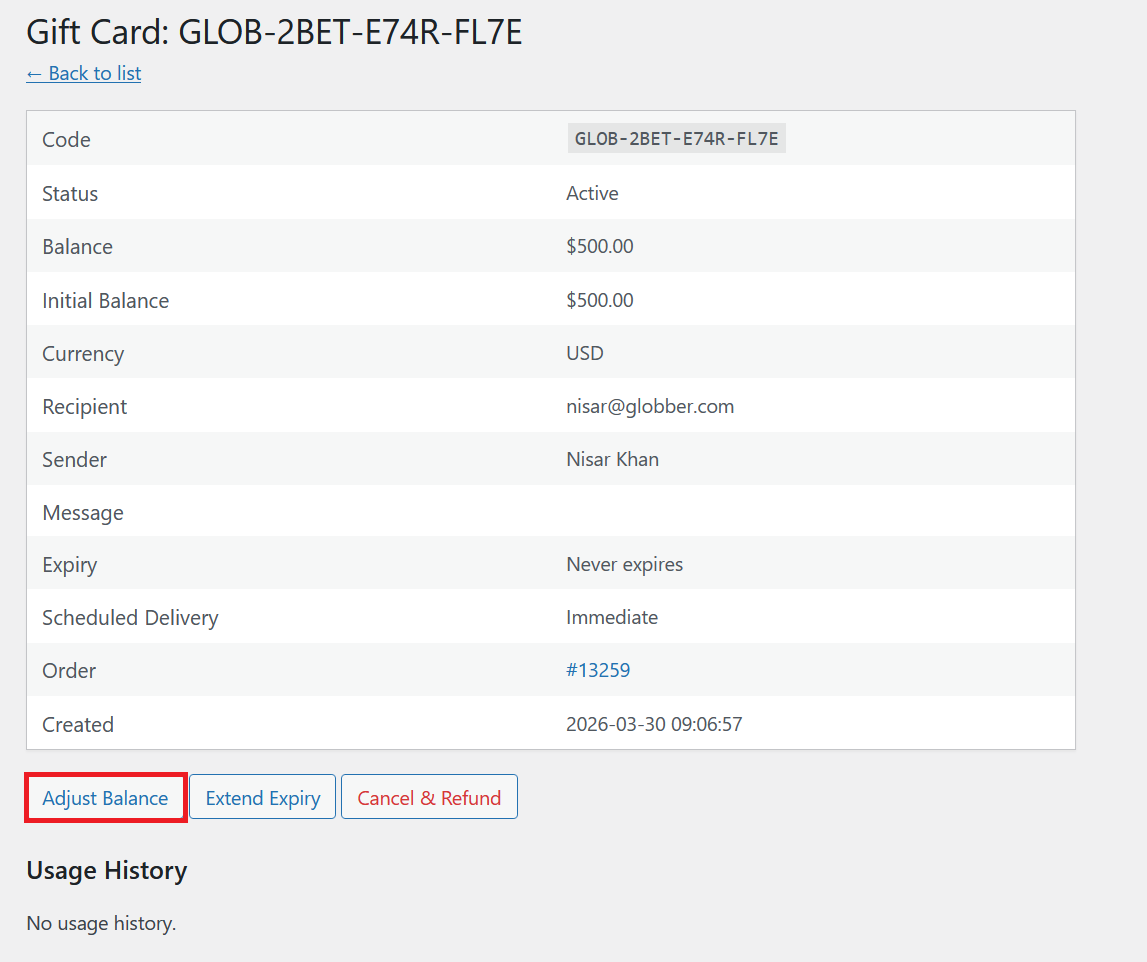
- Enter a positive number to add credit, or a negative number to deduct credit.
- Enter a reason (required).
- Click Adjust.
The adjustment is recorded in the card's usage history.
Extending or Changing Expiry
On the card detail page, use the Extend Expiry form:
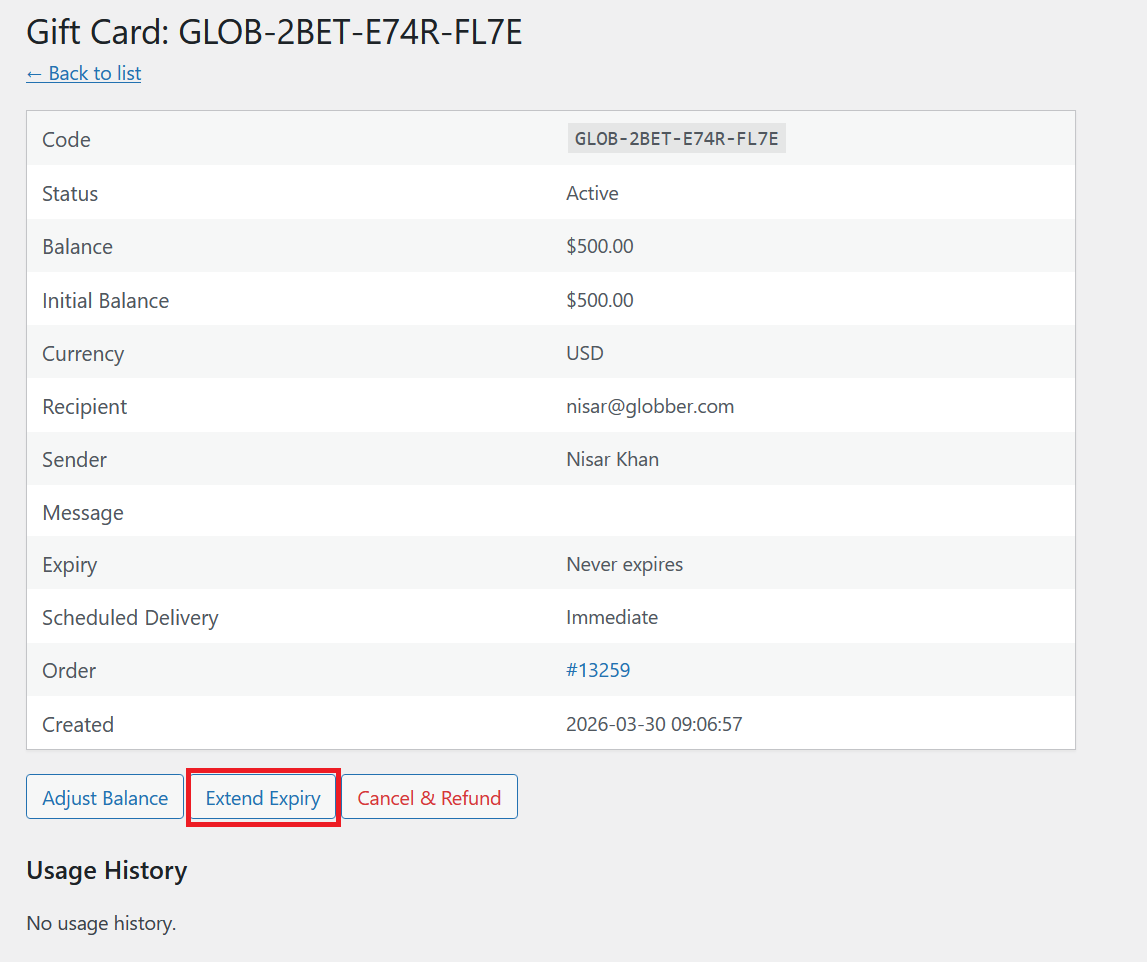
- Select a new expiry date using the date picker. Leave blank to remove the expiry (set to never).
- Enter a reason (required).
- Click Update Expiry.
If the card was previously expired and the new date is in the future, the card status is automatically restored to active.
Cancelling a Gift Card
On the card detail page, use the Cancel Gift Card form:
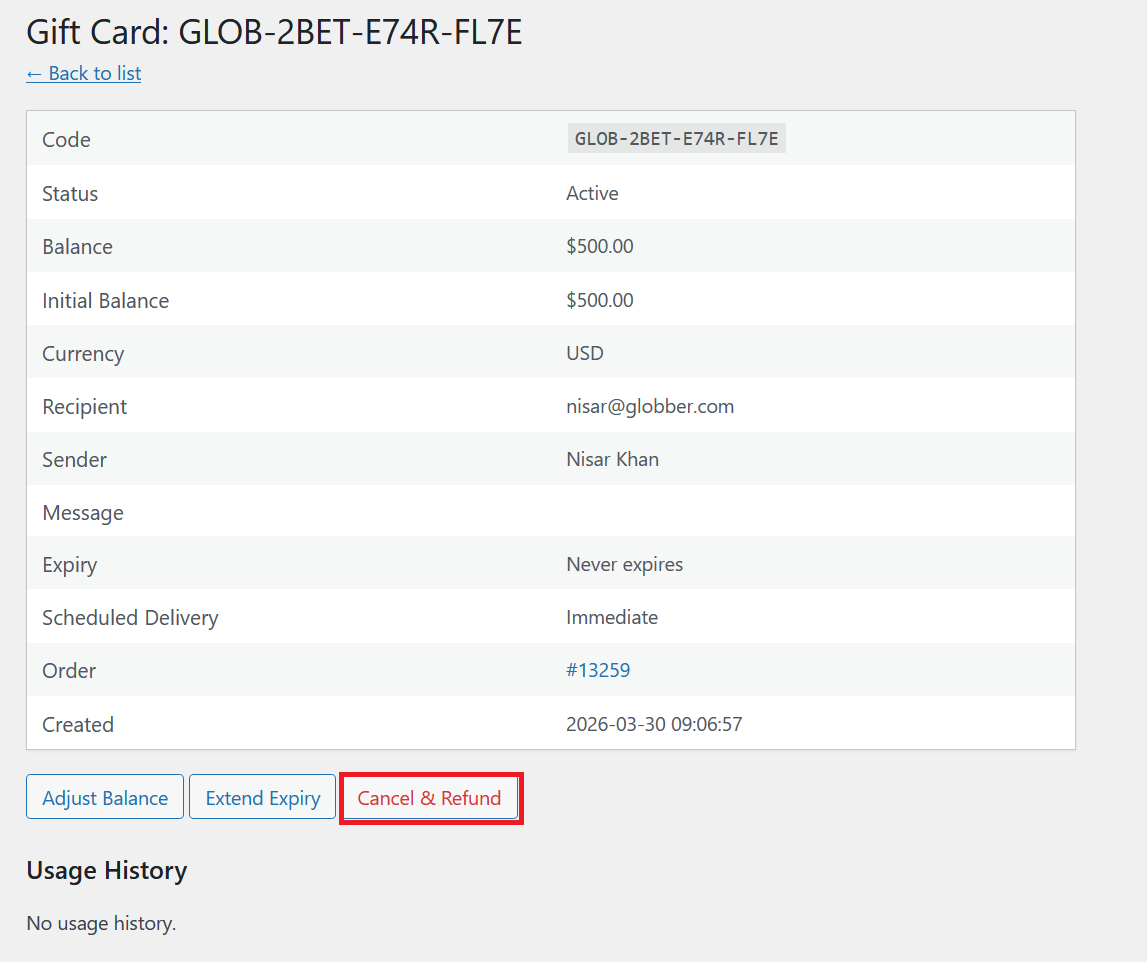
- Enter a cancellation reason (required).
- Set the refund amount. This can be less than the initial balance (e.g. if the card has been partially used).
- Choose the refund method:
- WooCommerce refund — creates a WooCommerce refund on the original order automatically.
- Manual — logs the cancellation without issuing a WooCommerce refund (e.g. for cash refunds handled offline).
- Tick Notify customer to send a cancellation email to the recipient.
- Click Cancel Gift Card.
Cancellation is permanent. Expired or already-cancelled cards cannot be cancelled again.
The refund amount cannot exceed the card's initial balance, and cannot be negative.
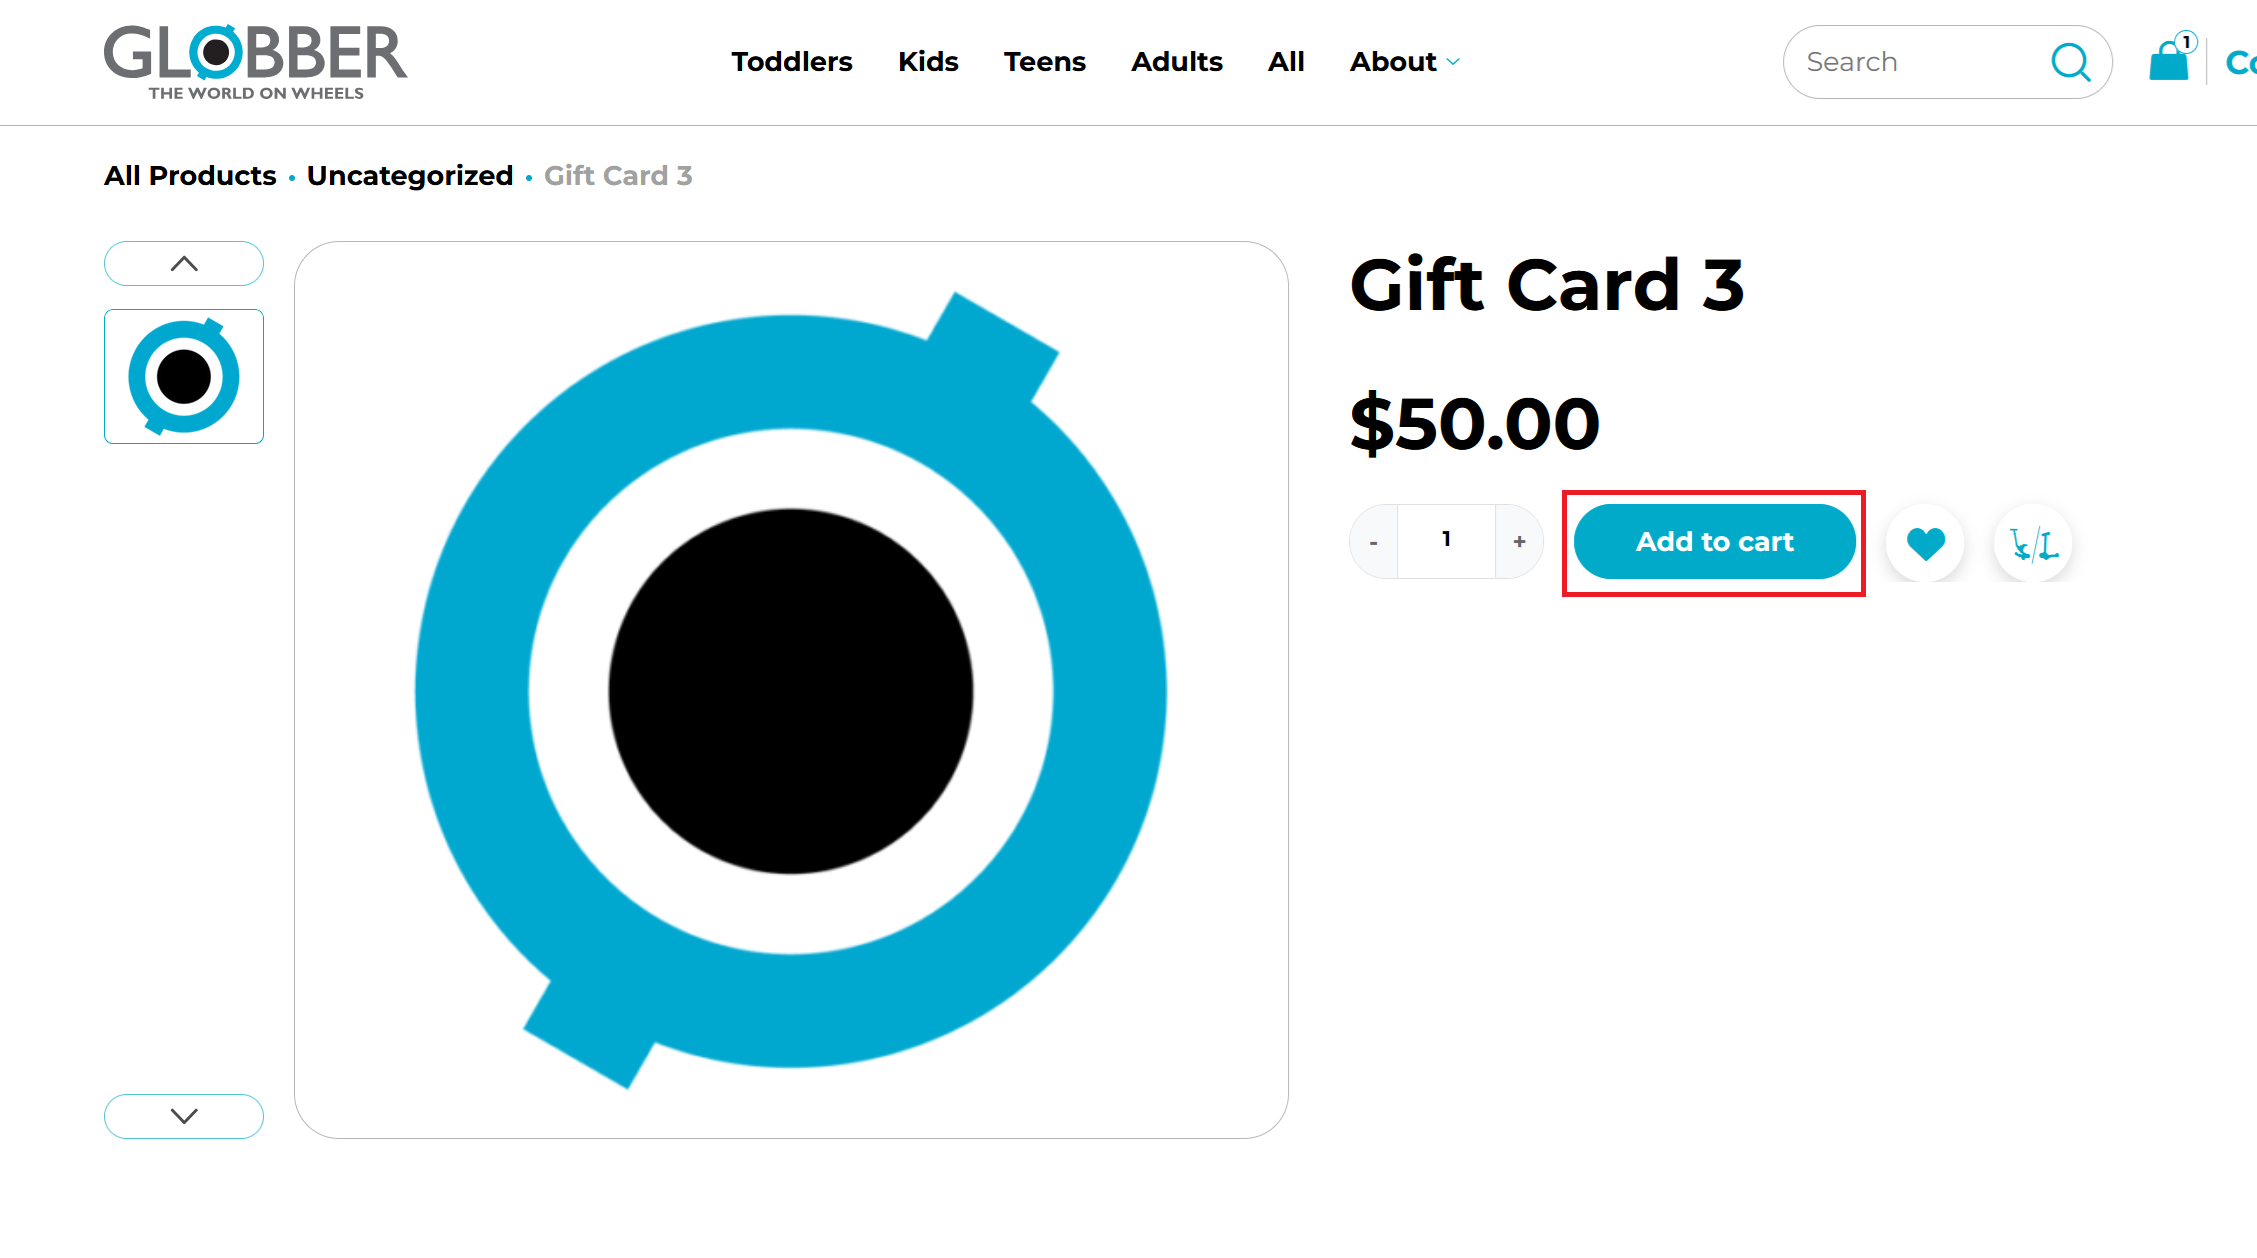
How Customers Purchase Gift Cards
- The customer finds the gift card product on the Globber website and clicks Add to cart.
Gift card codes cannot be applied as a discount when purchasing a gift card. The gift card field will not be available on orders that contain a gift card product.
- During checkout, the customer enters:
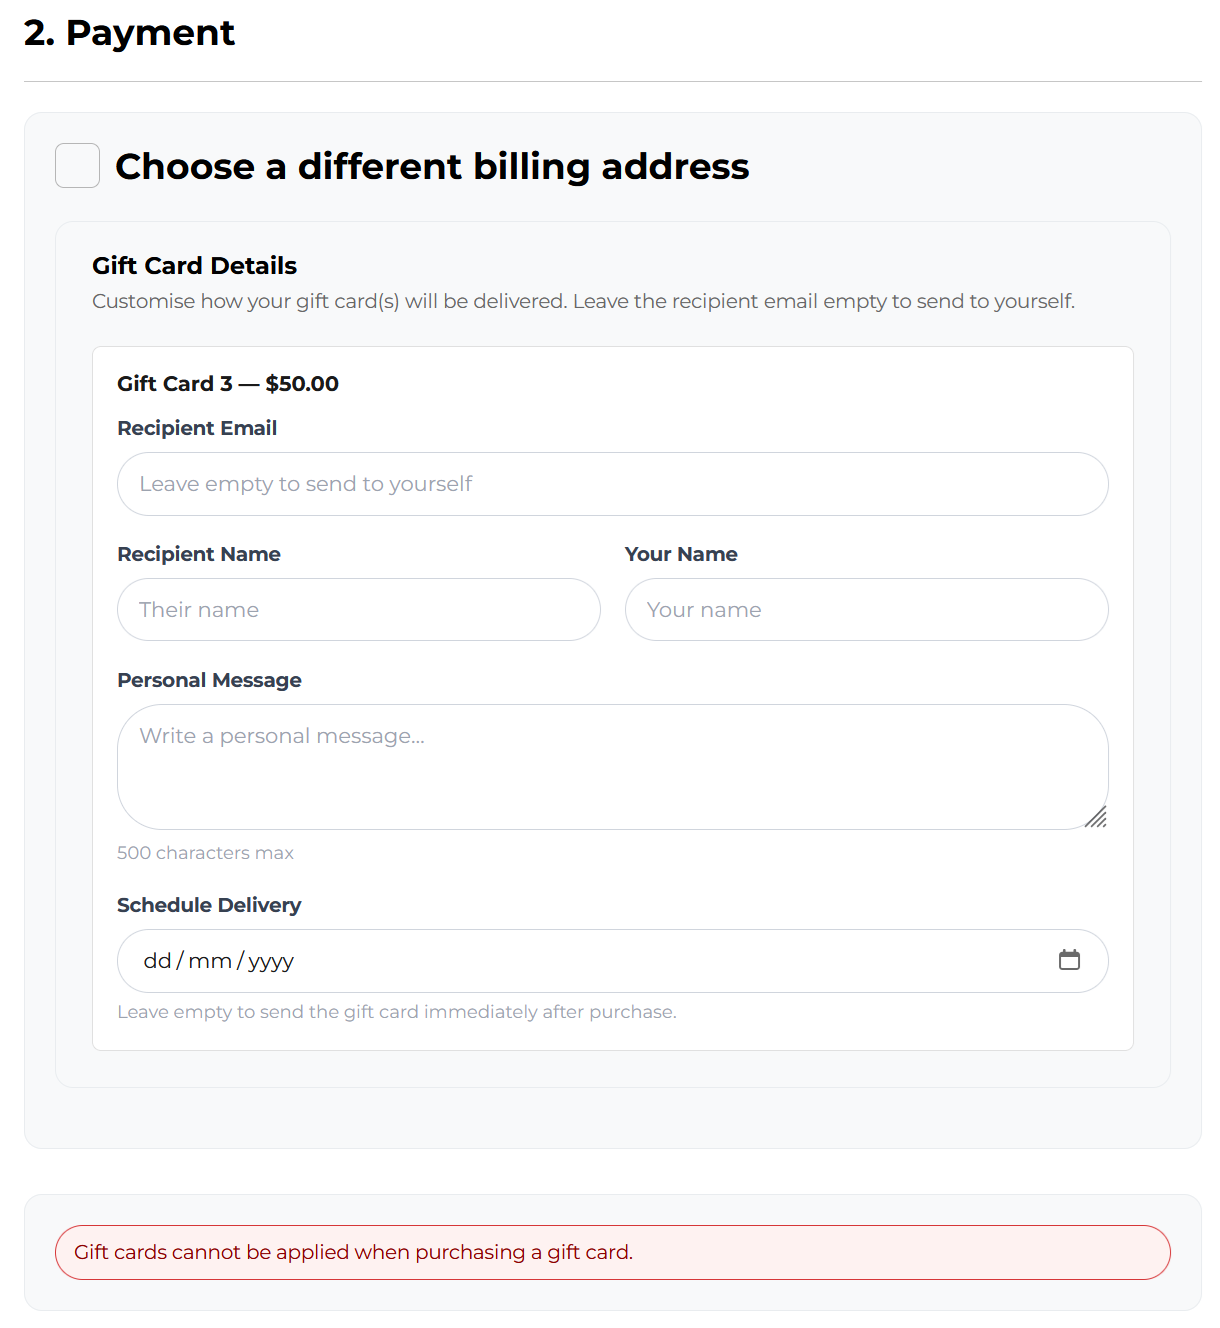
- Recipient email — where the gift card will be sent.
- Recipient name — personalises the email.
- Sender name — appears in the gift card email.
- Message (optional) — a personal note included in the email.
- Scheduled send date (optional) — a future date to delay delivery.
- The customer completes payment as normal.
Once the order is marked Processing or Completed:
- A purchase receipt email is sent to the buyer.
- A gift card delivery email is sent to the recipient (or on the scheduled date, if set). The email contains the unique gift card code, the loaded amount, any message, and a Redeem button linking to the Globber website.
How Customers Redeem Gift Cards
At Checkout
- On the Checkout page, the customer enters their gift card code in the Gift Card field.
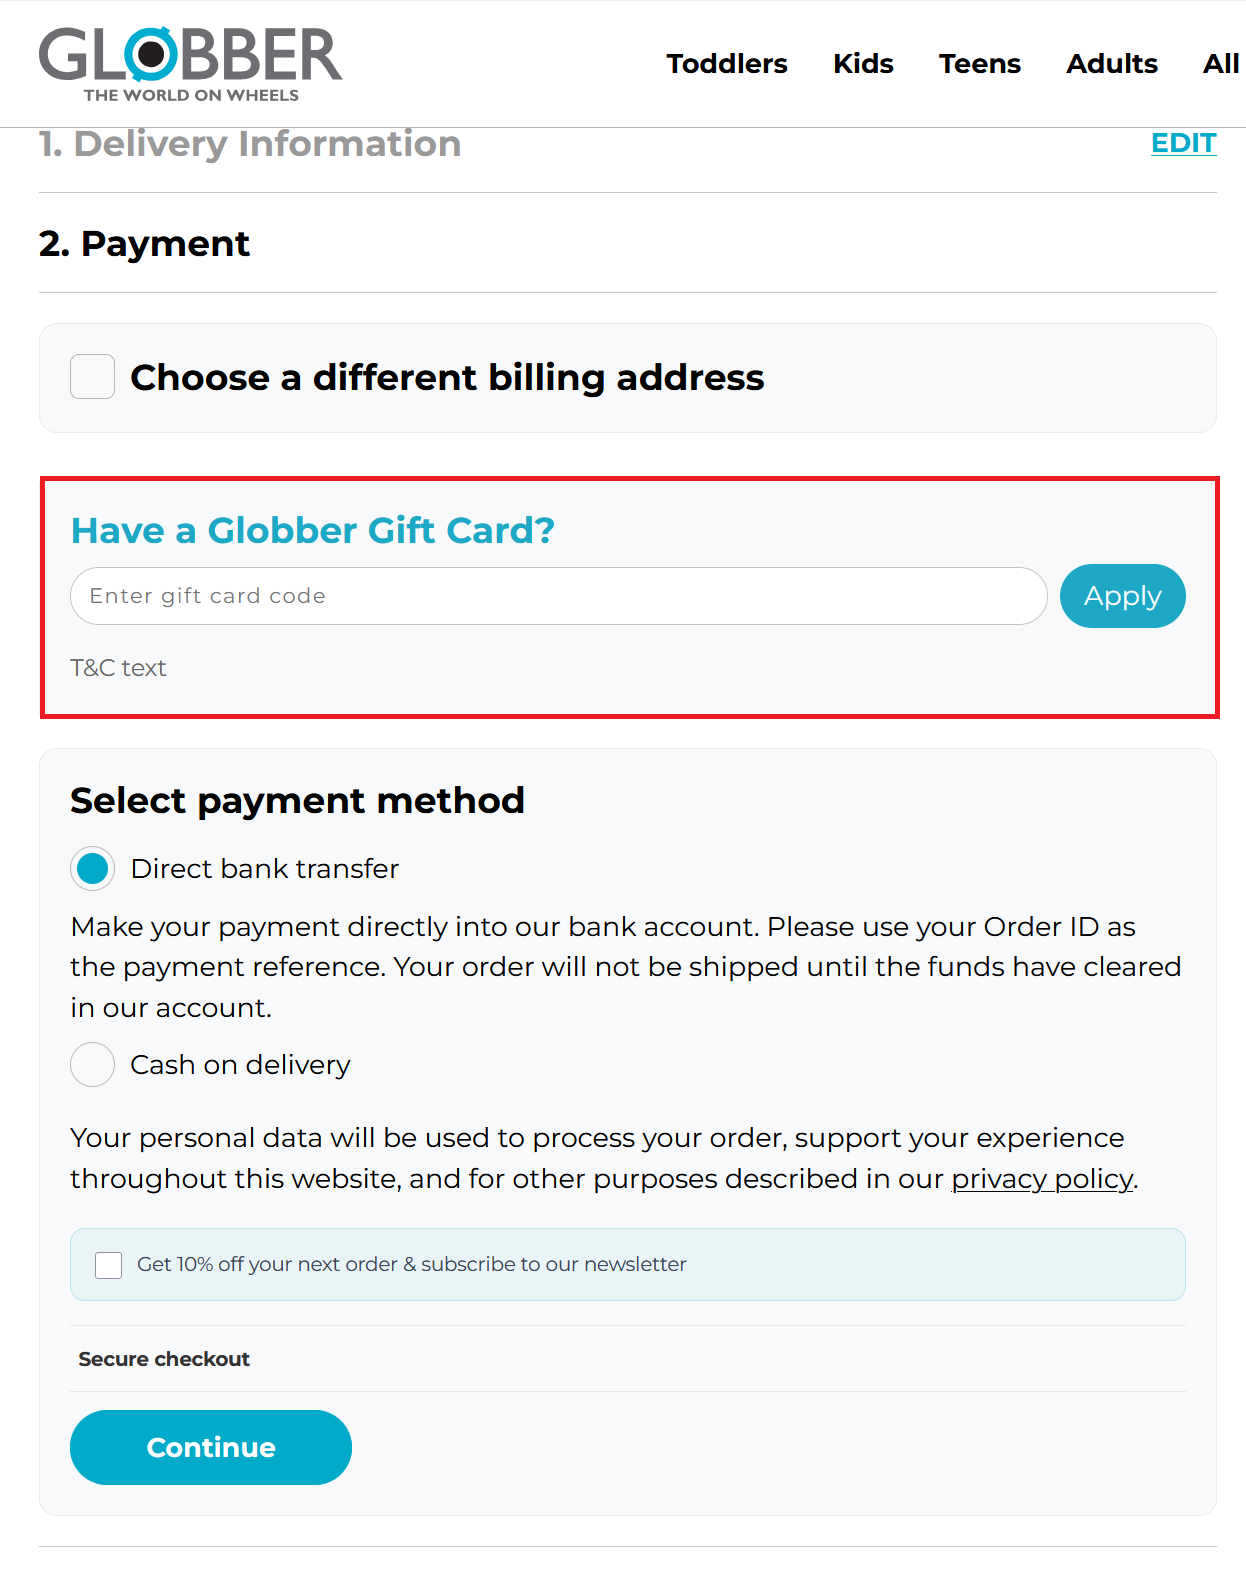
- They click Apply.
- The card's remaining balance is shown and deducted from the order total.
- The customer completes the purchase as normal.
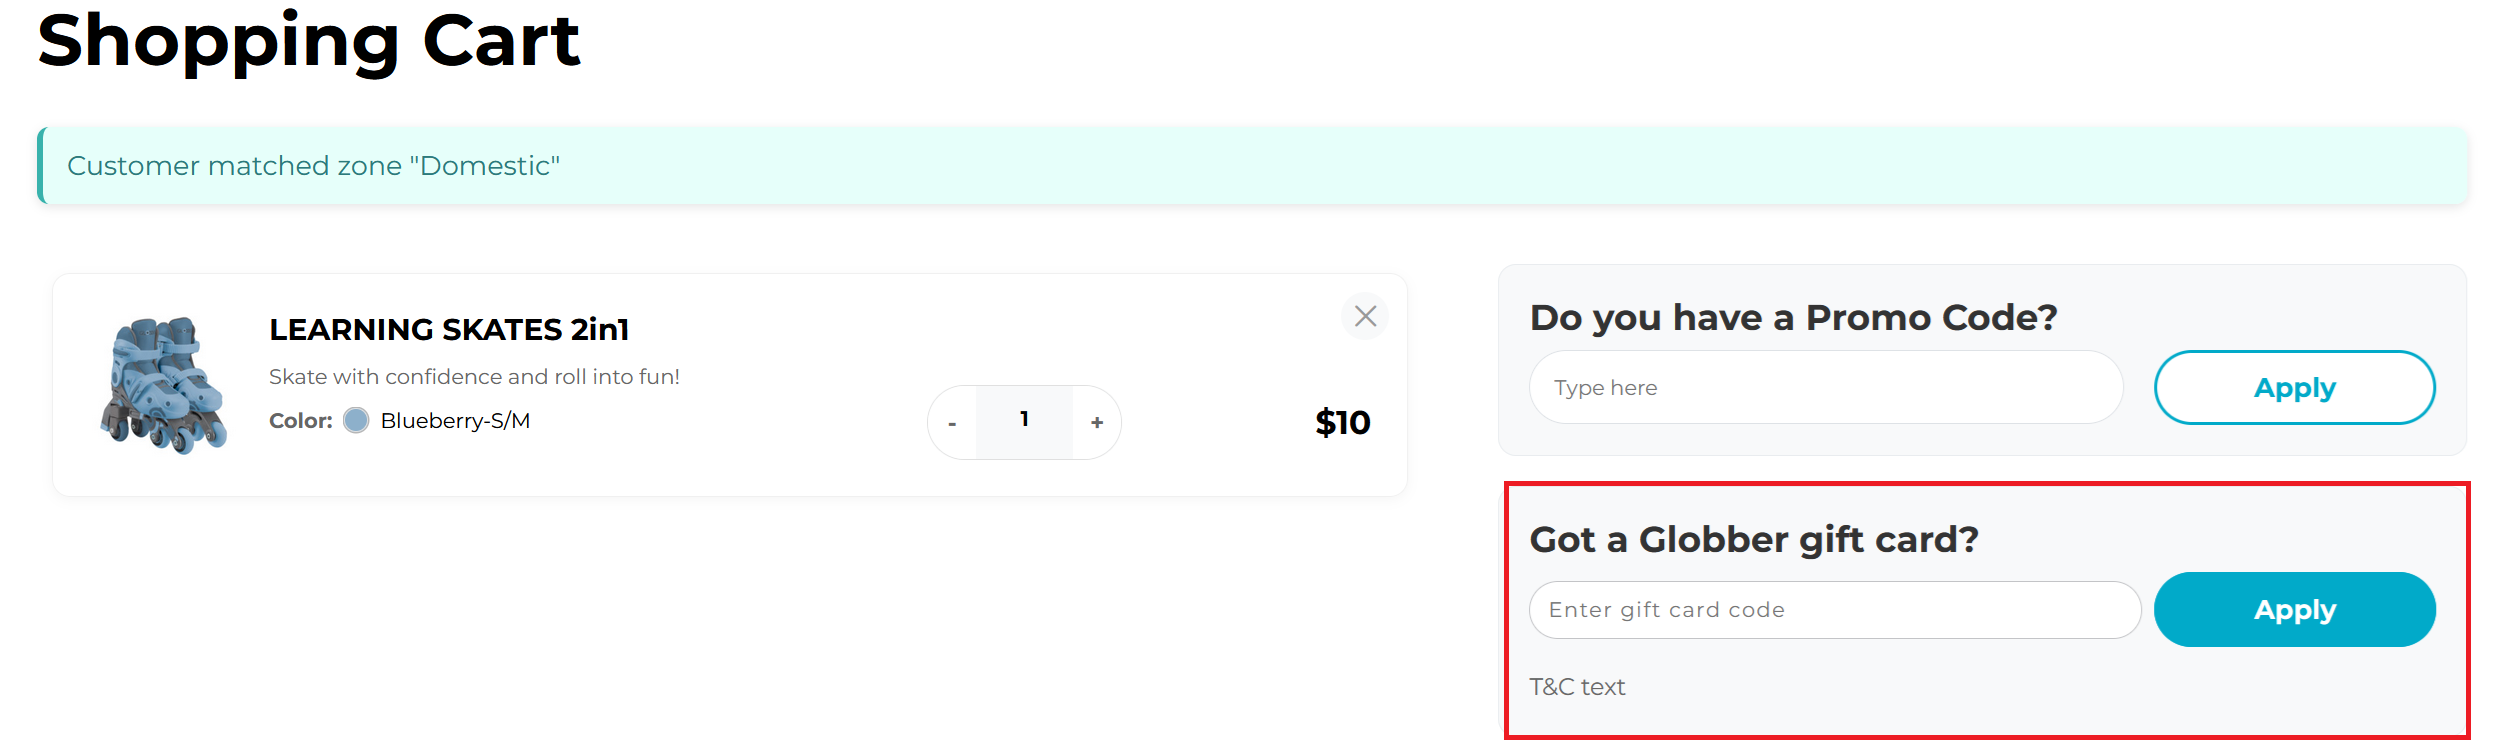
On the Cart Page
If Gift Card Field on Cart Page is enabled in settings, customers can also apply their code directly on the Cart page before proceeding to checkout.
Only one gift card can be applied per order. If the cart total exceeds the card balance, the remaining amount is paid using the customer's chosen payment method.
Expiry & Automated Emails
The plugin runs two daily background tasks:
| Task | Description |
|---|---|
| Expiry check | Scans all active cards and marks any with a past expiry date as expired. |
| Expiry reminders | Sends reminder emails to recipients of cards expiring within the configured window (default: 7 days). |
You can trigger the expiry check manually at any time from the WooCommerce → Gift Cards list by clicking Run Expiry Check.
Email Notifications
| Triggered when | |
|---|---|
| Gift Card Received | A gift card order is completed and the card is issued. |
| Expiry Reminder | A card is within the configured reminder window before expiry. |
| Gift Card Cancelled | An admin cancels a card with the Notify customer option enabled. |
All email templates can be customised under WooCommerce → Settings → Emails.
Card Statuses
| Status | Meaning |
|---|---|
active | Card is valid and has remaining balance. |
used | Card balance has been fully redeemed. |
expired | Card passed its expiry date. |
cancelled | Card was manually cancelled by an admin. |
disabled | Card was disabled via bulk action (can no longer be used). |