USP (Unique Selling Points)
The USP section emphasizes your brand's core differentiators and competitive advantages in a visually striking format.
How to Setup USP (Unique Selling Points)
On the left-hand side menu, navigate to Pages and click All Pages.

In WordPress Pages section, scroll down to find Home — Front Page and click Edit to begin.

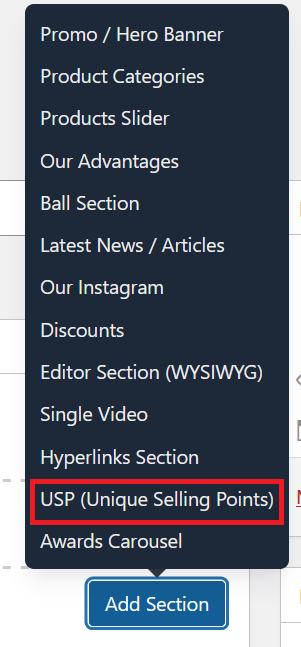
Under [page] - Home V2 section, click Add Section to get started.

In the case of setting up USP (Unique Selling Points) Section, select USP (Unique Selling Points).

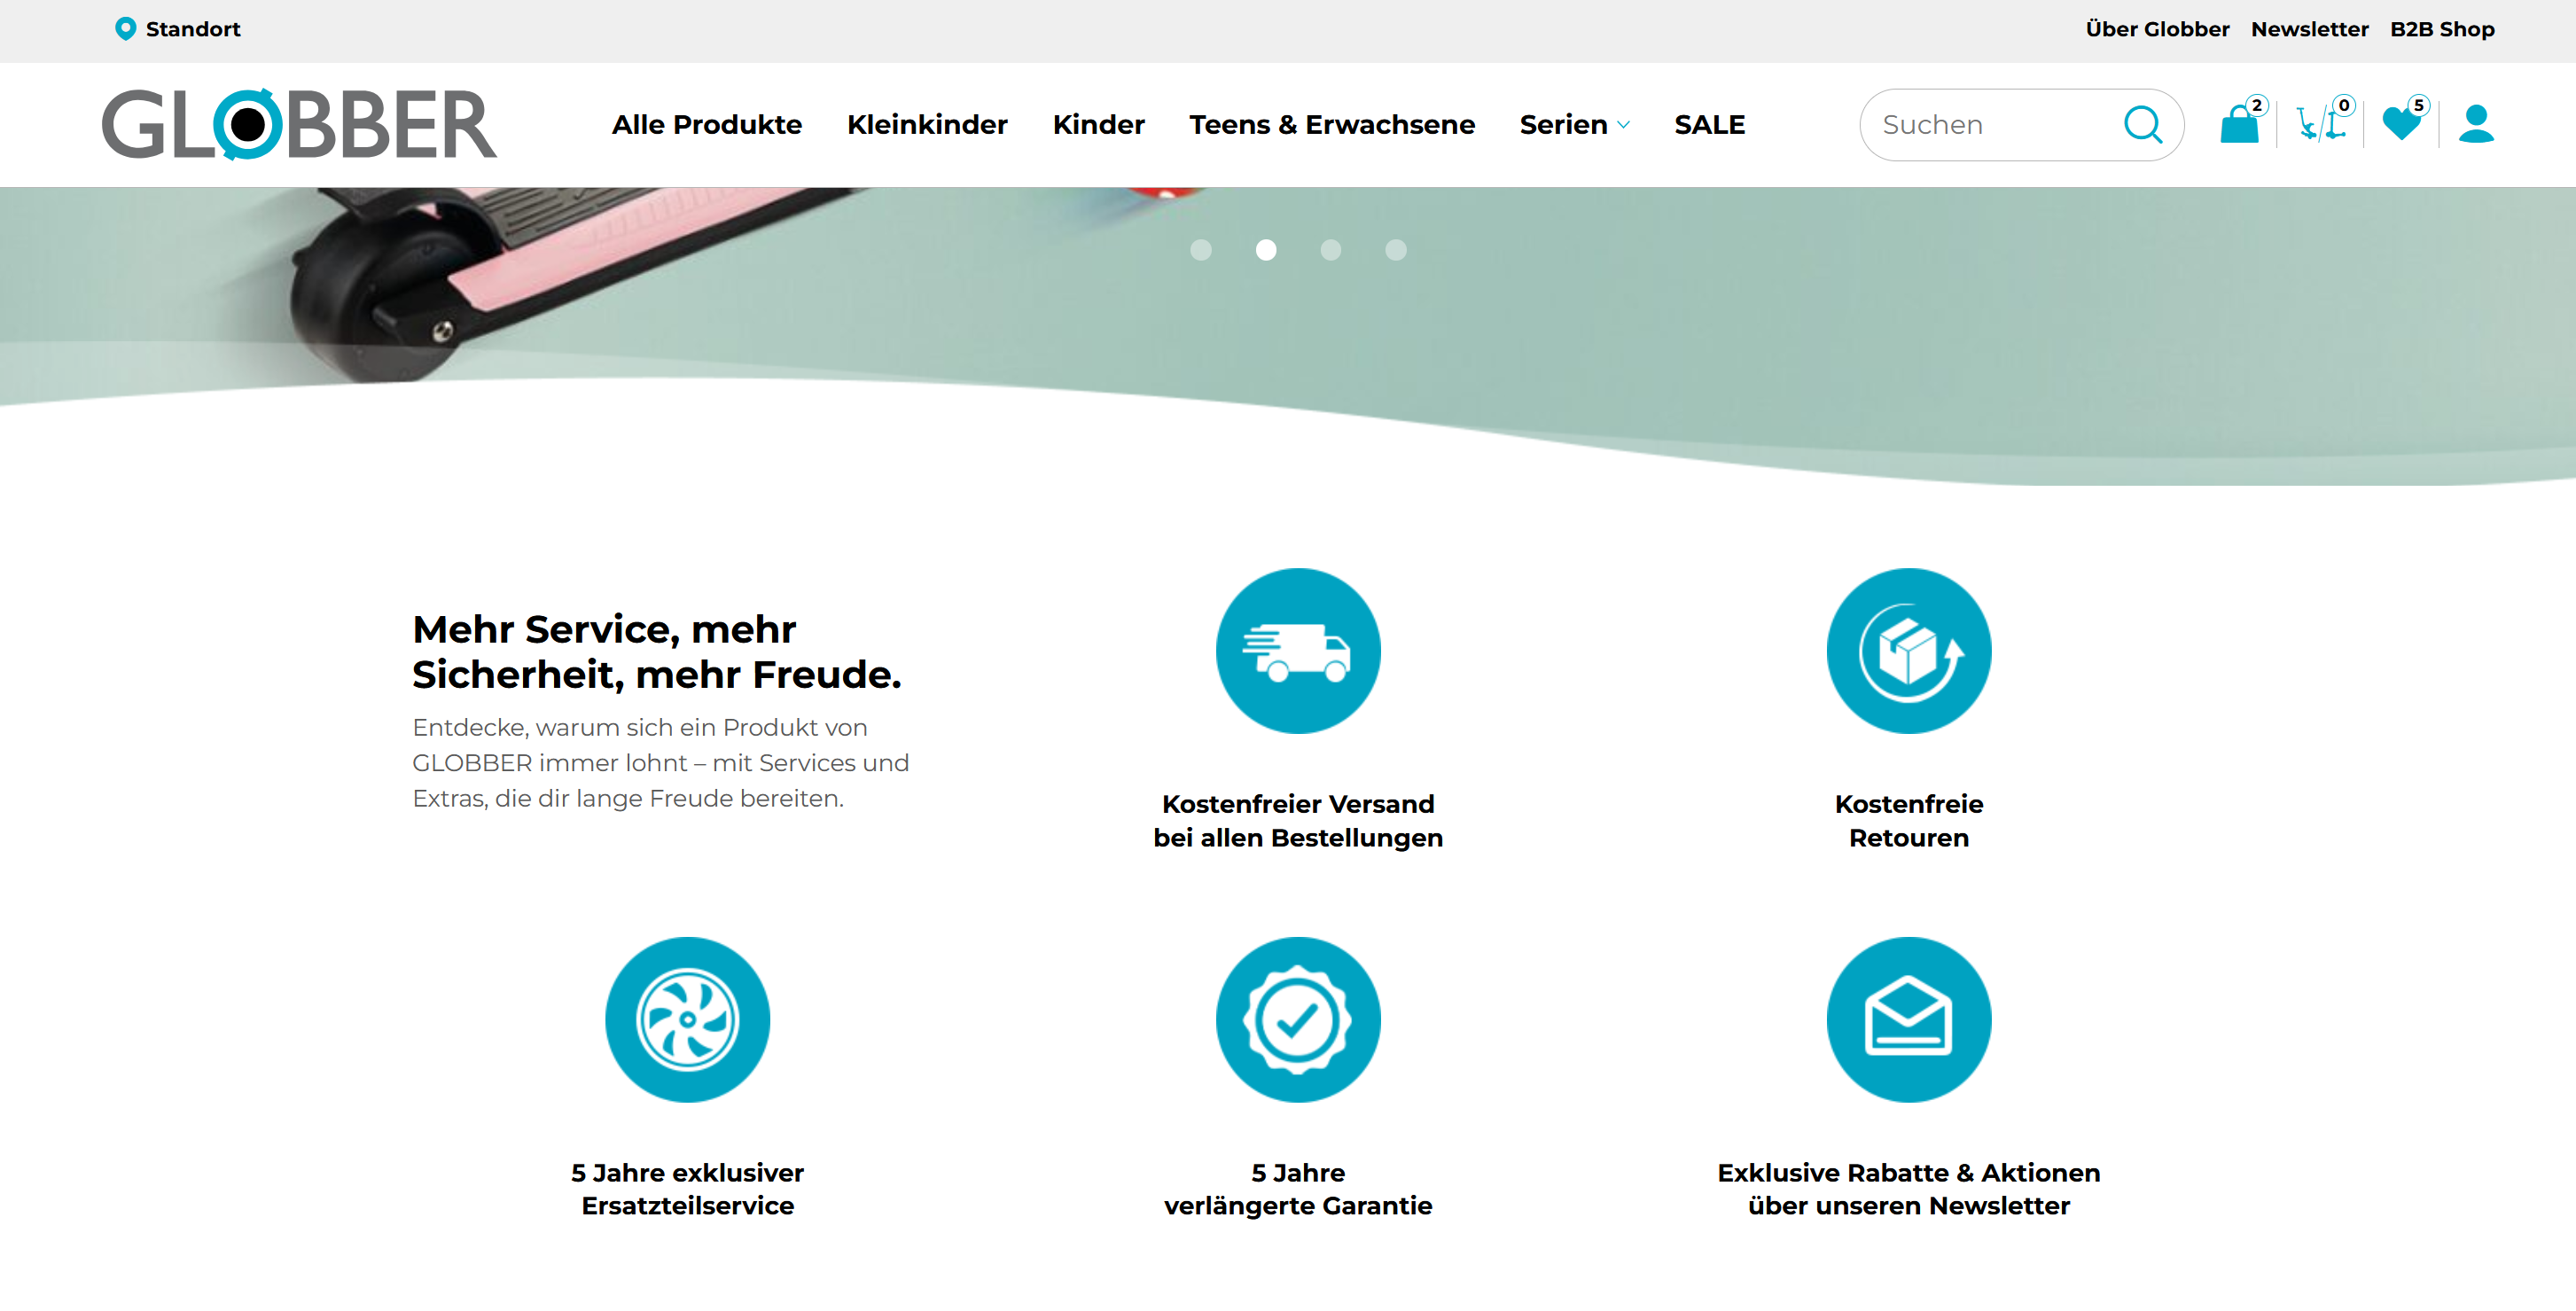
- Title — The main heading displayed at the top of the USP section on the homepage. This is the first thing visitors read, so keep it short and impactful (e.g. "More Service, More Security, More Joy").
- Description — A short supporting sentence shown directly below the title. Use this to add brief context or a brand message that complements the heading.
- Add USP Item — Add new selling point row.
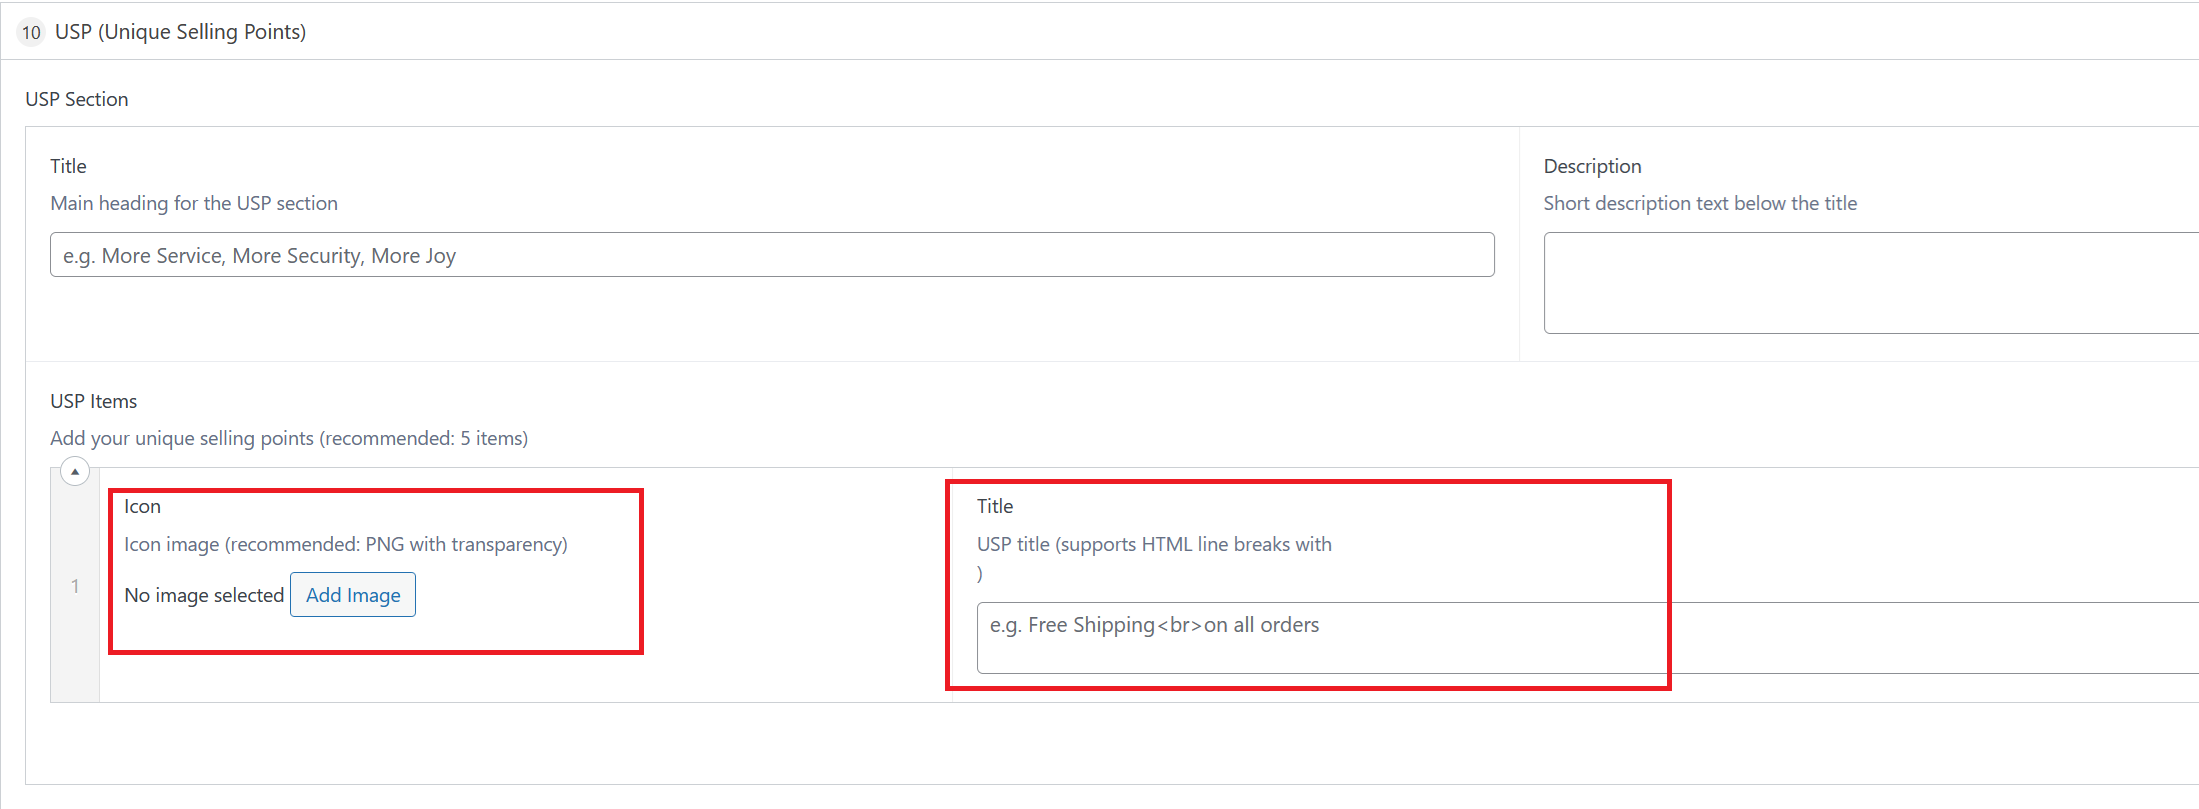
Each USP item represents one selling point displayed in the section. The recommended number of items is 5 to keep the layout balanced. Each item has two fields:
- Icon — Upload a PNG image with a transparent background to use as the icon for this selling point. Transparent PNGs blend cleanly with the section background.
- Title — The label shown below the icon. Keep it short and punchy. This field supports HTML line breaks — use
<br>to split the text across two lines if needed (e.g.Free Shipping<br>on all orders).
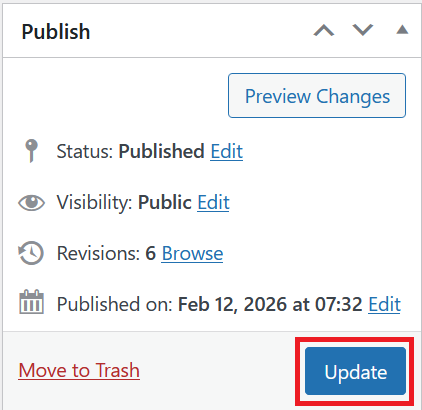
Once you're ready to publish changes, click Update or Publish on the right-hand side.